1966 Ford Galaxie 500 XL Refurbishment : 014 Differential, part 2
2023, November 14
1 - 2 - 3 - 4 - 5 - 6 - 7 - 8 - 9 - 10 - 11 - 12 - 13 - 14 - 15 - 16 - 17 - 18 - 19 - 20 - 21 - 22 - 23 - 24 - 25 - 26 - 27 - 28 - 29 - 30 - 31 - 32 - 33 - 34 - 35 - 36 - 37 - 38 - 39 - 40 - 41 - 42 - 43 - 44 - 45 - 46 - 47 - 48 - 49 - 50 - 51 - 52 - 53 - 54 - 55 - 56 - 57 - 58 - 59 - 60 - 61 - 62 - 63 - 64 - 65 - 66 - 67 - 68 - 69 - 70 - 71 - 72 - 73 - 74 - 75 - 76 - 77 - 78 - 79 - 80 - 81 - 82 - 83 - 84 - 85 - 86 - 87 - 88 - 89 - 90 - 91 - 92 - 93 - 94 - 95 - 96 - 97 - 98Differential Continued
I made a quick and dirty holder a few years ago. It's a pain to hold up the third member and bolt on by yourself, but once it's on, it works well enough.

Right, onto the pinion support.
New races to be installed.

Next press on the inner bearing to the pinion.

Ok, this looks funky. What I need to do is install this pinion support without shims and adjust the ring gear close to binding and see if the pinion is going to hit the differential carrier. Now Eaton says their carrier will only work on 3.25:1 and higher ratios. However I came across other references that say it may work without machining or at the very worst I'll have to trim a little off the face of the pinion.

With that I didn't want to waste a crush sleeve or fully install the new nut. So I contrived this hideous thing to do a basic preload whilst checking clearances.
For once I lucked out, about 1/4 of clearance under worst case conditions. No machining necessary, these 3.00 gears will work with the Eaton Truetrac.

Now I can properly assemble the pinion support.
Remove the hideous thing I had on there, the outer bearing and install the crush sleeve.

Installed the outer bearing and the new oil slinger.

Installed new oil seal. Now I do use a little swipe of RTV on the skirt of the seal to help seal on an old used housing.
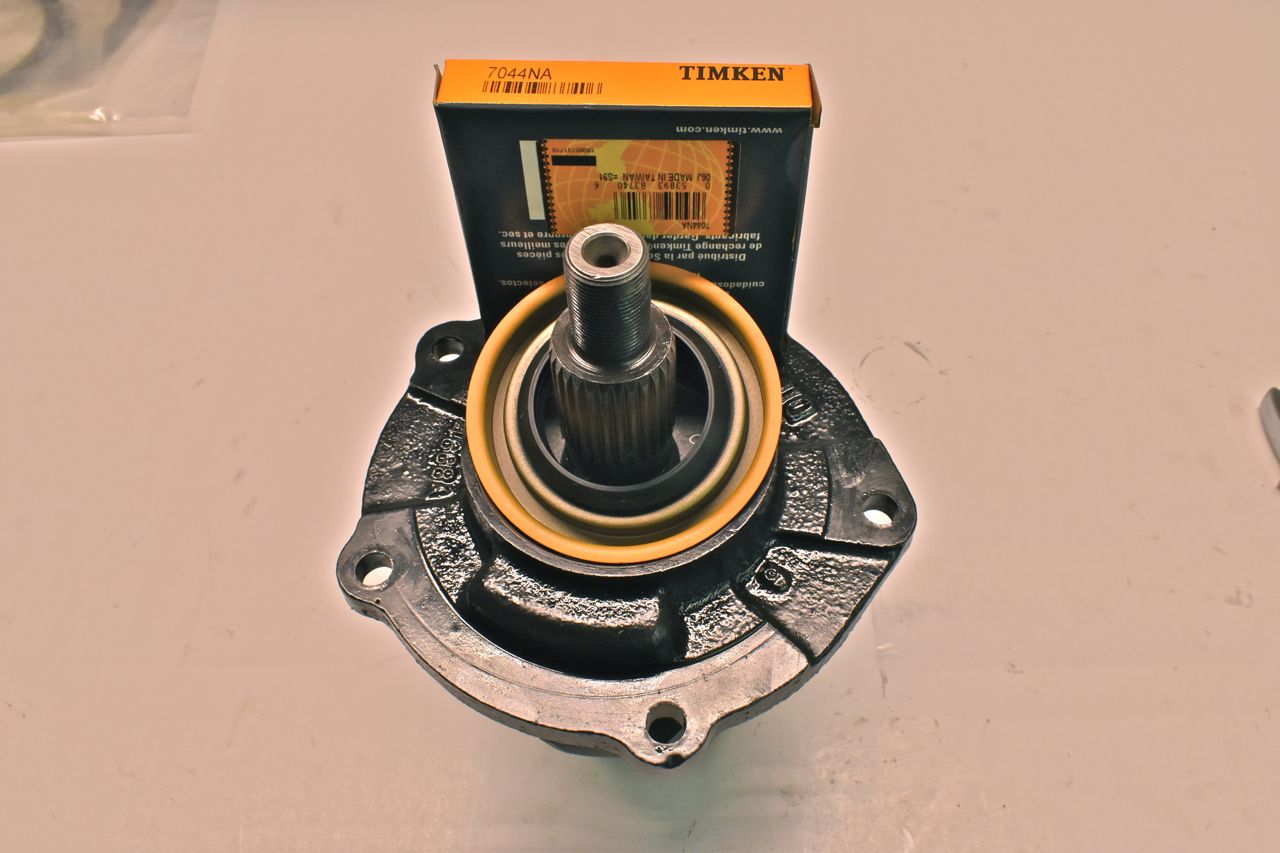
Now for the yoke.
The seal had worn a deep groove into the yoke so it needed a sleeve.

The original 28 spline axle shafts have a similar deep groove and can't be saved. Another reason to make the upgrade to 31 spline.
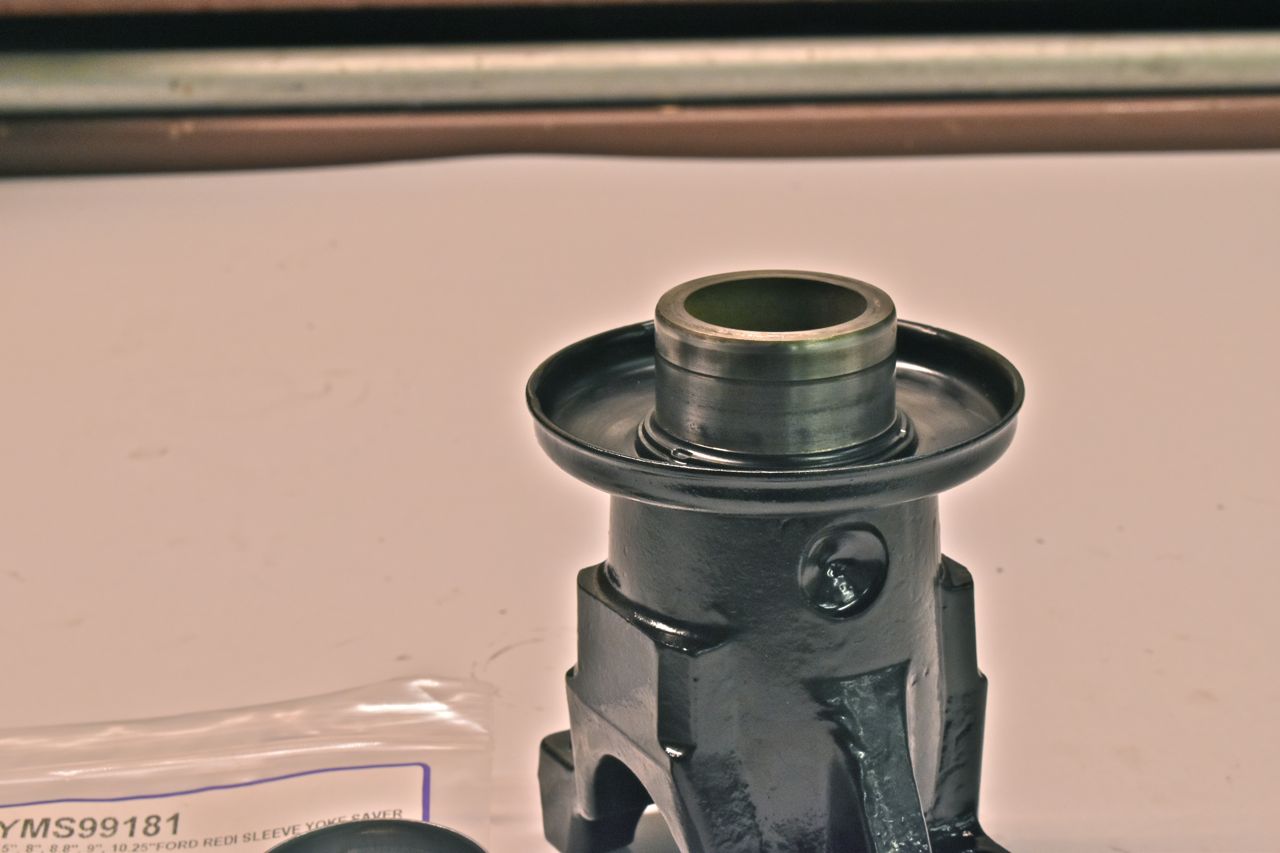
Here's something of possible interest.
It would seem that there are two size yokes used on the Ford full size cars. From what I've observed the 65-66 Fords with 352 or smaller engines came with the small bearing Ford 9" and also the smaller yoke that only accepts 1310 series Cardan joints. The 390 and larger engine cars received the large bearing Ford 9" axle and larger yoke for the larger stronger 1330 series Cardan joints.

Now I know Ford discontinued the small bearing Ford 9" at least for the full size cars in 1967 and instead offered that WER Salisbury type (8.8 predecessor) and I do believe those also have the smaller yoke.
Just something to keep in mind when replacing an axle or upgrading one.
New sleeve installed. I also used Locktite to seal and hold. This can be assembled onto the pinion and tightened with the new crimp nut with sealant.

The pinion support is finished now to sort out some shims. I bought another assortment pack, but since nothing is marked, I spent some time and measured and wrote on them in thousandths their value. The ones atop the package are what came in that kit.
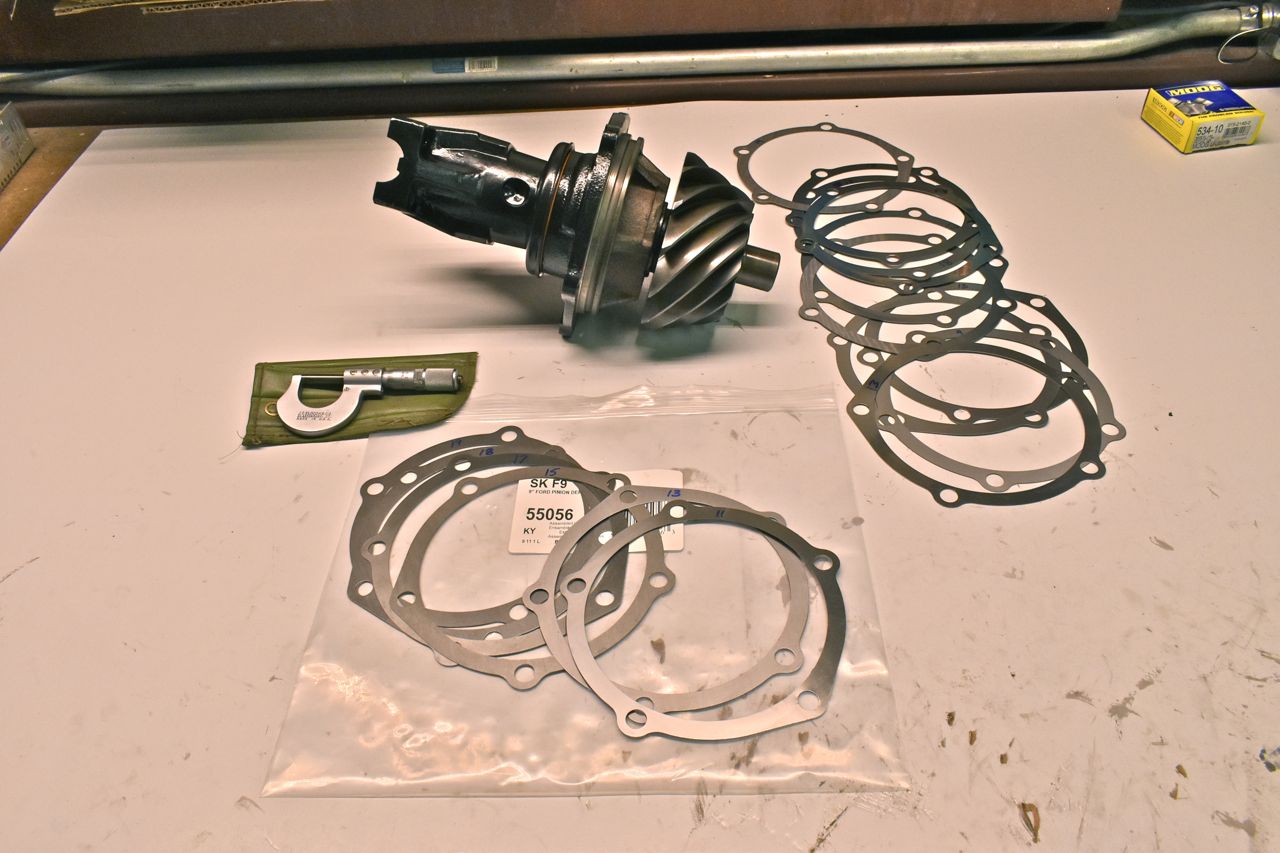
Now since it's new case I decided to try the middle of road and go from there. So I chose the 0.015" shim and loaded it onto the pinion support.

But before we can tighten down the pinion support into the third member case, I have to get the timing marks lined up.
I put a dab of yellow paint on the pinion and ring gear to make it easier to see the original marks when they were machined all those decades ago.

The books says to aim for 0.010" on backlash with used gears. Okie Dokie.
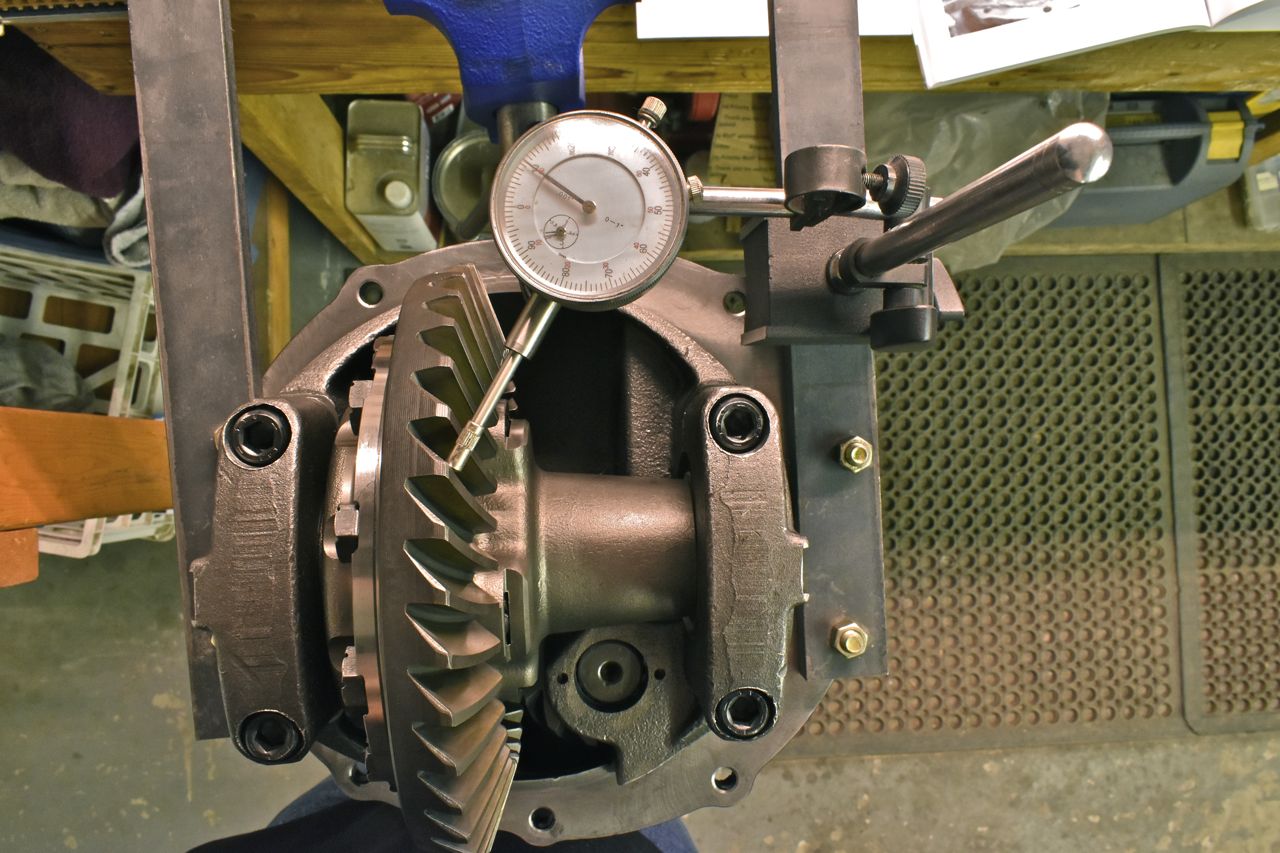
The mesh pattern on the drive side is too close to the heel (inboard) and high up.

It's hard to see but the mesh is too close to the toe (outboard). So I need to increase the distance of the pinion. (The book covers this well). I'll bump this to 0.019".

I think we are there, at least on the drive side.
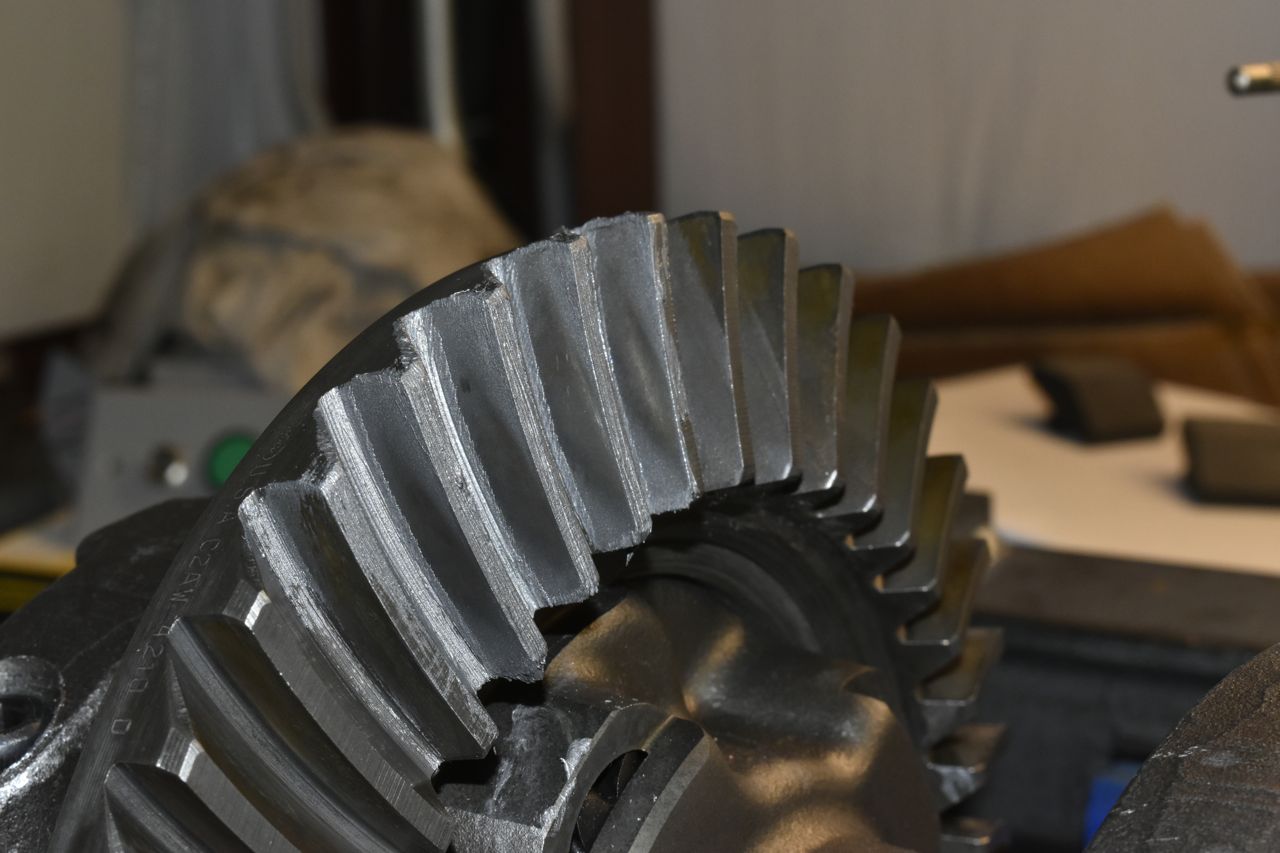
It's hard to tell, but the pattern on the coast side is a little high but closer to the centre. From experience on the 1966 LTD's rear axle in resetting the gear mesh, this is about the best you can do on these used old Ford gears.
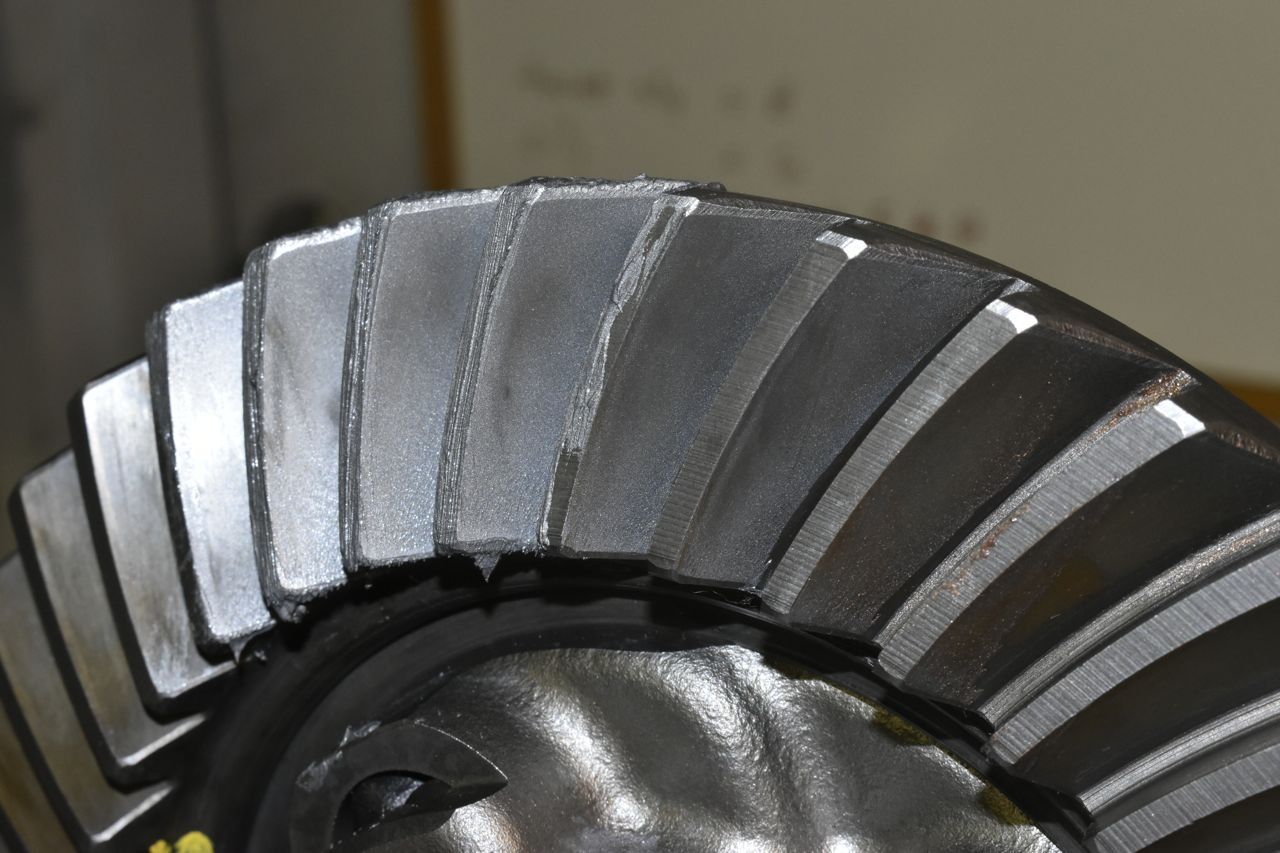
I spent several hours on the LTD's gears as that was the first one I had done. There is a little art involved with this as well. You have to apply a decent holding force on the ring gear when messing in the goo to make a pattern. The pattern may seem to shift a bit on depending on the holding force, so use several teeth and take the average. Or at least that works for me.
Now I can't get the coast side on centre like the drive side, but is that from used gears or 1960's American auto industries "That'll do" indifference to quality. I was able to get a good pattern centre'd on the coast and drive side of a very similar setup on my Caprice Classic I installed the Ford 9" into. But those were brand new Richmond gears at 350 dollar a set. Just dunno.
So this is done, I need to wipe off the anti-seize and install the pinion support O-ring along with the support hood for the bumper stop.
Until next time.
Cheers
Click here to continue to part 15