1966 Ford Galaxie 500 XL Refurbishment : 057 Power Steering Pump Rebuild, part 2
2023, November 14
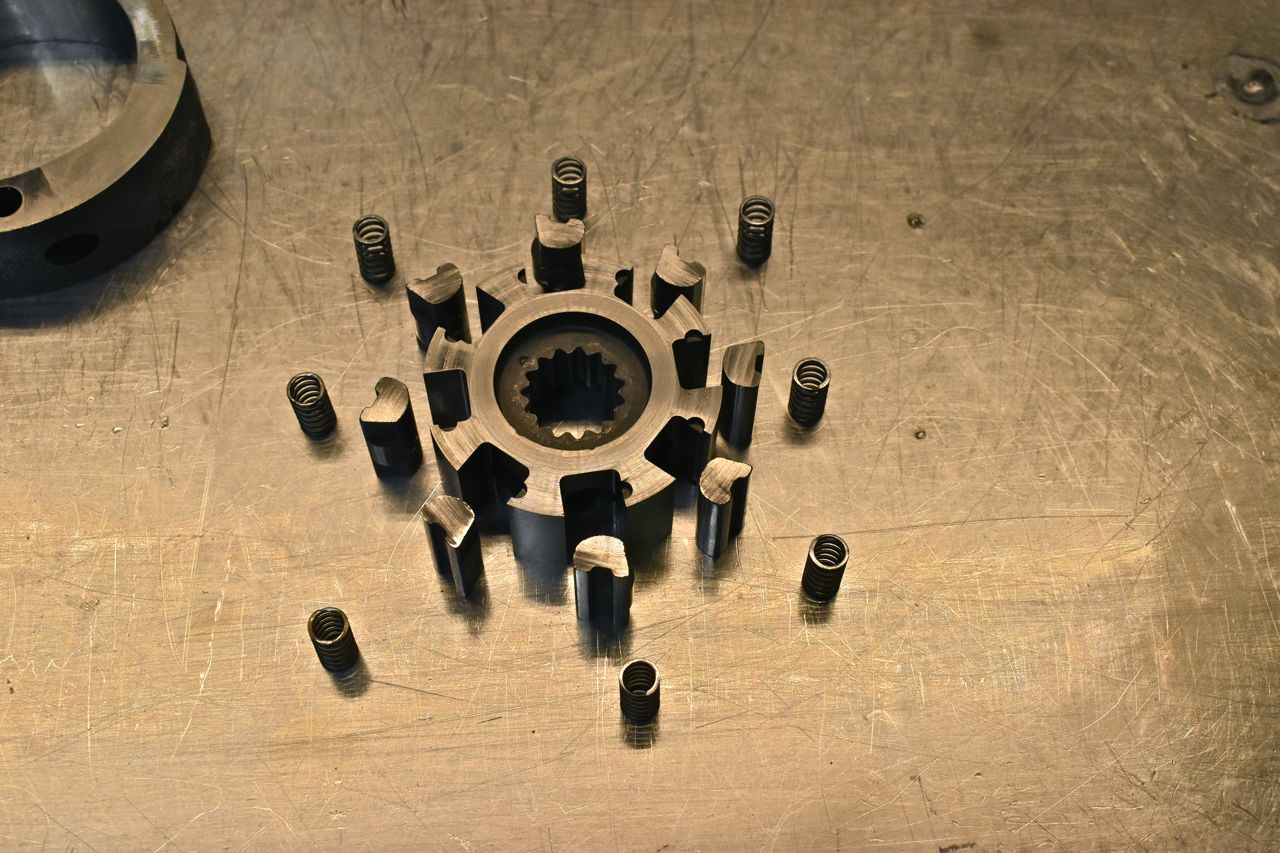
1 - 2 - 3 - 4 - 5 - 6 - 7 - 8 - 9 - 10 - 11 - 12 - 13 - 14 - 15 - 16 - 17 - 18 - 19 - 20 - 21 - 22 - 23 - 24 - 25 - 26 - 27 - 28 - 29 - 30 - 31 - 32 - 33 - 34 - 35 - 36 - 37 - 38 - 39 - 40 - 41 - 42 - 43 - 44 - 45 - 46 - 47 - 48 - 49 - 50 - 51 - 52 - 53 - 54 - 55 - 56 - 57 - 58 - 59 - 60 - 61 - 62 - 63 - 64 - 65 - 66 - 67 - 68 - 69 - 70 - 71 - 72 - 73 - 74 - 75 - 76 - 77 - 78 - 79 - 80 - 81 - 82 - 83 - 84 - 85 - 86 - 87 - 88 - 89 - 90 - 91 - 92 - 93 - 94 - 95 - 96 - 97 - 98As for the springs you can lightly stretch them back out if you can't source new ones.


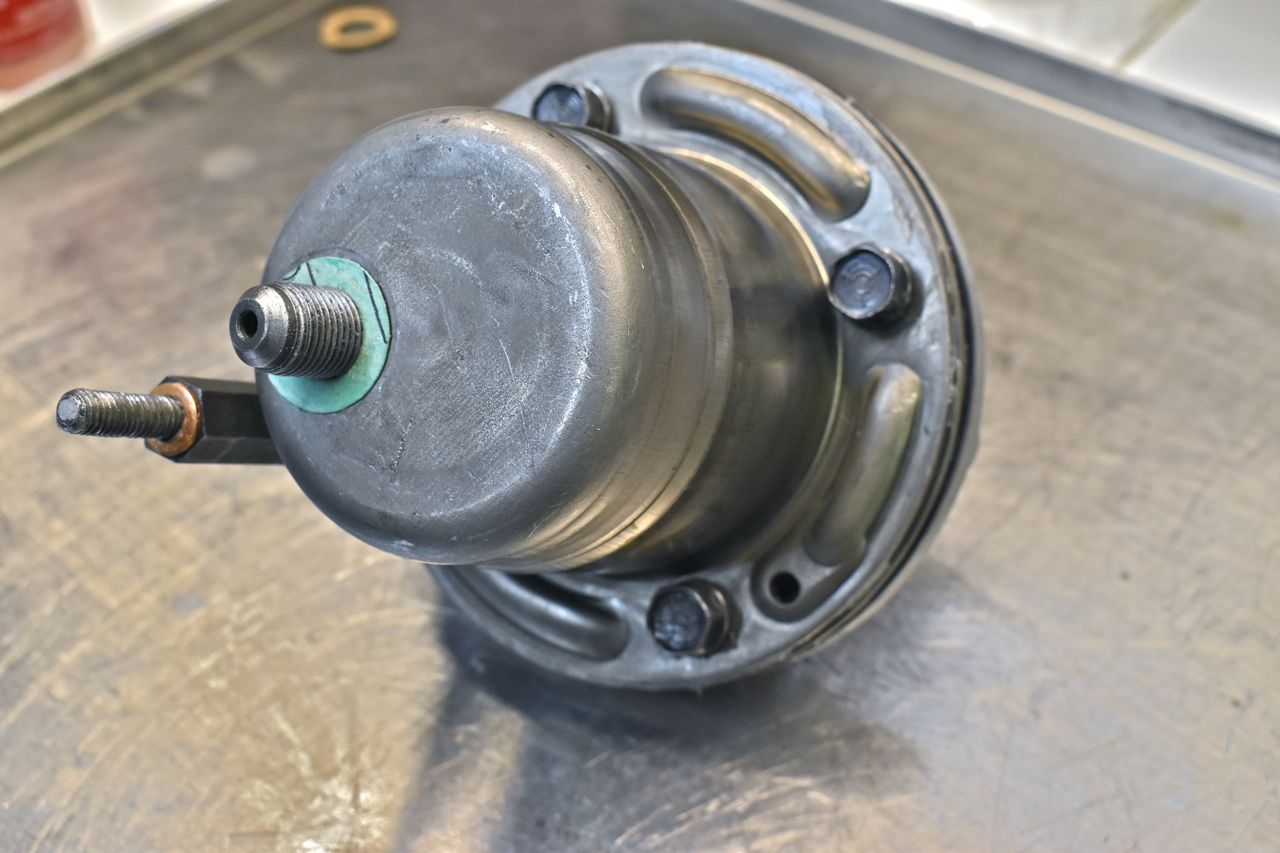
The end piece is the flow regulator. Remember power steering systems work on a regulated flow rate (independent on engine speed). The higher the flow rate the more assist you have.

The high pressure O-Ring, have to be mindful when installing the outer shell not to injure it.

The other high pressure seal for the pressure fitting.

The springs are the high pressure relief (hitting the steering stop) by allowing the plate to lift off and bleed off pressure.

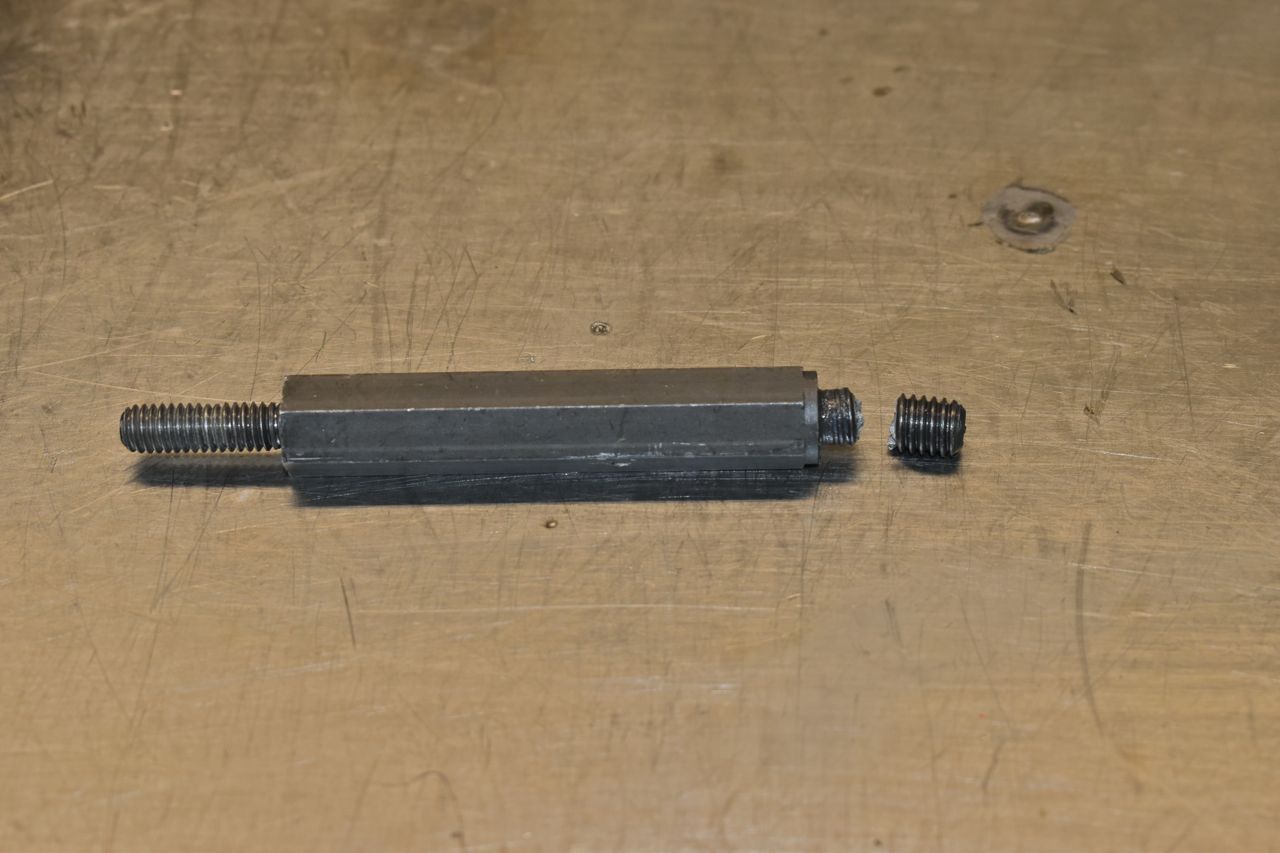
Round 2 of aggravation. It just twisted right off like licorice. Give me strength. So '65/'66 only have this and this is my only one. OK, you want to play this way pump, you're never going to break again.

I chucked that hex piece on the lathe, centre drilled and tapped on the lathe. Then grabbed a grade 8 bolt chased the thread down and cut the rest off.

Let's see you break now you little...............

Sometimes you just have to remind it whose boss ~
Now I am not a fan of this gasket. I had a bad feeling about the grocery store paper bag gasket when I did the LTD's pump and sure enough, it leaks.
So fool me once......

Not twice..... This is good hydraulic gasket material and it will expand to 5%.


So the original cap had the dipstick broken off. I'm guessing that long stick wiggles quite a bit with engine vibration and that sharp 90˚ bend work hardens and the stick falls off into the pump. Reproductions are inexpensive. I would also assume why the design was changed for '67 for a narrow filler neck with a stouter dipstick.

OK so here's the year difference. If you notice the '65/'66 has the additional stud on the back that keeps the back of the pump stable in the bracket. The later year one has a bracket that attaches to the high pressure port.
Will the '67 and later work in the '65/'66 but for anyone to do that is a pretty poor show.

Pump tidbits to go on. Then I put about 1/3 of a quart of ATF in the pump and shook it up to coat everything and it's not enough to come out the low pressure port.

I wanted to show these seals as a reminder it's really fool hardy to think you can find a car sitting for long periods or just plain abandoned and think you can just drive it because you were able to get it started. I know there are a plethora of online videos that point to this notion, but really this once flexible seals are like pretzels, they just break when taunted with movement.
Just think this is just the power steering pump, everything else in the entire car is like this..............

New and correct belt for the application.

I powder coated the pulley and installed it. One thing I want to mention, if you really want to install that pulley correctly in relation to the coolant pump pulley/crank pulley use a straight edge on the PS pulley and stop installing when aligned with the other pulleys. In this case there is about 1mm of space still left to install the pulley but installing flush with the shaft would have pulled the pulley in a tinge too far.
The devil is in the details.


In order to convert the high side to an AN fitting I cut off the end of the high pressure hose.

This is the idea. Again TIG welded and painted.

Now if you wanted to use an original high pressure hose just take it off. I also use adapters that just screw into the steering gear.
That's it for the power steering pump. The new radiator arrived. However..........

Note : I did receive the Ford Thompson rebuild kits from RPS and the kits do have the bushings and the slipper/vane springs. Anyone interested in a more complete kit should give these a whirl rather than the seals only kits.
