1966 Ford Galaxie 500 XL Refurbishment : 015 Rear Axle Mod for Ford Explorer Disc Brakes, part 1
2023, November 14
1 - 2 - 3 - 4 - 5 - 6 - 7 - 8 - 9 - 10 - 11 - 12 - 13 - 14 - 15 - 16 - 17 - 18 - 19 - 20 - 21 - 22 - 23 - 24 - 25 - 26 - 27 - 28 - 29 - 30 - 31 - 32 - 33 - 34 - 35 - 36 - 37 - 38 - 39 - 40 - 41 - 42 - 43 - 44 - 45 - 46 - 47 - 48 - 49 - 50 - 51 - 52 - 53 - 54 - 55 - 56 - 57 - 58 - 59 - 60 - 61 - 62 - 63 - 64 - 65 - 66 - 67 - 68 - 69 - 70 - 71 - 72 - 73 - 74 - 75 - 76 - 77 - 78 - 79 - 80 - 81 - 82 - 83 - 84 - 85 - 86 - 87 - 88 - 89 - 90 - 91 - 92 - 93 - 94 - 95 - 96 - 97 - 98Rear Axle and Rear Disc Brakes
I had a spot of bother with the rear disc brakes adaption. The rear disc brakes I want to install are the Ford Explorer type brakes because of the large bearing diameter. It's the same size bearing hole as the big bearing 9". However the Explorer disc brakes only work on large bearing diameter Ford 9" axles with the "New Style" bolt pattern aka "Torino Style" bolt pattern.
Here's a chart I nicked off the internet. I naturally looked at this then at the axle.
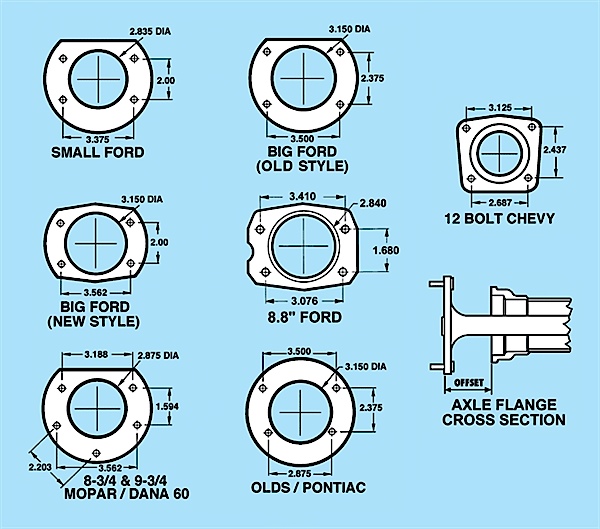
Well I jumped the gun and immediately thought I had the "New Style" end because of the flange shape.
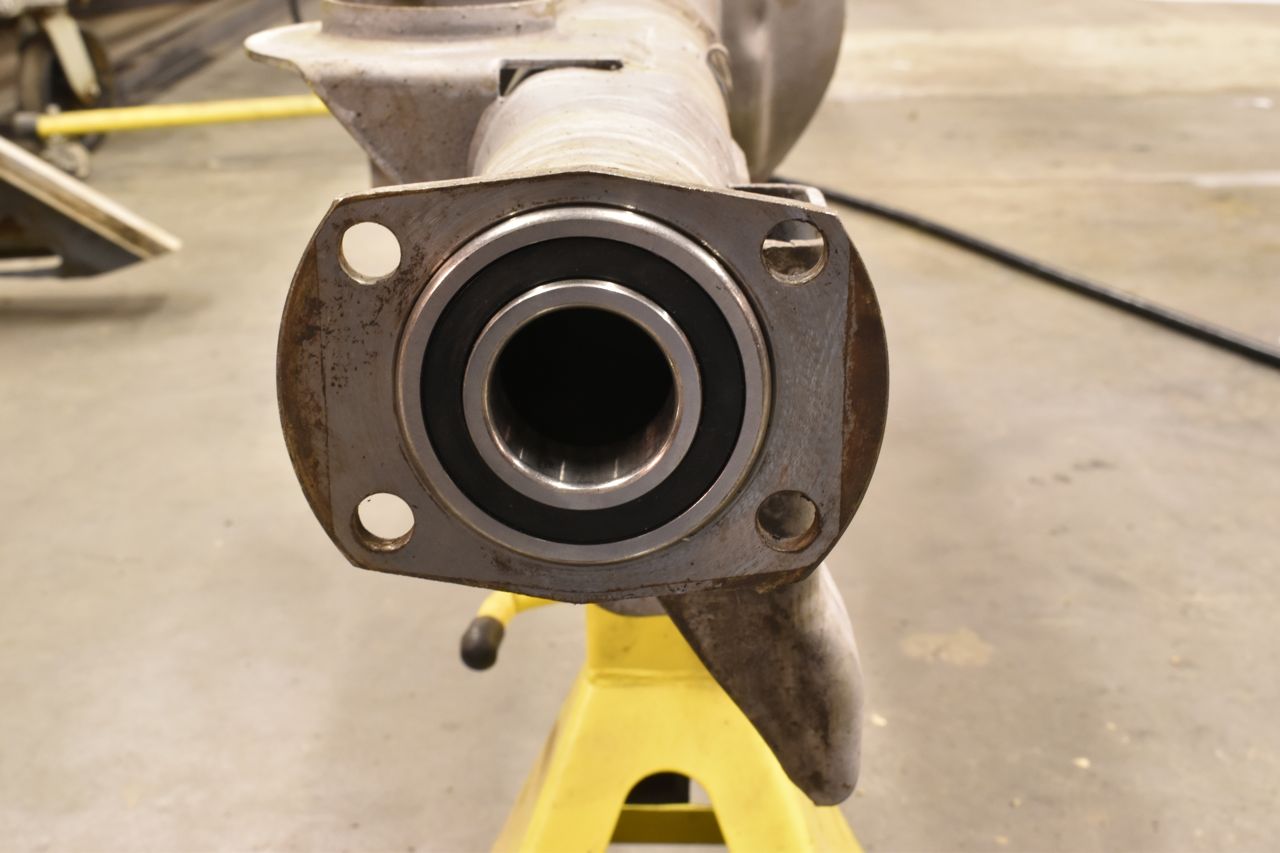
Ummmmmmm no.
It has the flange of the "New Style" but the bolt hole pattern of "Old Style". I found out the hard way.....
Well crap.... (actually other things were said, but you get the idea)
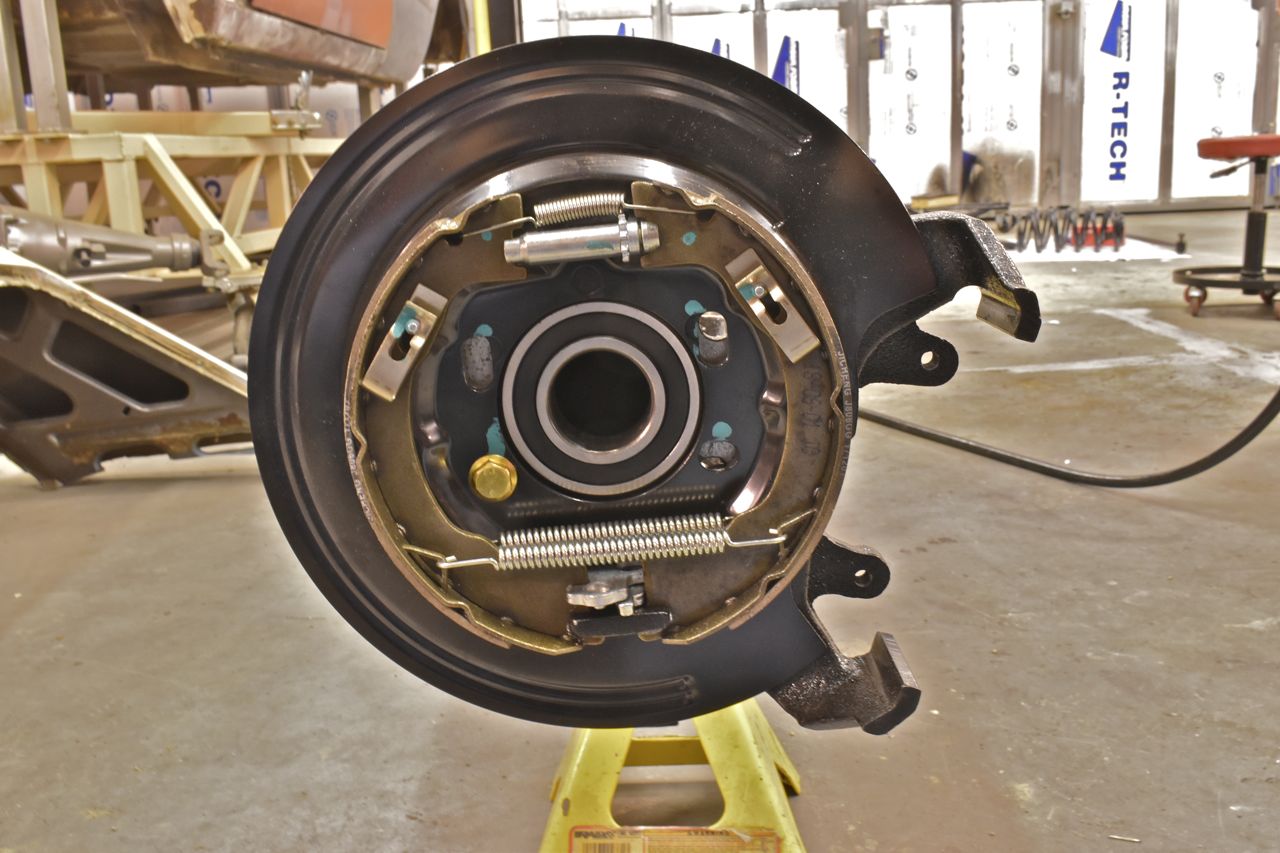
This must be some intermediate axle year thing. Figures.....
With that, I had the idea of heating the cast iron backing plate, plug welding the holes closed, then let them cool slowly in the oven. Then mount each backing plate on the mill and using the DRO (digital read out) find centre and then map out the correct "Old Style" holes and drill them into the backing plate so they match the axle perfectly.
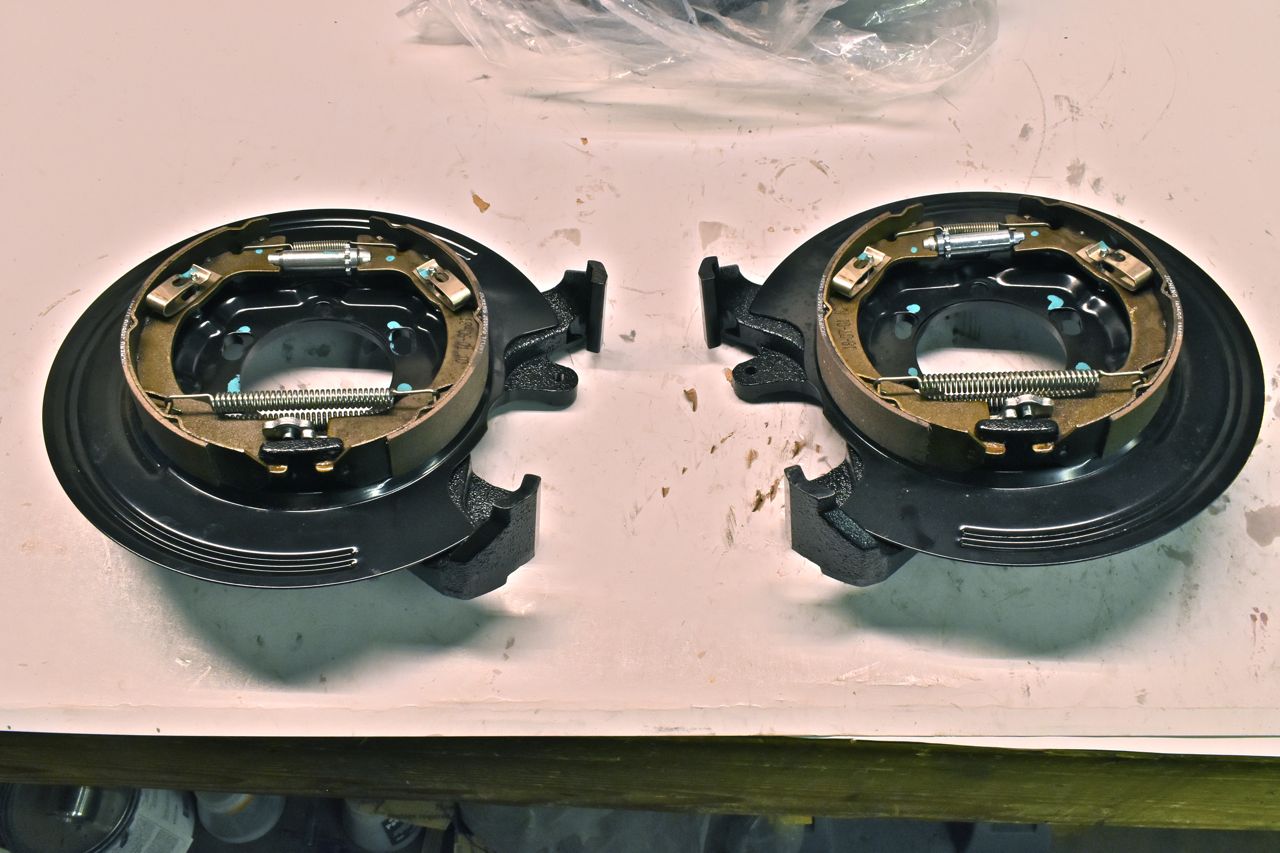
But first a note on these Explorer type backing plates.
These are aftermarket units and not Ford units as Ford discontinued them. I bought these from East Coast Gear for 9o dollars per side. There is a R and L. You can buy the rotors and calipers from Rock Auto. I like these because of the parking brake drum inside the rotor hat. Yes you can buy a generic disc brake kit for the "Old Style" bolt hole pattern but you are stuck using GM calipers with the parking brake lever built into the caliper itself. I am not a fan of those.
OK back to the weld, fill, bake and drill attempt.
In a nutshell it didn't work out so well.
It turns out I spent too much time on the welding of the holes and couldn't get the backing plates back in the oven fast enough. So the first two holes I filled cooled too quickly and hardened. The last two holes were ok. My oven just didn't go high enough to sustain a long period outside before a controlled cool down. So only two holes drilled normal and the other two spots immediately dulled any drill bit.
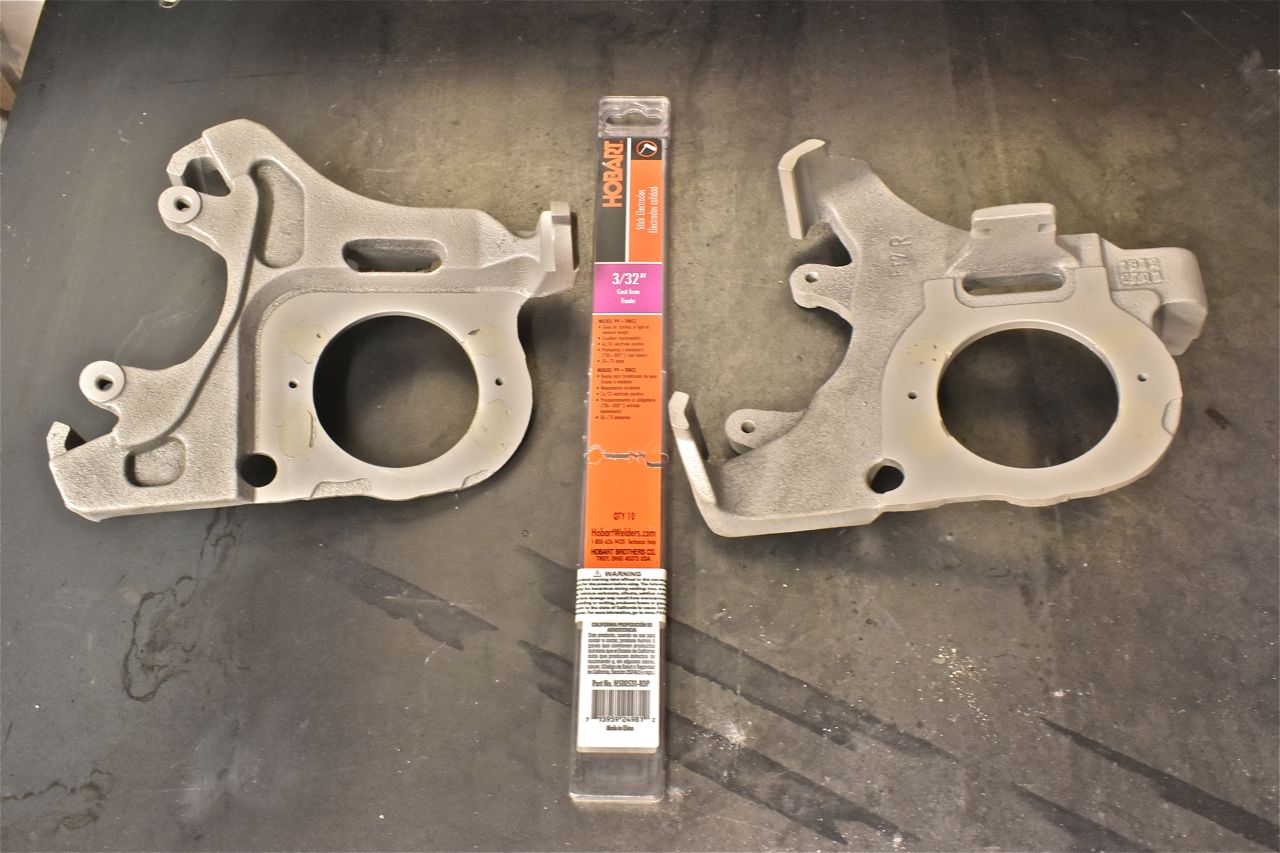
Rats....
OK, plan B.
That is to fill the holes in the axle flange and re-drill those. But I would need to order another round of Explorer type backing plates and make an accurate jig that would precisely locate the drill holes.
Plug welding the steel flange was easy. Just loaded up Er80 in the gas MIG and filled the old drill holes in the flange.
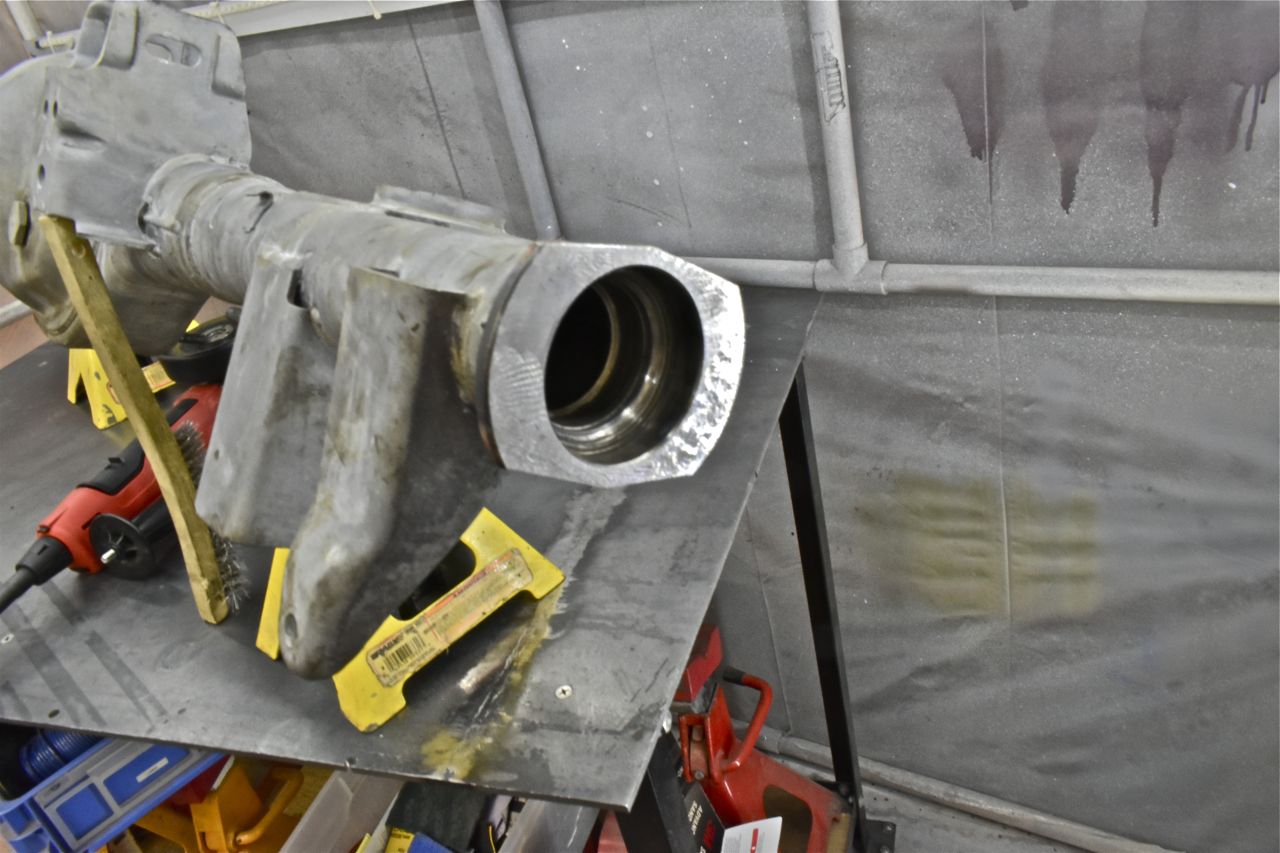
Now for the jig. I had to have a think about this one. This is what I came up with.
This is the bearing insert side. The round disc simulates the bearing OD.
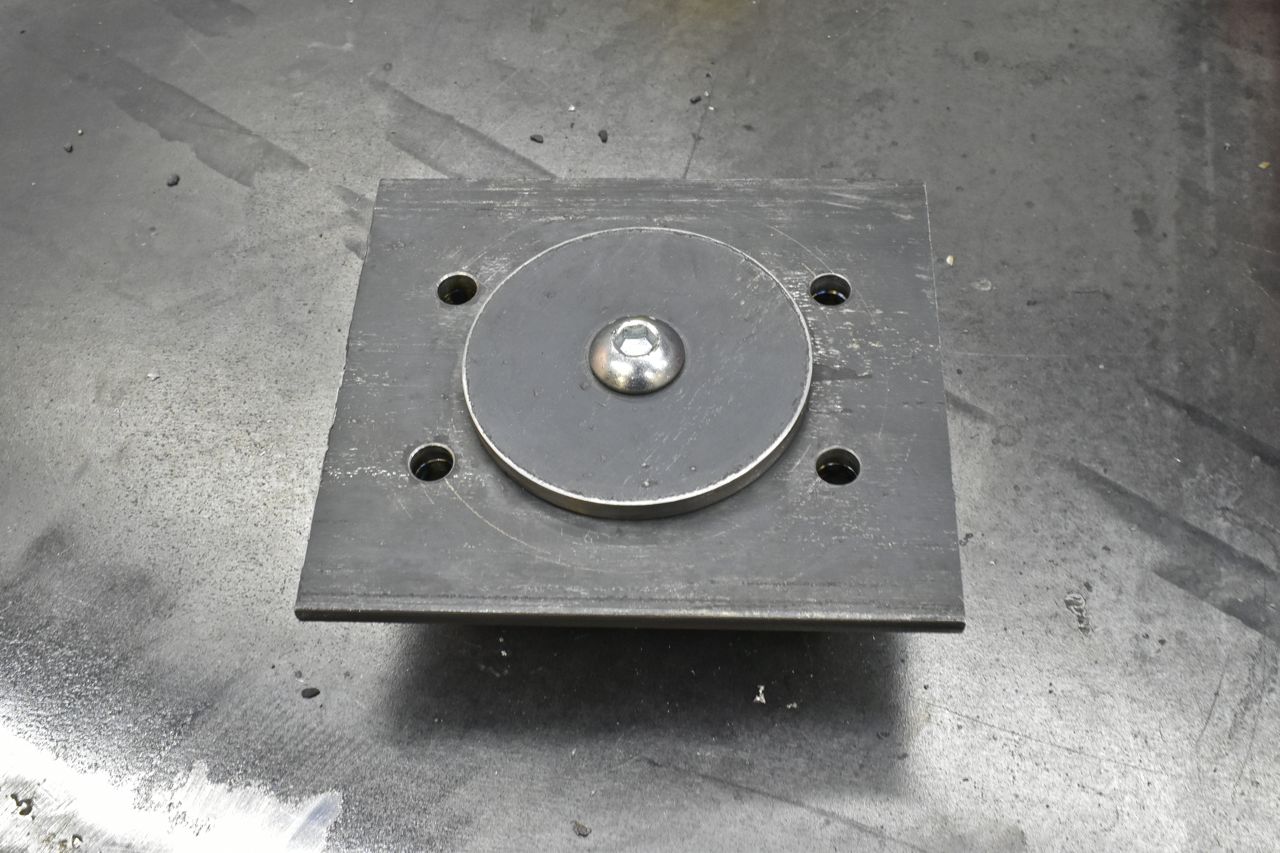
On the other side are the drill guides for the holes. I was able to get the hole placement and bearing diameter plate within 1 thousandth. (used the mill with the DRO)
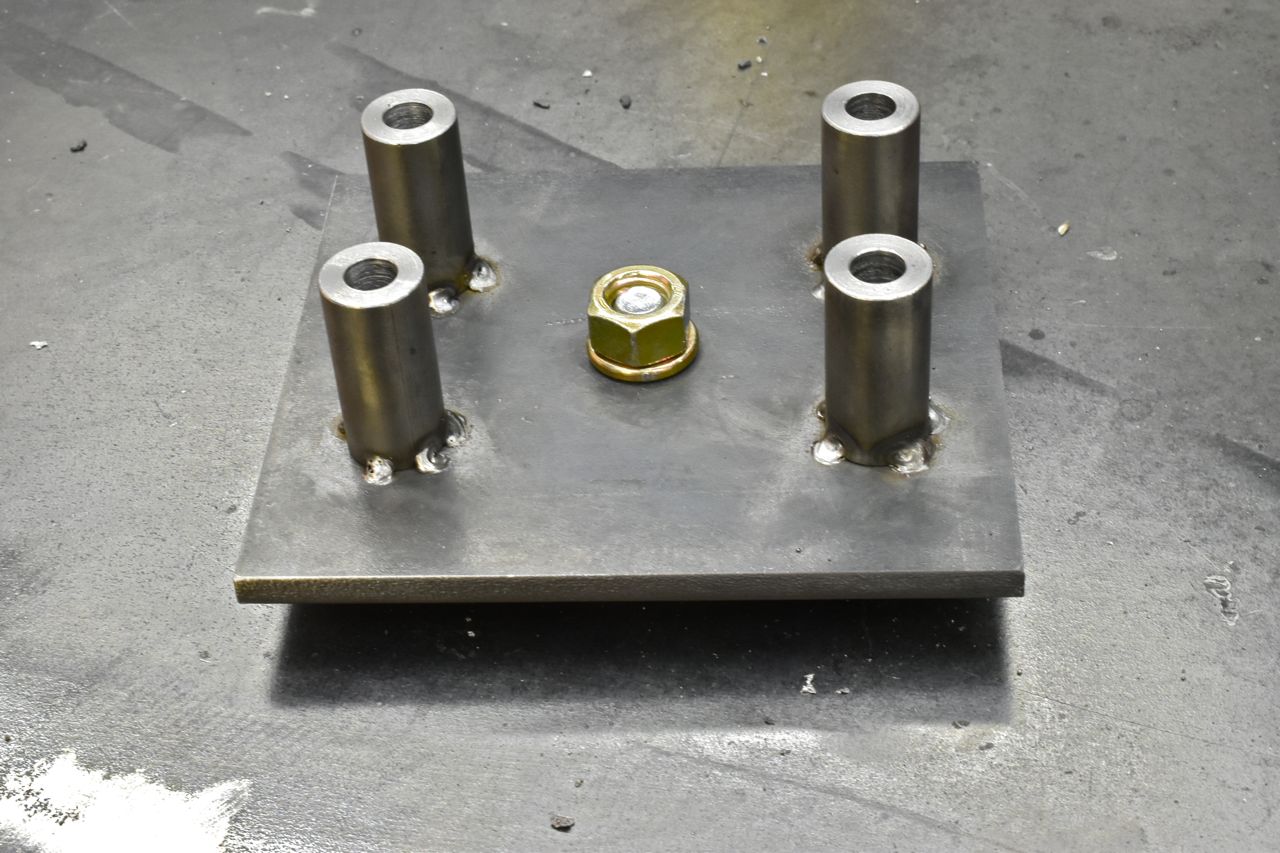
So the idea here is to place the round disc side in the axle that locates centre precisely and then clock the jig to where it's needed, clamp it to the flange and then drill away.
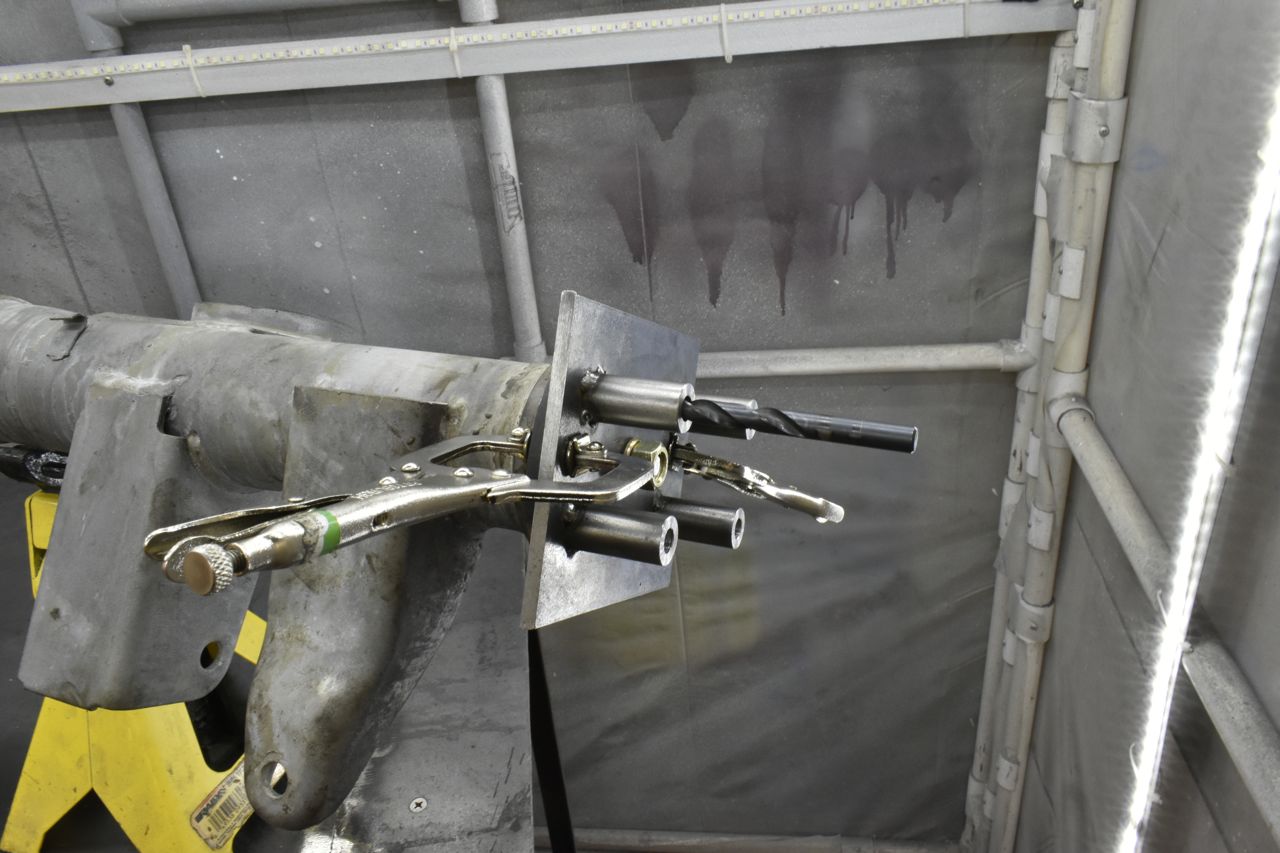
Then I did a little housekeeping on the axle housing.
Ford puts those little brake line holder tabs on the axle and I don't care for those. So those came off to make room for a little threaded block that is welded on where a stainless clamp and bolt can reside.
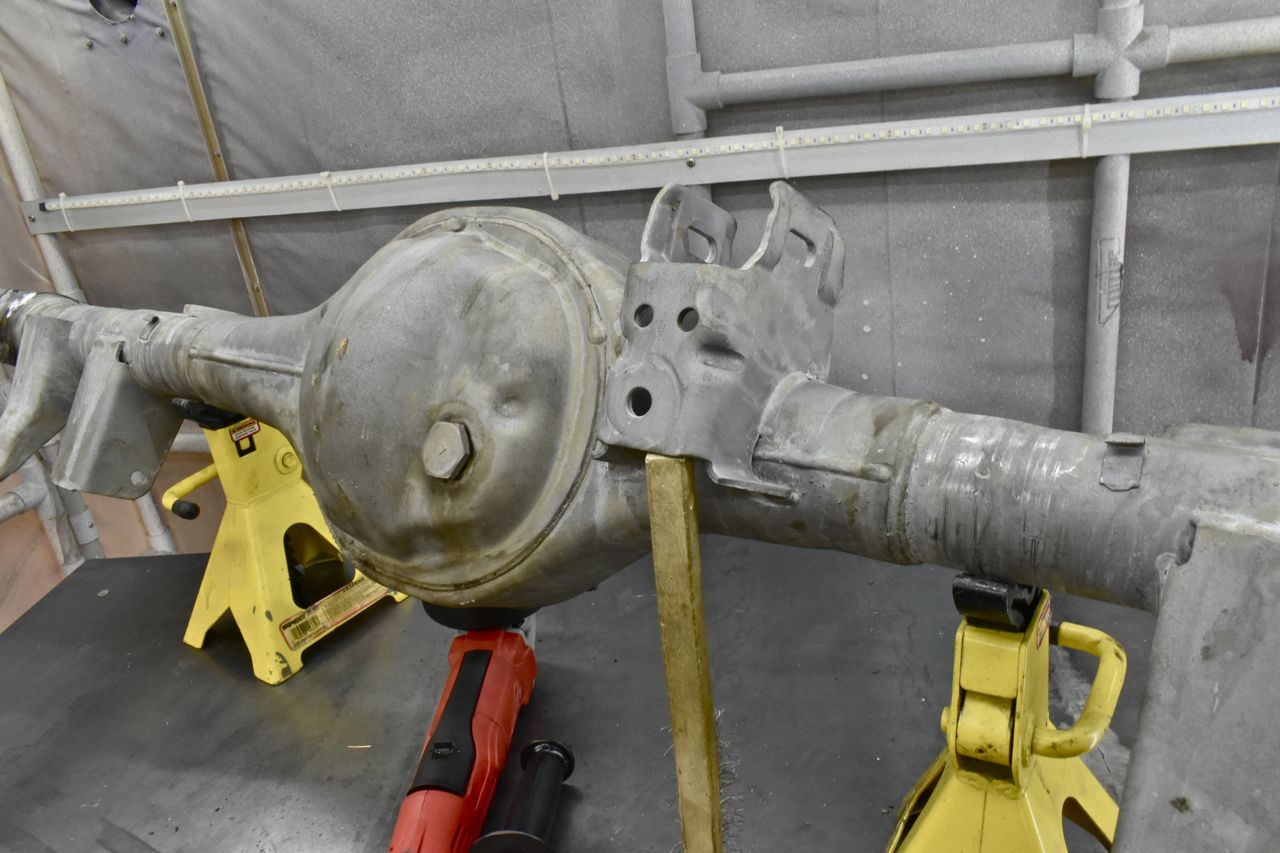
These are the little blocks I welded on.
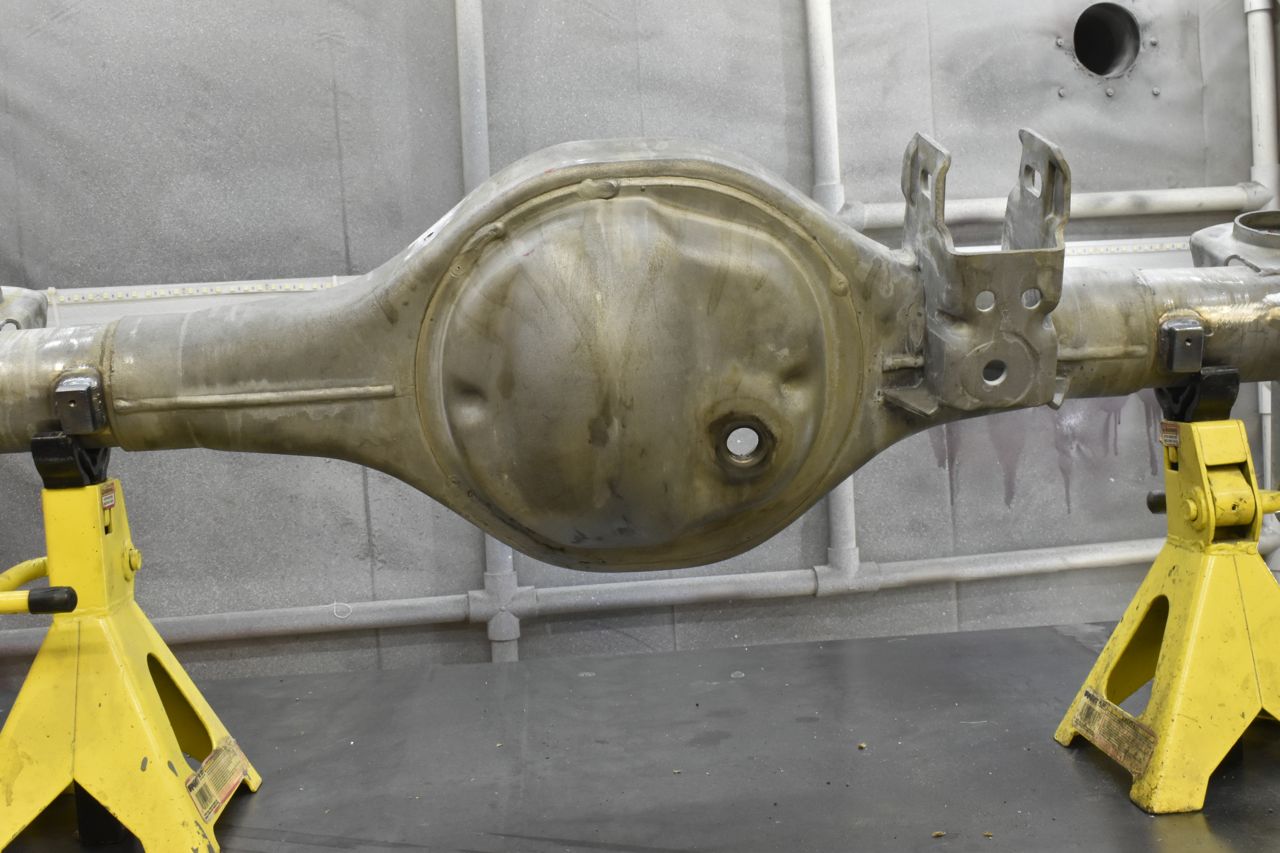
I also added a lower magnetic drain plug. Seems pretty silly to remove the propshaft, pull the axle shafts, remove the brake line and finally remove a ridiculously heavy third member to change the oil. Then put it all back together.
Yuppers drain plug... much easier.
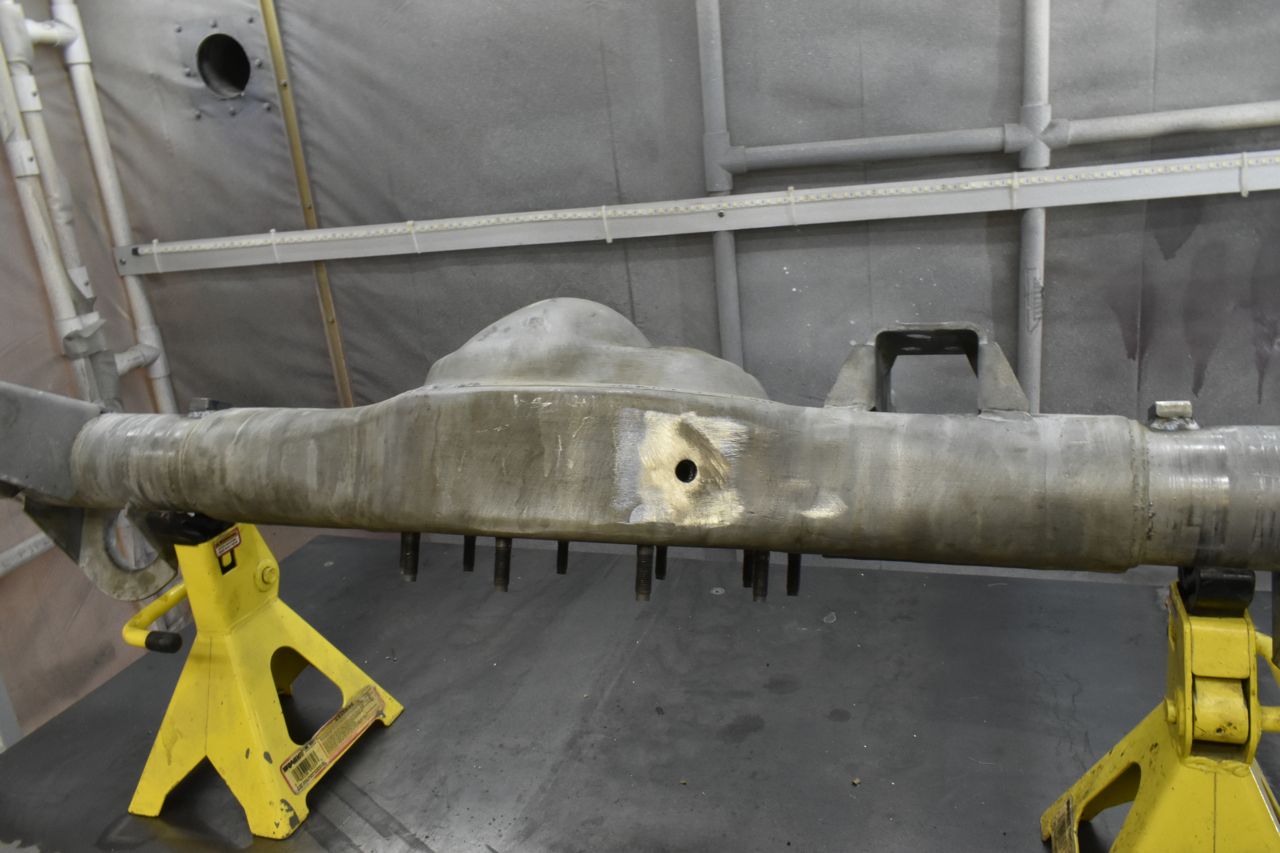
The last thing I did was tap the vent hole for 1/8" NPT. Ford uses a press in deal and it's kind of cheesy. The original vent has a small hole to prevent the ingress of water and such into the axle. You can buy an 1/8"NPT fitting with a similar small hole from Aircraft Spruce. It's for the oil gauge on reciprocating aircraft engines. The tiny hole ensures the gauge will work, but should the gauge or the line rupture it doesn't drain the engine of oil quickly into the cabin and subsequently having you soil yourself wondering where you're going to put down an airplane with a seized engine.
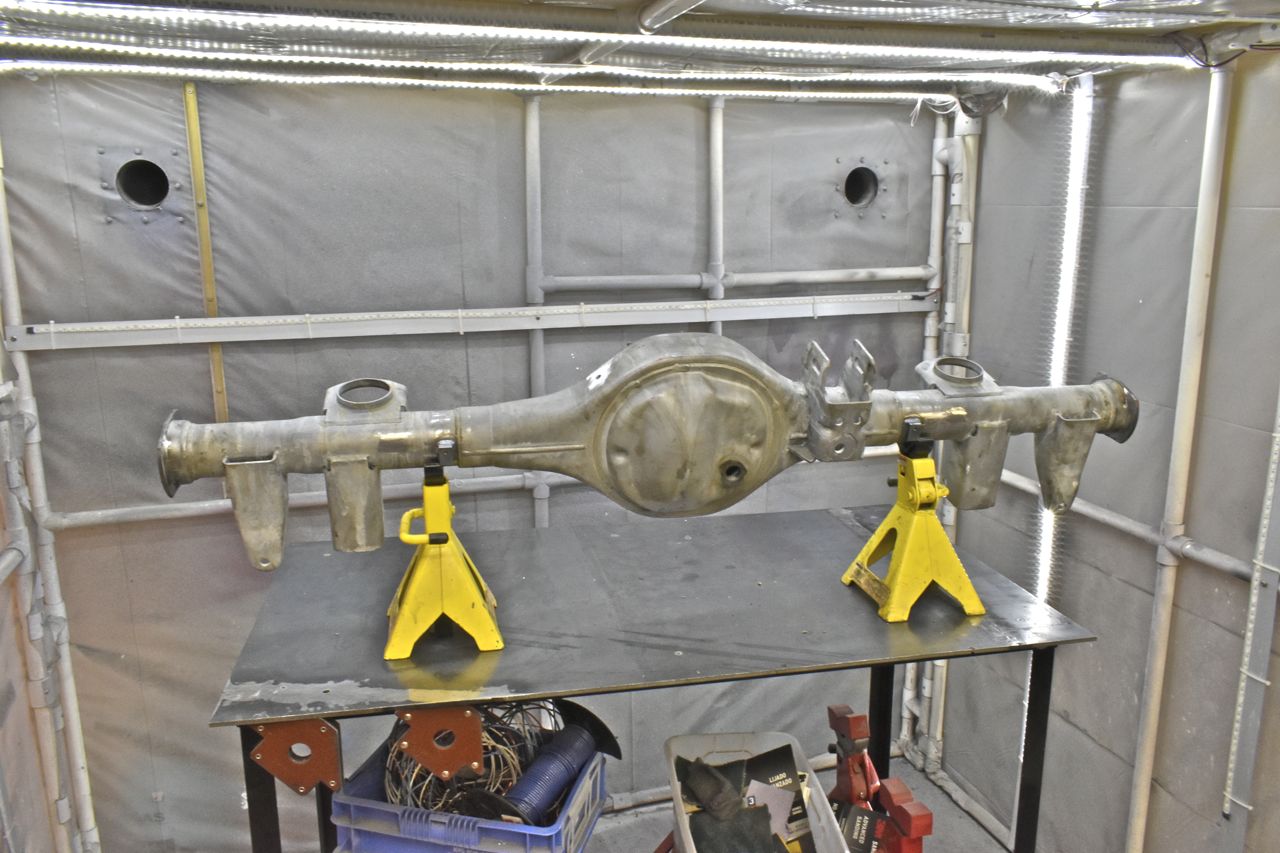
POR 15
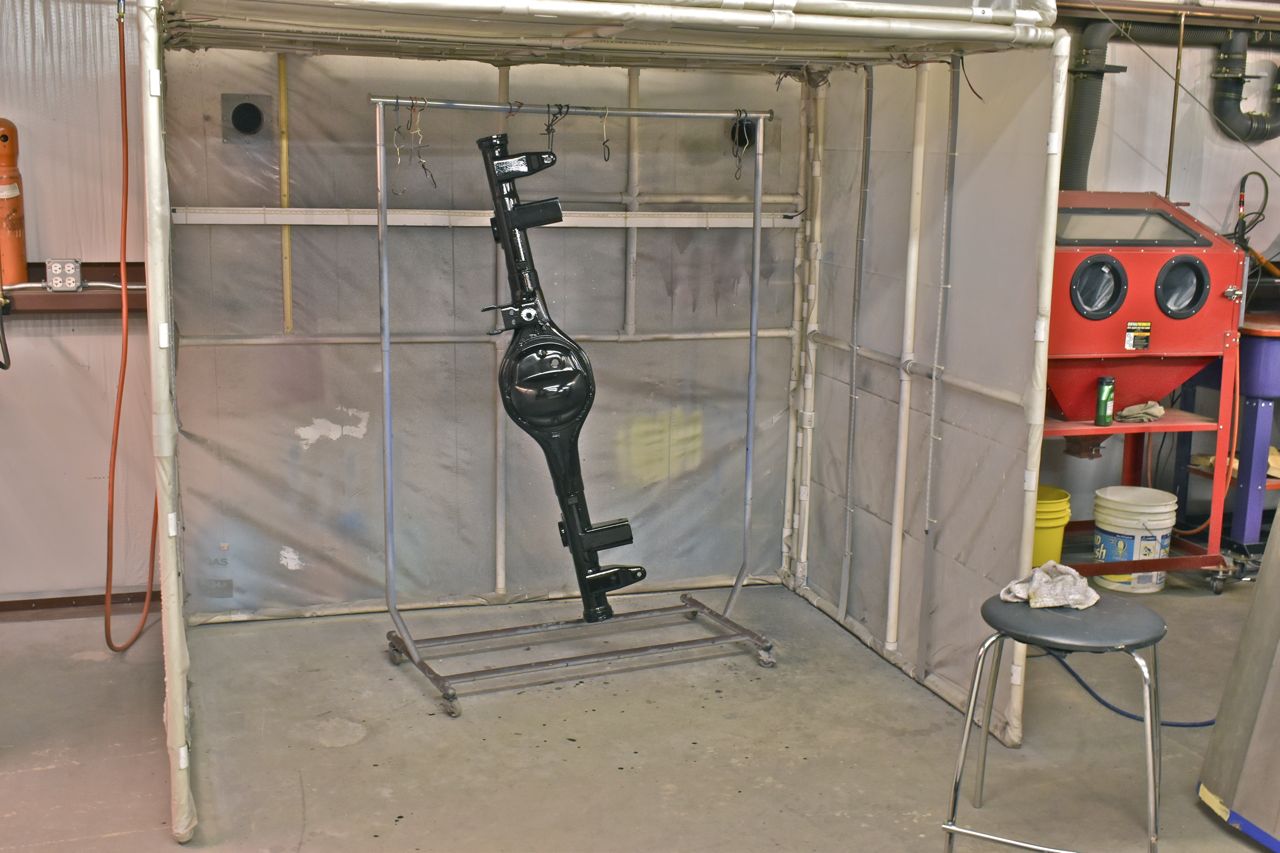
Even with nothing in the housing, it's pretty darn heavy. The rack is not happy holding it.
After hours of fighting springs, and fresh bushings it's finally installed. This was really a pain, I didn't struggle at all with the rear springs in the '66 LTD when I put it's rear axle and suspension back in. I'll have to look in the master parts book (well CD) and see if the XL springs have a higher spring rate or other such notable aspect.
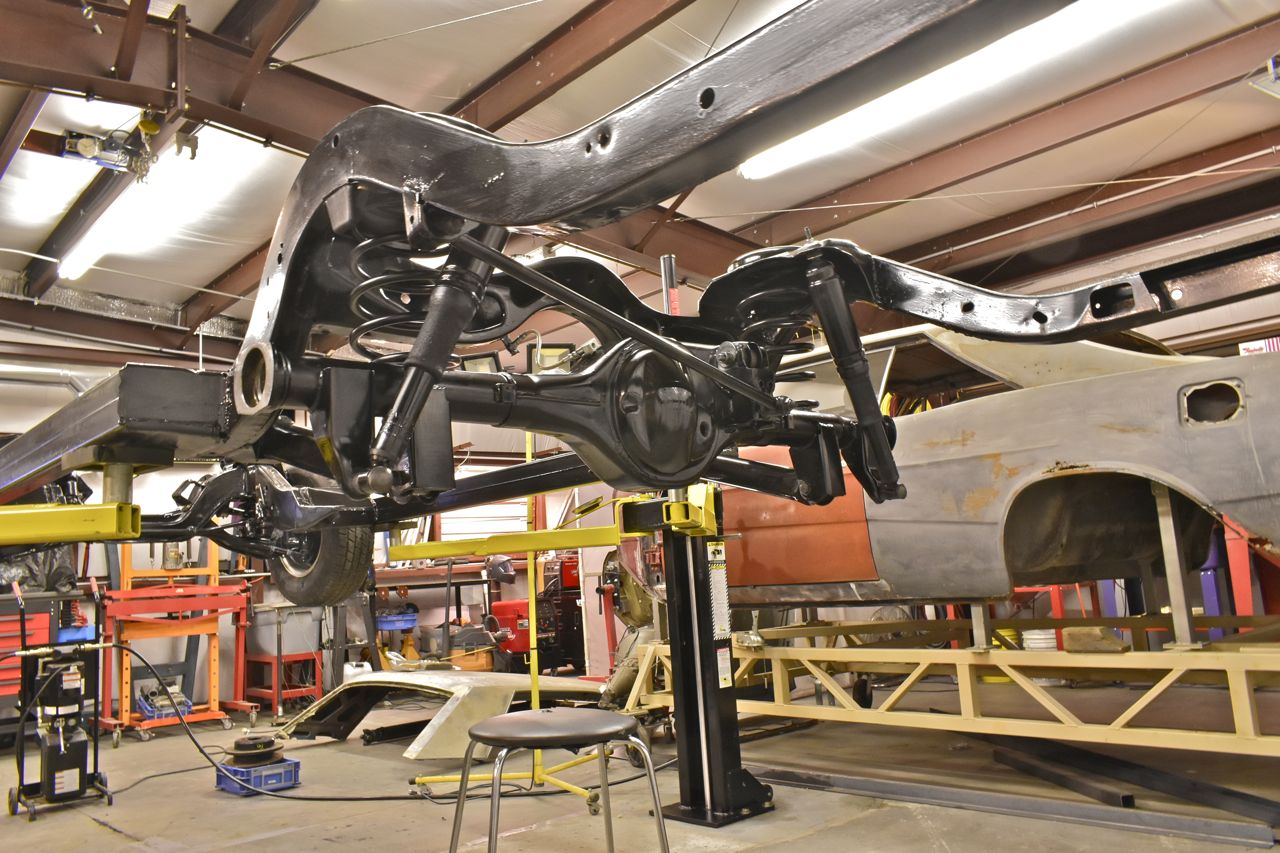
I ended up putting a stool under the rear axle housing and lowering the chassis onto the stool, then I climbed atop the frame to compress the springs enough to get the shock bolts in.
It wasn't a pretty sight, but it's done.
Next was to set up the rear axle housing for the jig to drill the backing plate holes.
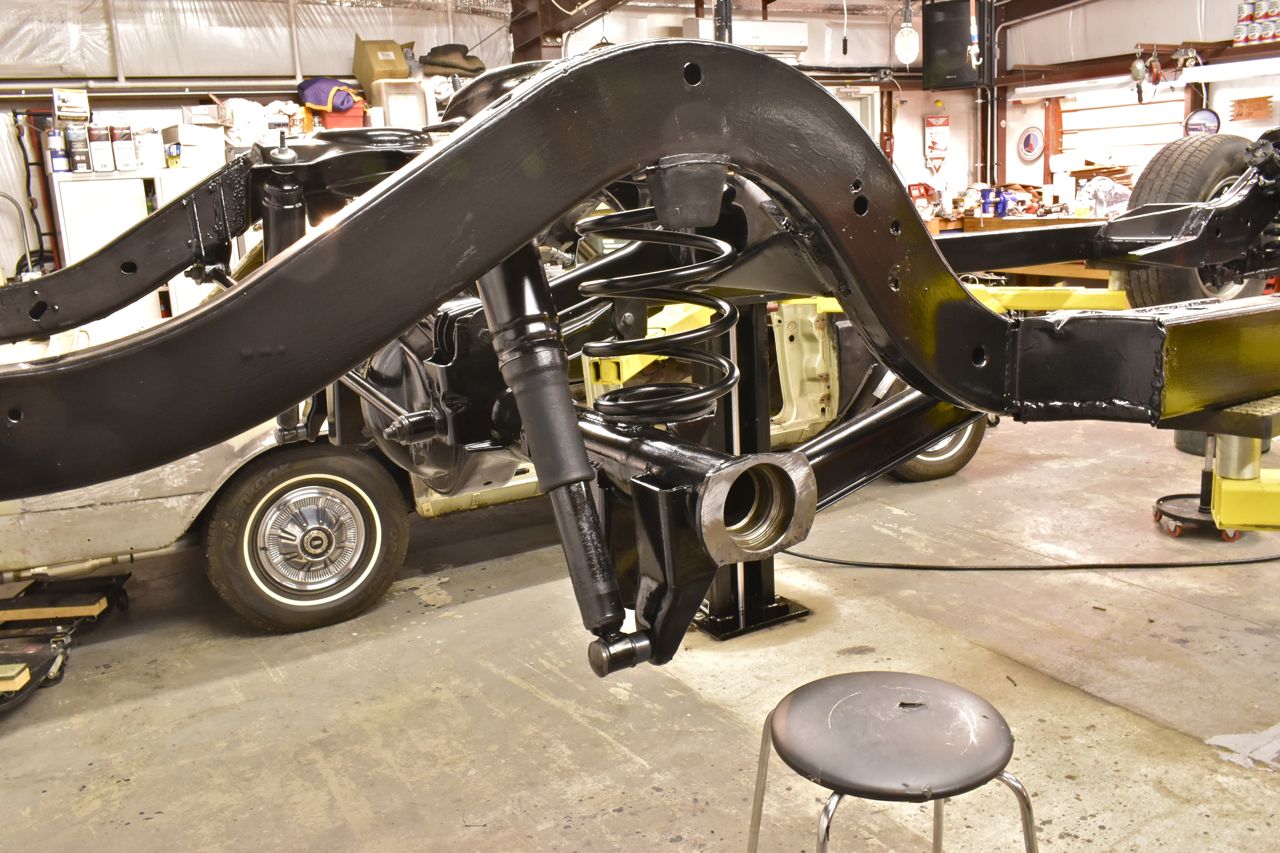
I put an inclinometer on the frame rail and zero'd it.
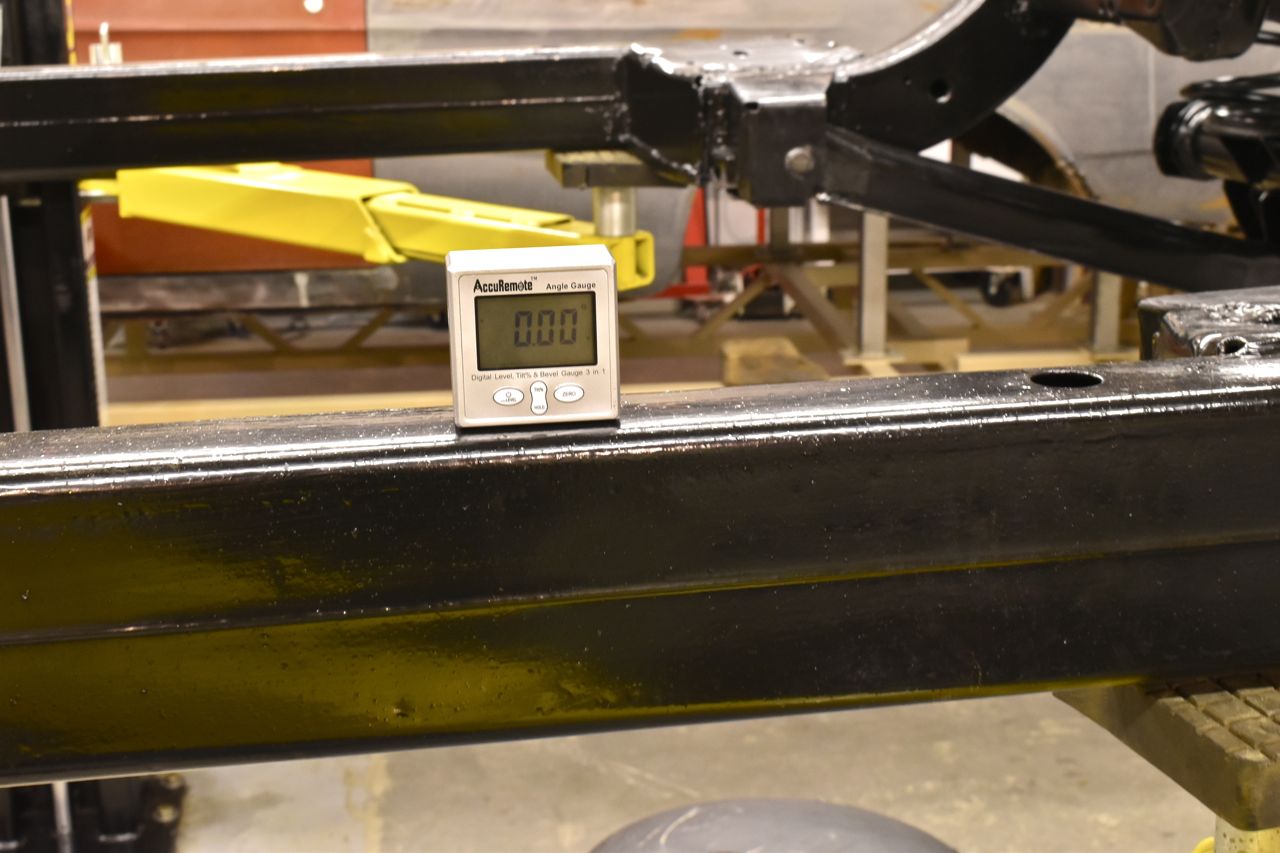
Then I adjusted the housing for a 2.5˚ angle to get in the ball park of the engine/trans centre line sitting on their mounts. I will say it is VERY nice Ford gives you an adjustable upper arm mount to change pinion angle. It's a very nice touch.
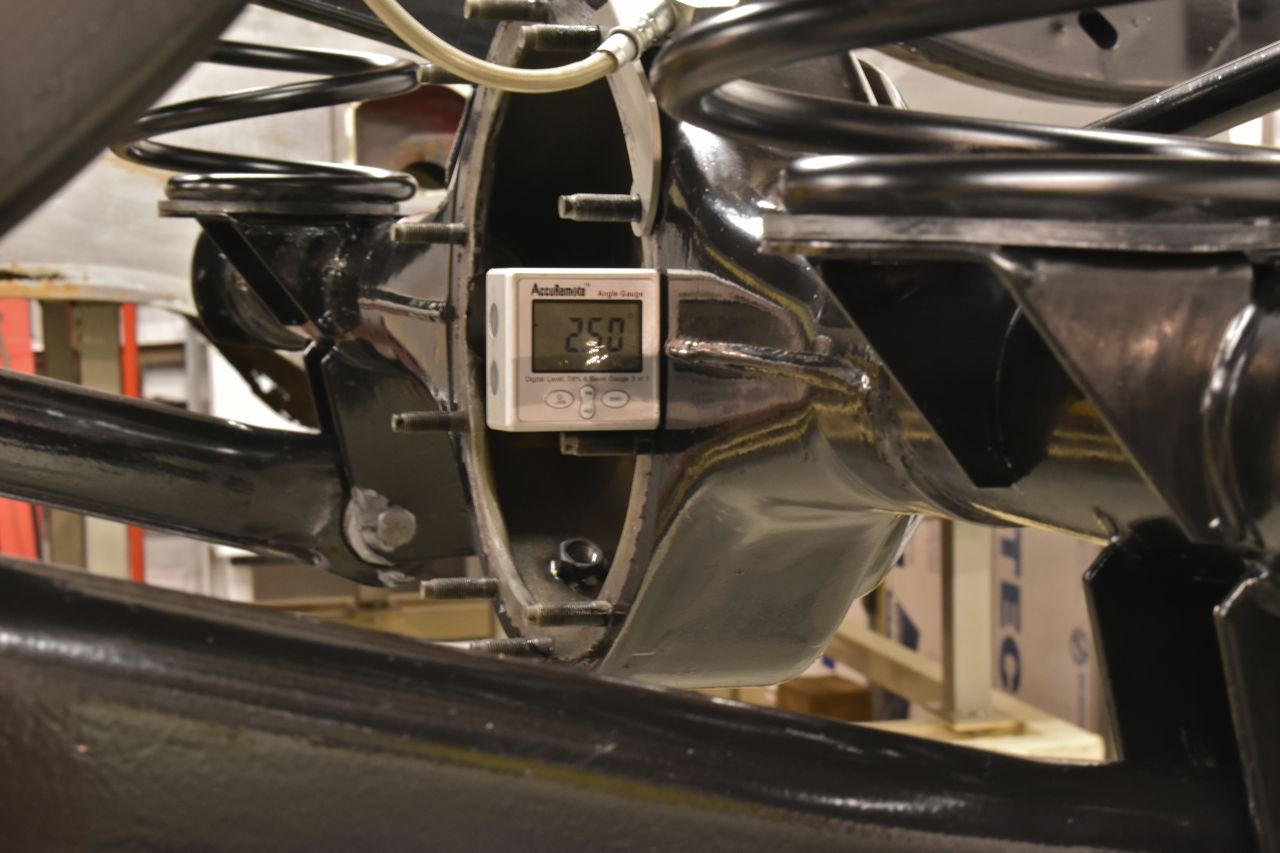
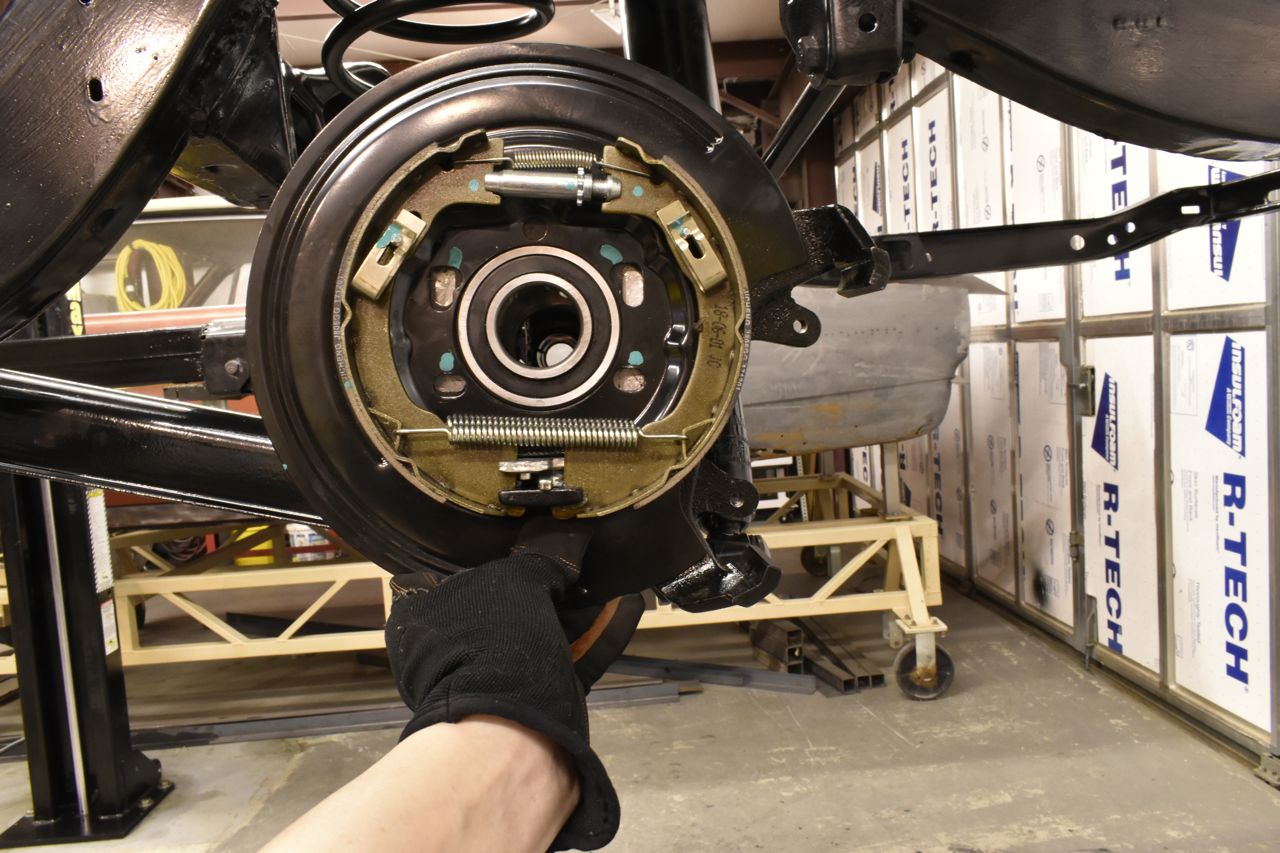
I placed the axle bearing about 2/3's of the way in to act a good guide for the backing plates to see where they might be optimally clocked in place.
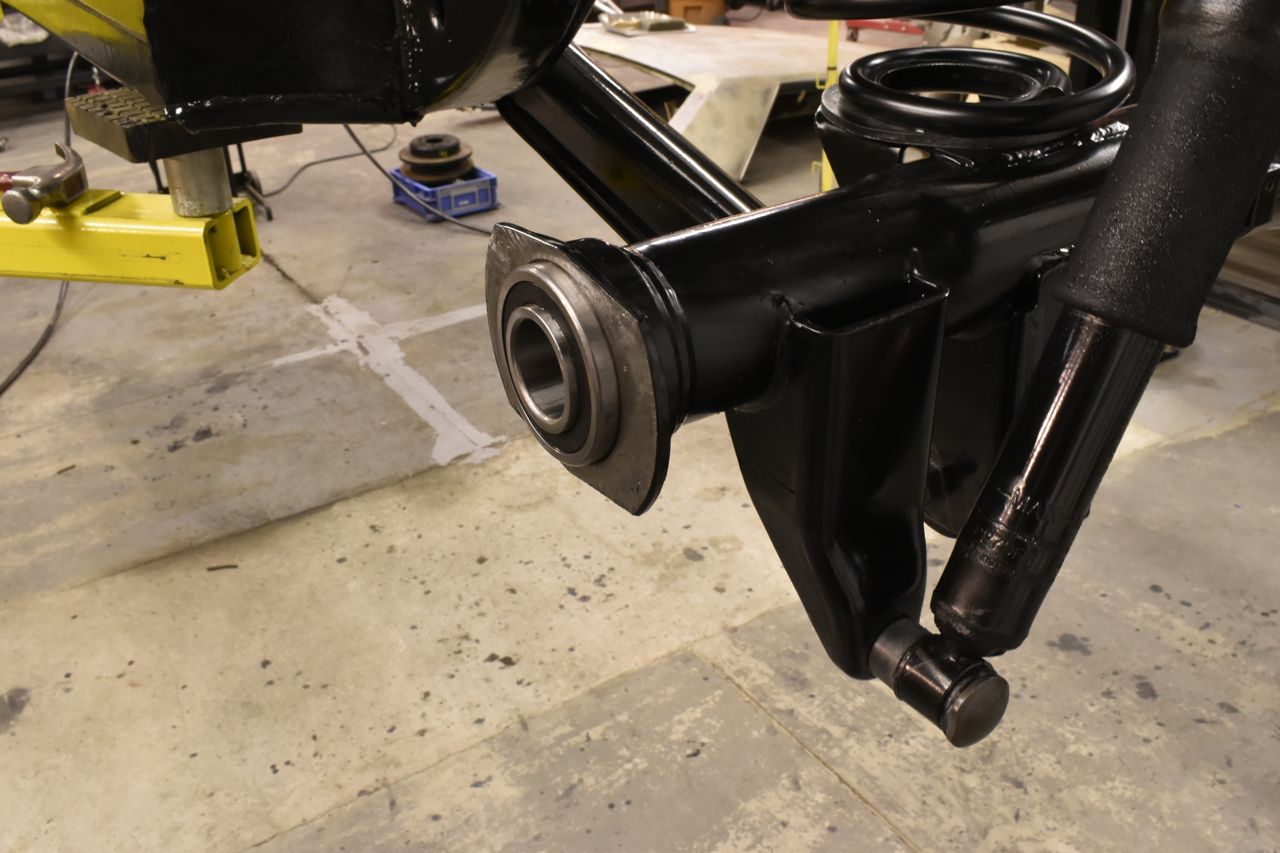
It turns out standard position will work best.
Continued in next post
Click here to continue to part 16