1966 Ford Galaxie 500 XL Refurbishment : 090 Rear Quarter, pt2 : Welding In A Patch Piece
2023, November 14
1 - 2 - 3 - 4 - 5 - 6 - 7 - 8 - 9 - 10 - 11 - 12 - 13 - 14 - 15 - 16 - 17 - 18 - 19 - 20 - 21 - 22 - 23 - 24 - 25 - 26 - 27 - 28 - 29 - 30 - 31 - 32 - 33 - 34 - 35 - 36 - 37 - 38 - 39 - 40 - 41 - 42 - 43 - 44 - 45 - 46 - 47 - 48 - 49 - 50 - 51 - 52 - 53 - 54 - 55 - 56 - 57 - 58 - 59 - 60 - 61 - 62 - 63 - 64 - 65 - 66 - 67 - 68 - 69 - 70 - 71 - 72 - 73 - 74 - 75 - 76 - 77 - 78 - 79 - 80 - 81 - 82 - 83 - 84 - 85 - 86 - 87 - 88 - 89 - 90 - 91 - 92 - 93 - 94 - 95 - 96 - 97 - 98Quarter Panel Drudgery Part 2
However I had a Ray Charles episode on the beginning run of the lower section, but then was able to find them on the first try after that.
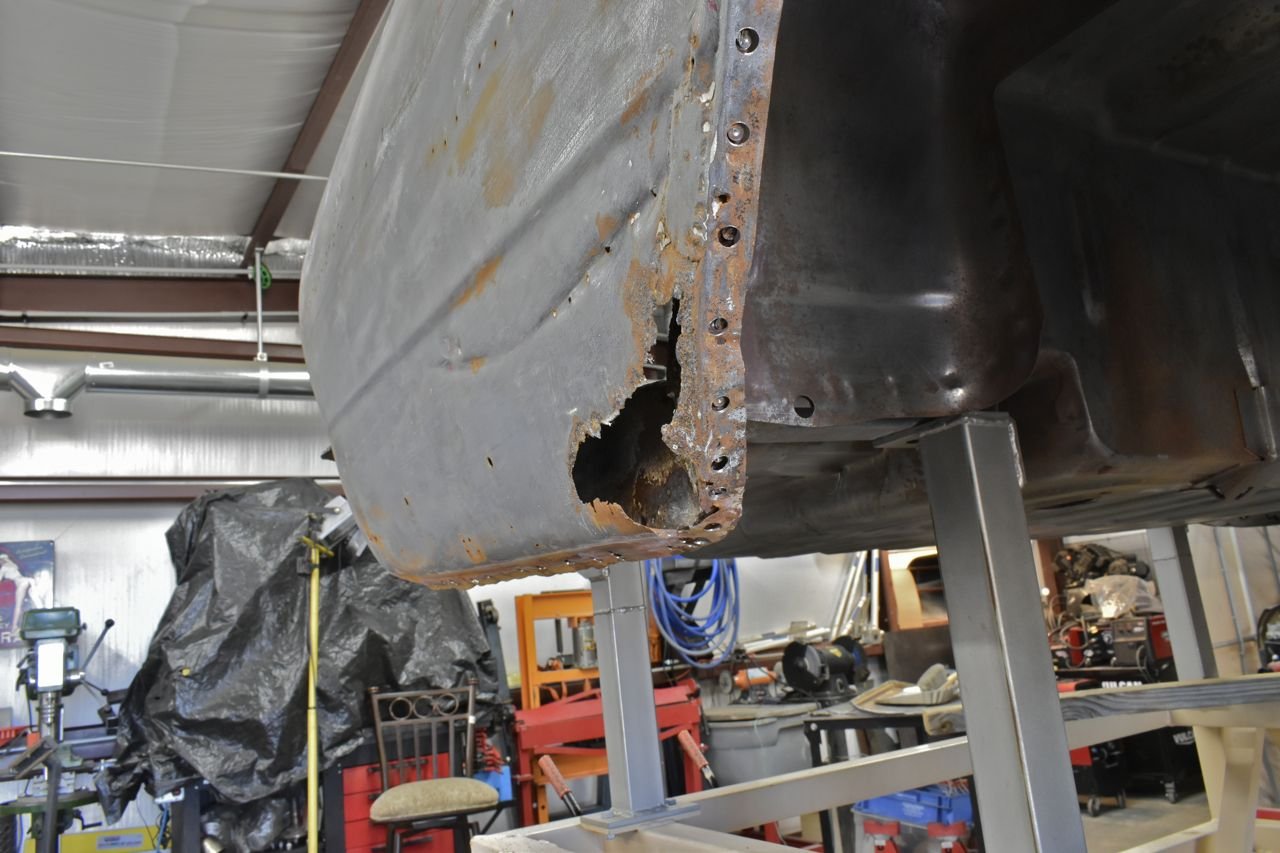
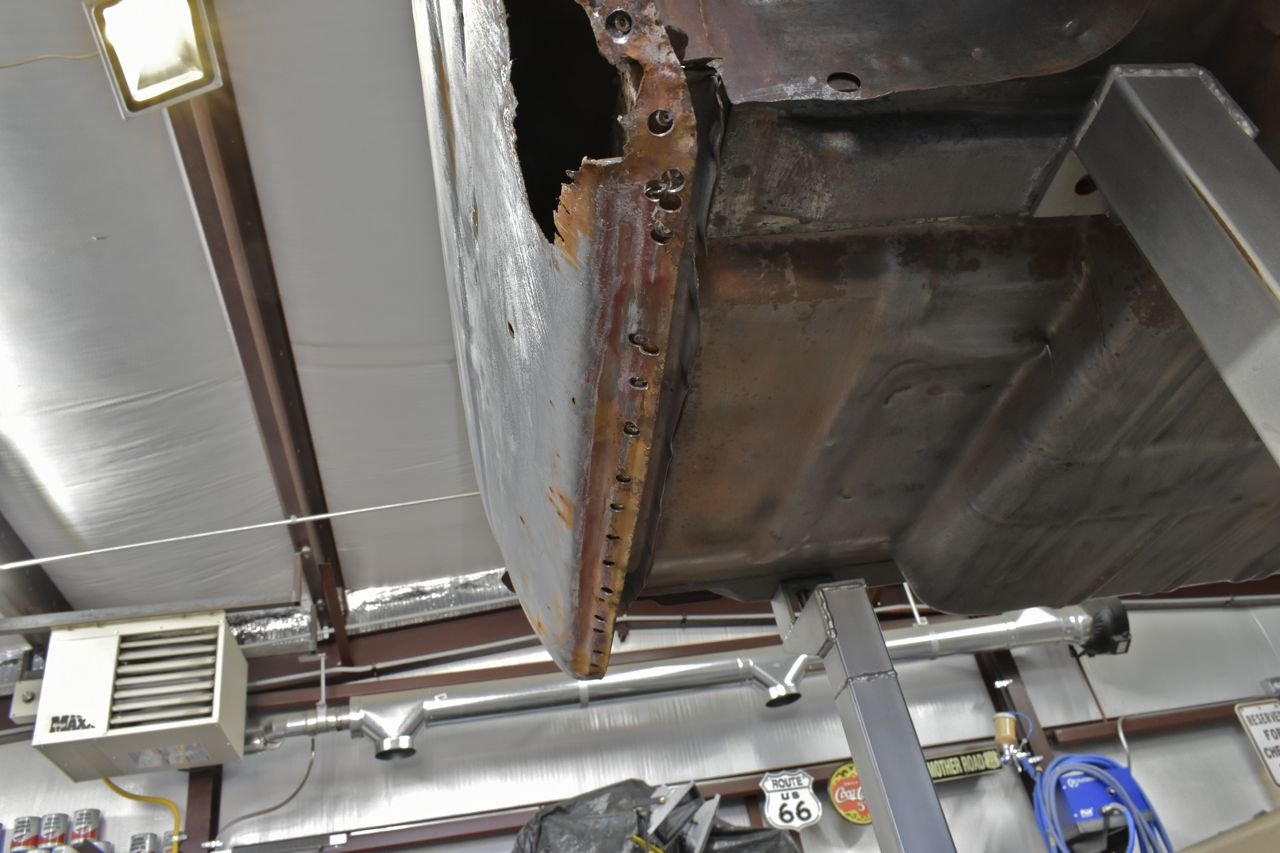
After all those were removed and the panel freed at the bottom using my maximum cut line I elected to cut the panel smaller than that avoiding potential traps in certain areas.
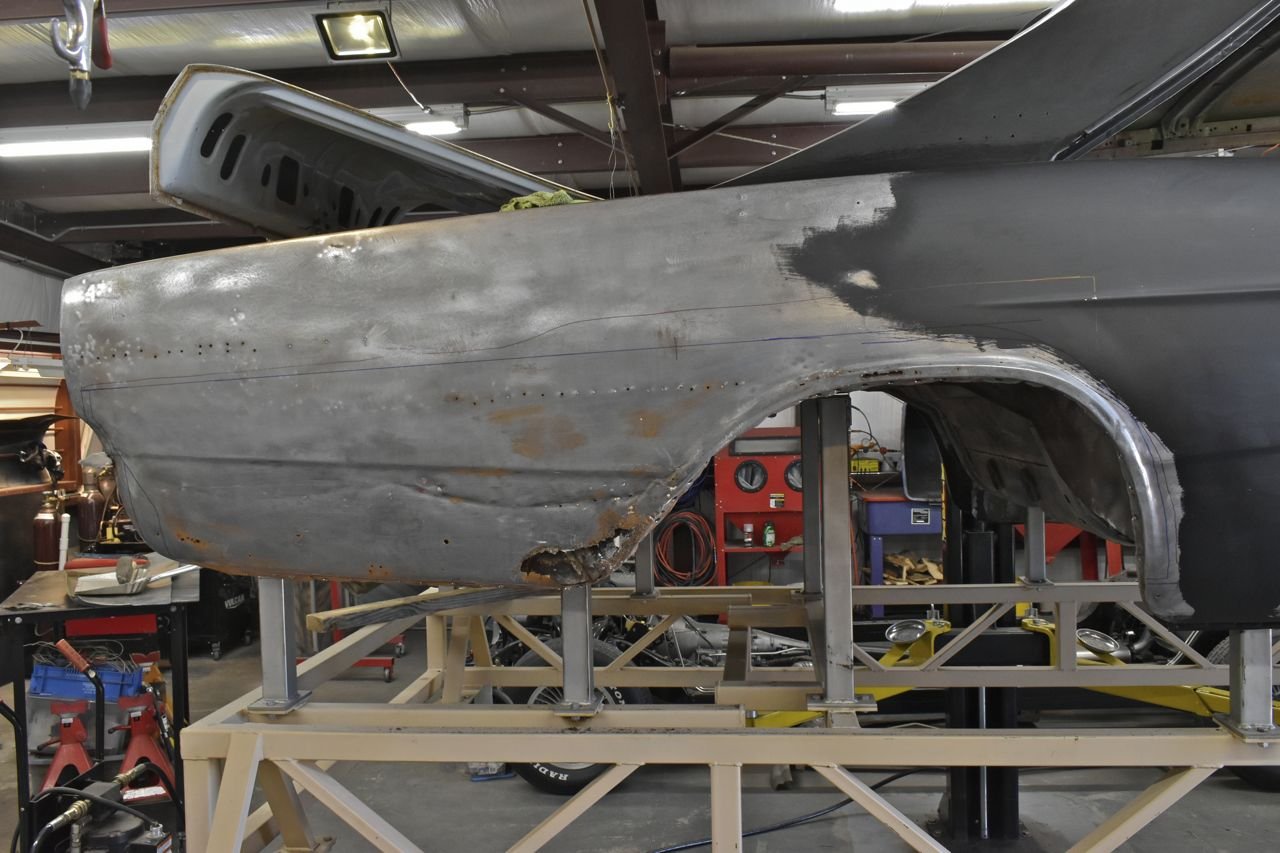
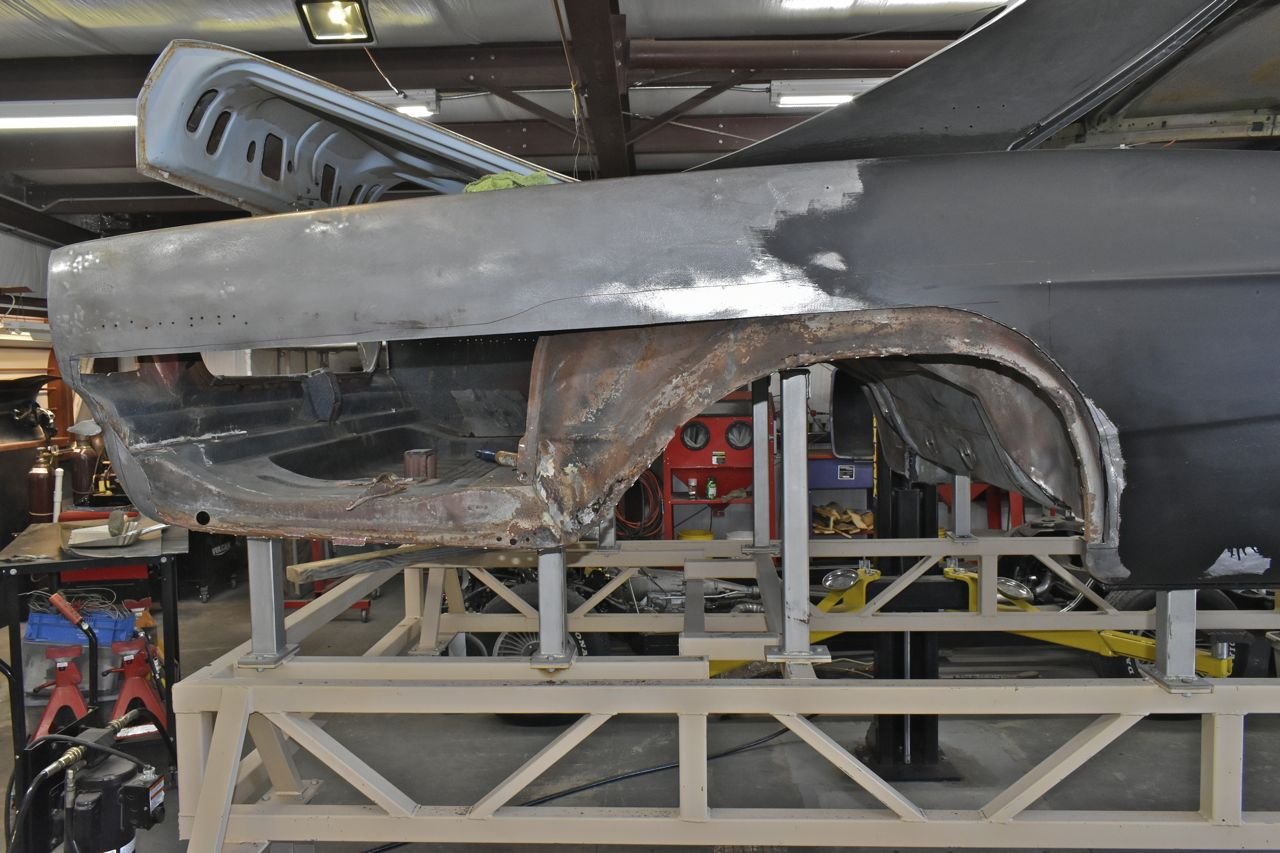
And off it comes. Well, it looks just as bad underneath as it did on the top
I dunno what even happened here. There's no residual damage in this area that would require a hearty pull. This may have been from the factory.
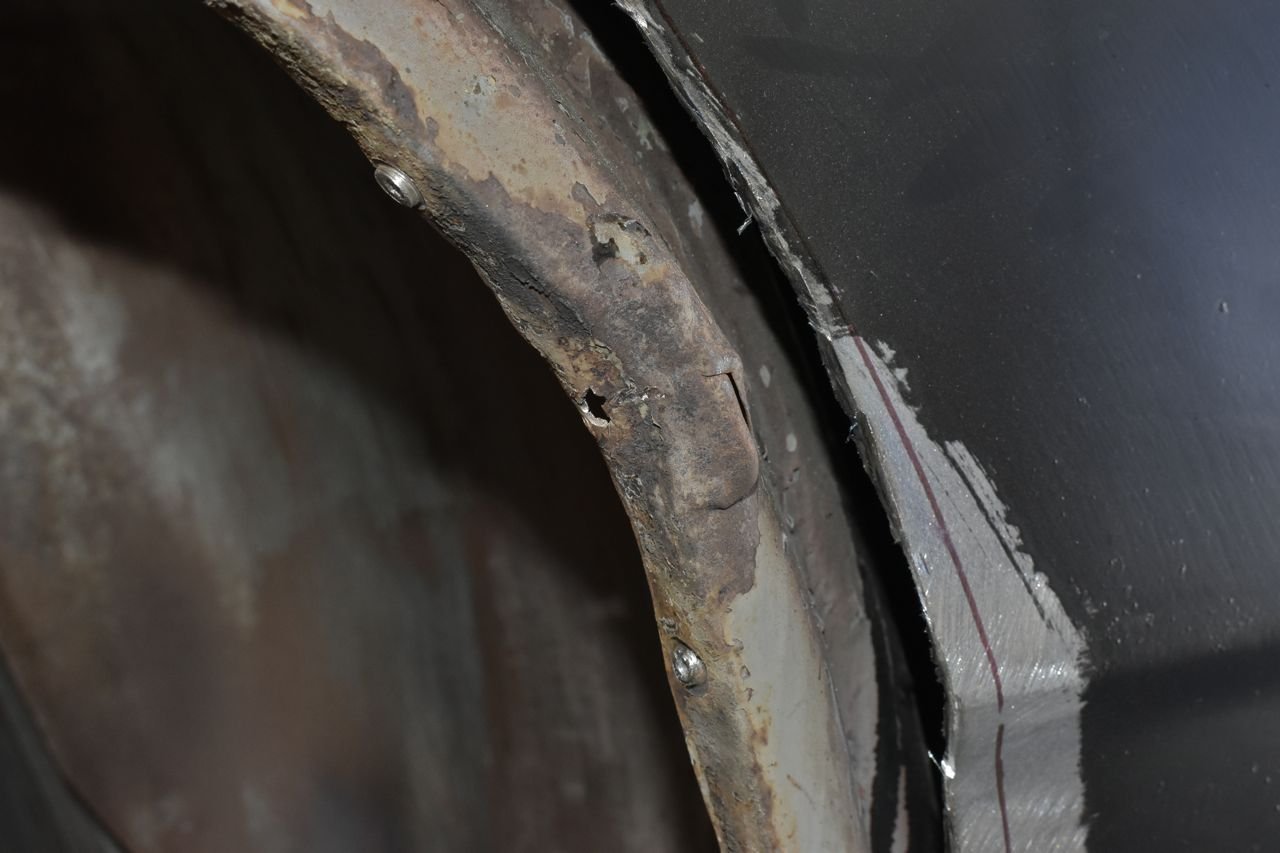
I expected this.

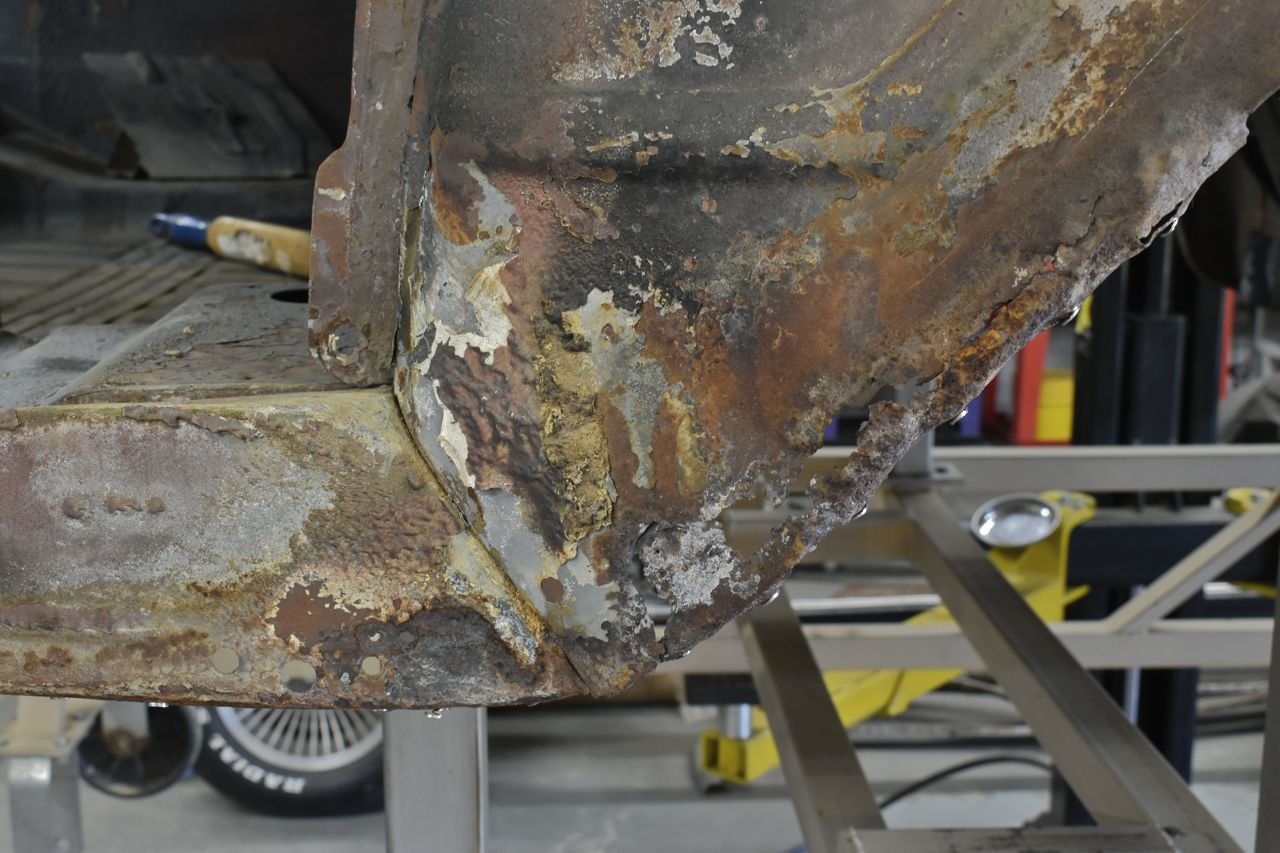
However words fail me on this one, it is so ugly, I did feel my soul die a little looking at though.
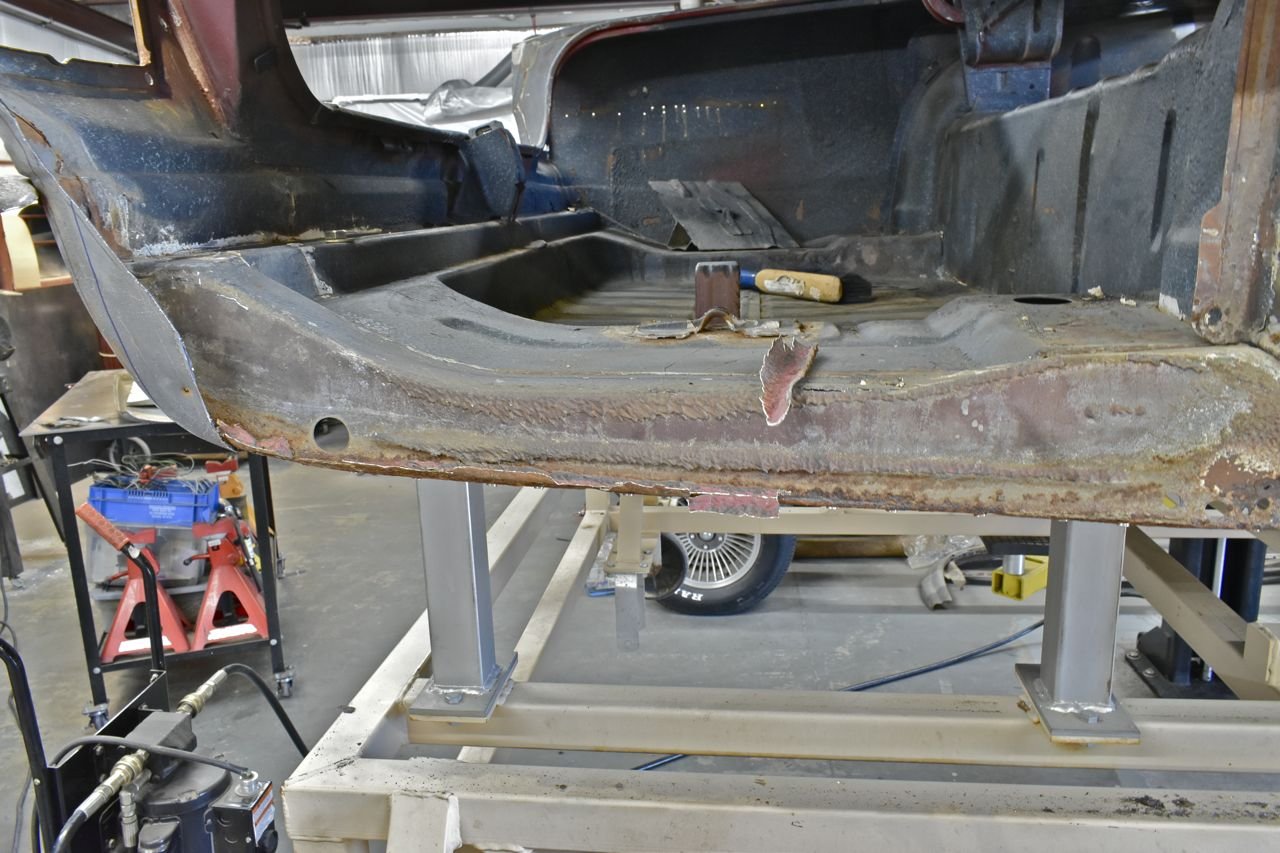
The jury is still out on this section. I'll have to remove all the remaining seam sealer to get a better idea.
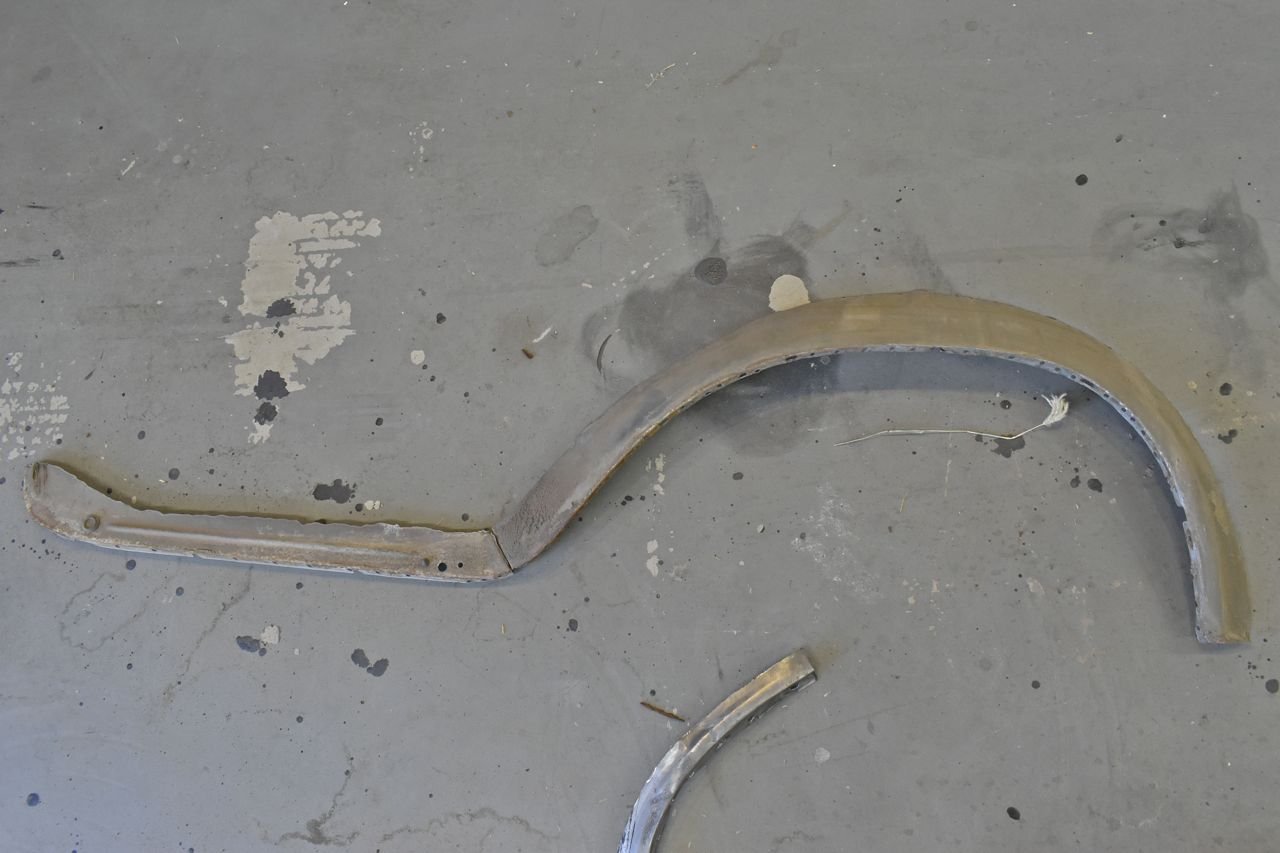
On the bright side, if you can call it that, I have these good donor pieces to section in where needed.
Quarter Panel Drudgery Part 3
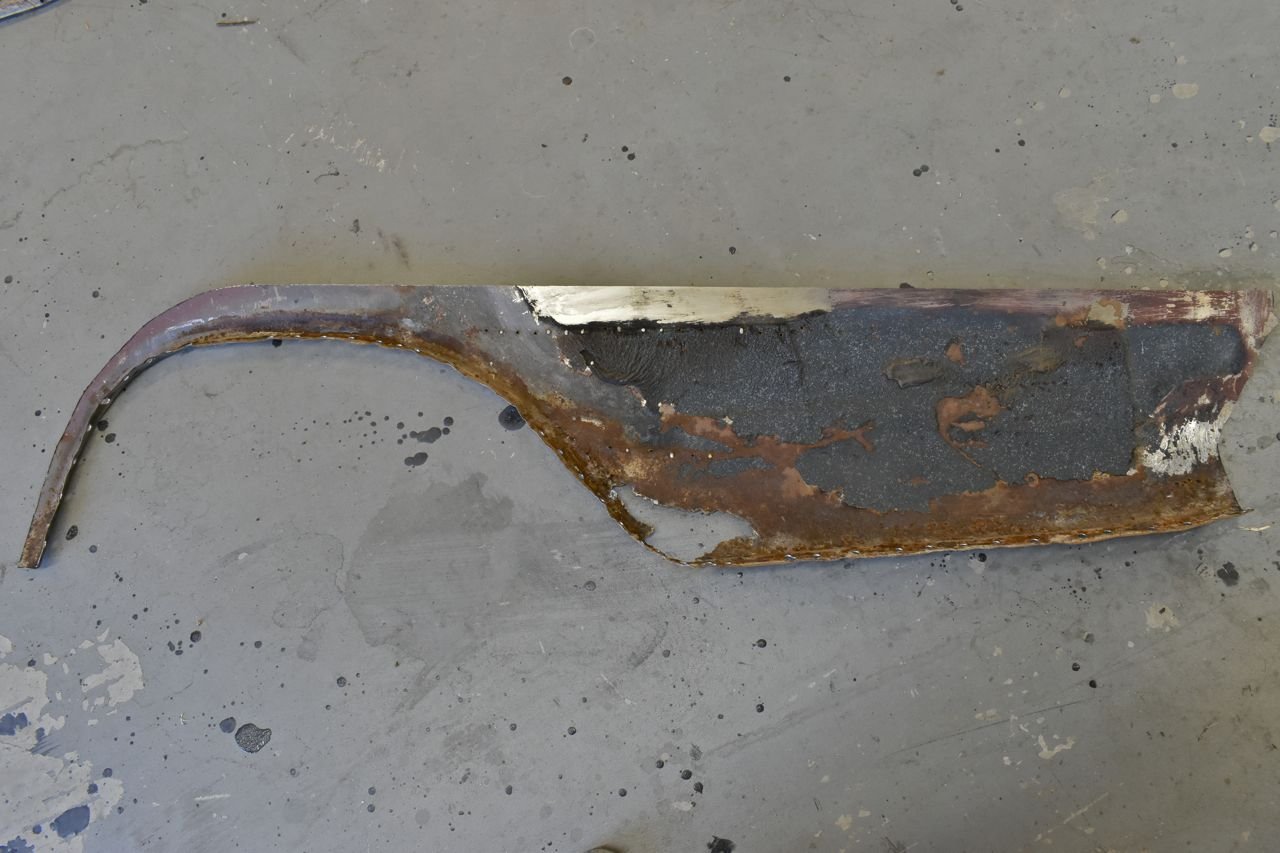
One last look at this piece. It's clearly beyond reasonable redemption.
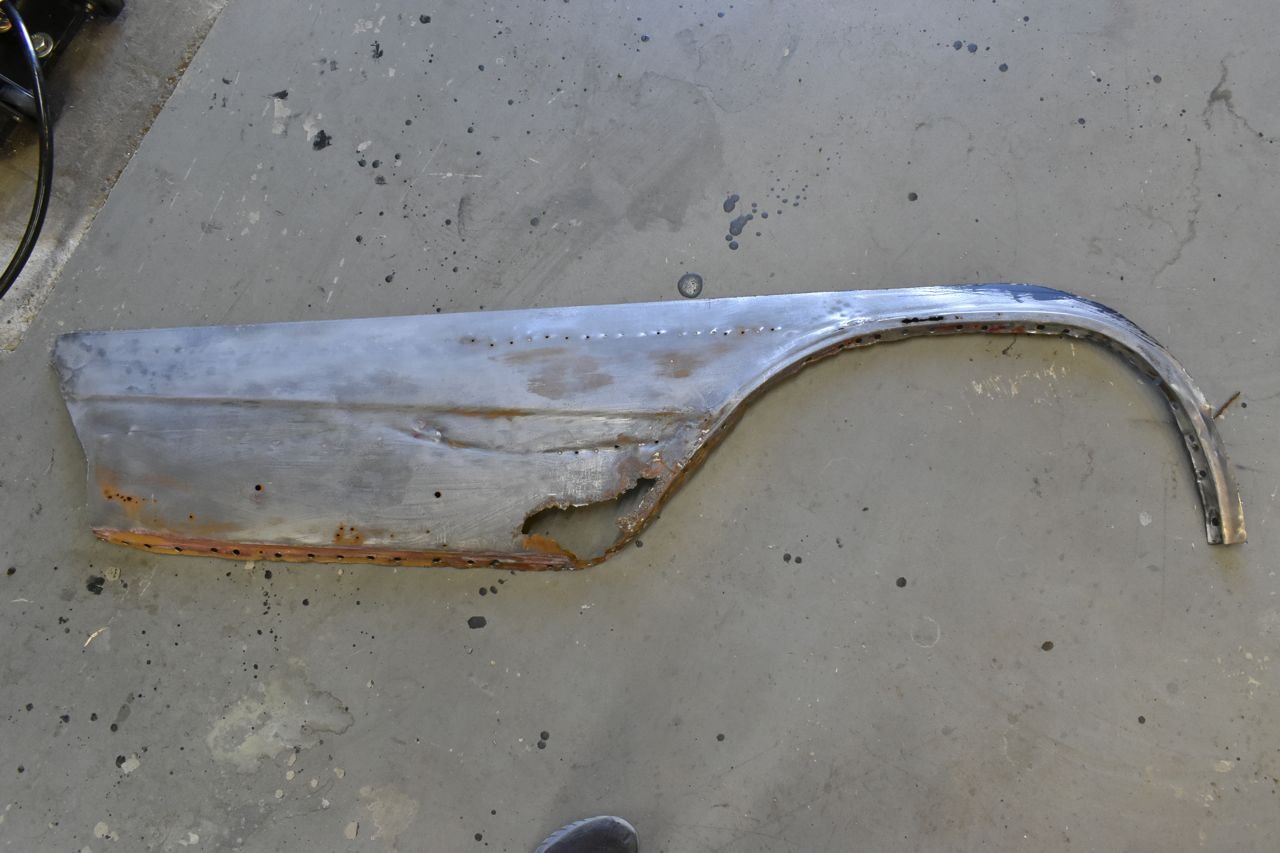
Looks more like a piece dredged up from the bottom of a lake.
Quarter Panel Drudgery Part 4
Right, time to start slicing and dicing. I was hoping the cargo area/trunk drop off was alright due to Ford galvanizing it, but alas no.
There are some holes near the outer wheel house but the bottom is deeply pitted to the point of transparency. Since I have a good donor, this is the first piece to be sectioned and replaced.
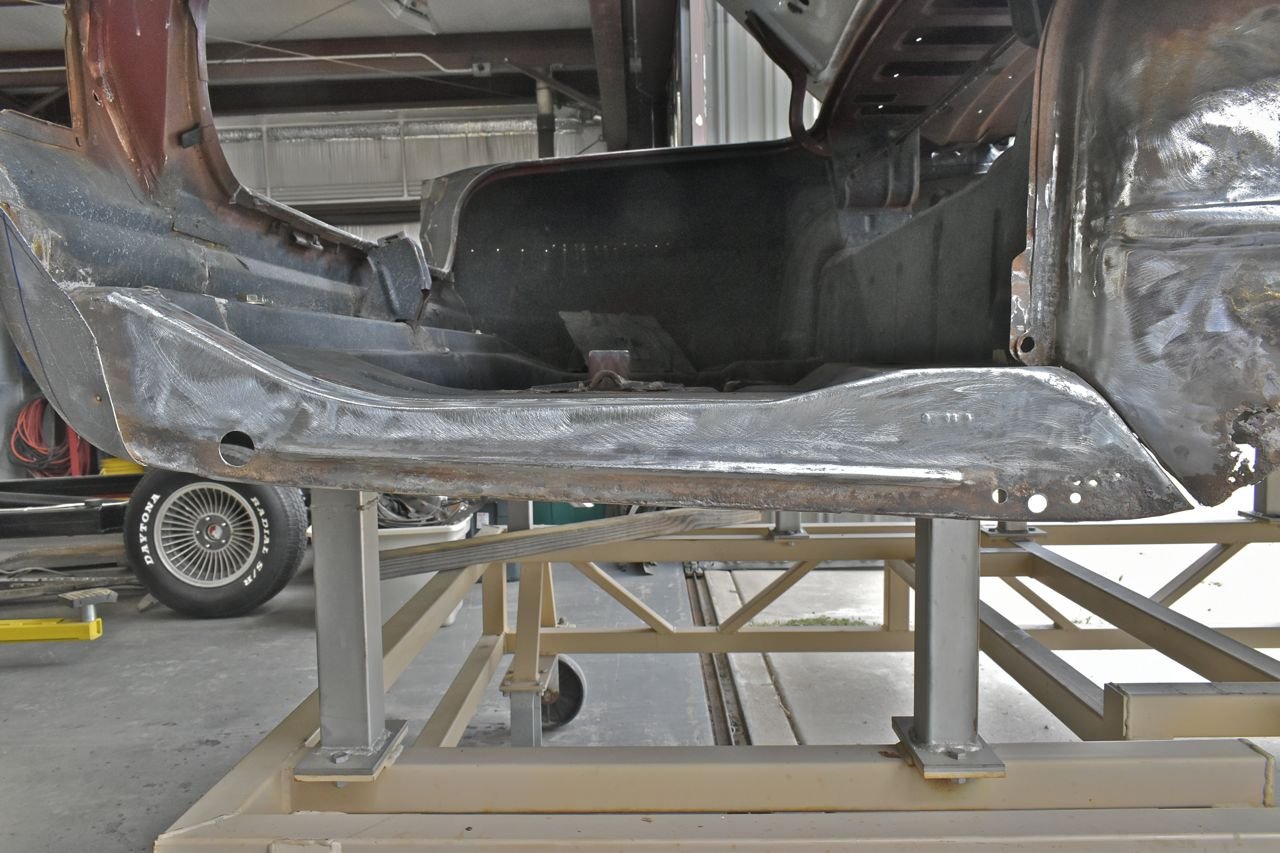
I drilled the spot weld holding this to the donor wheel house remnant.
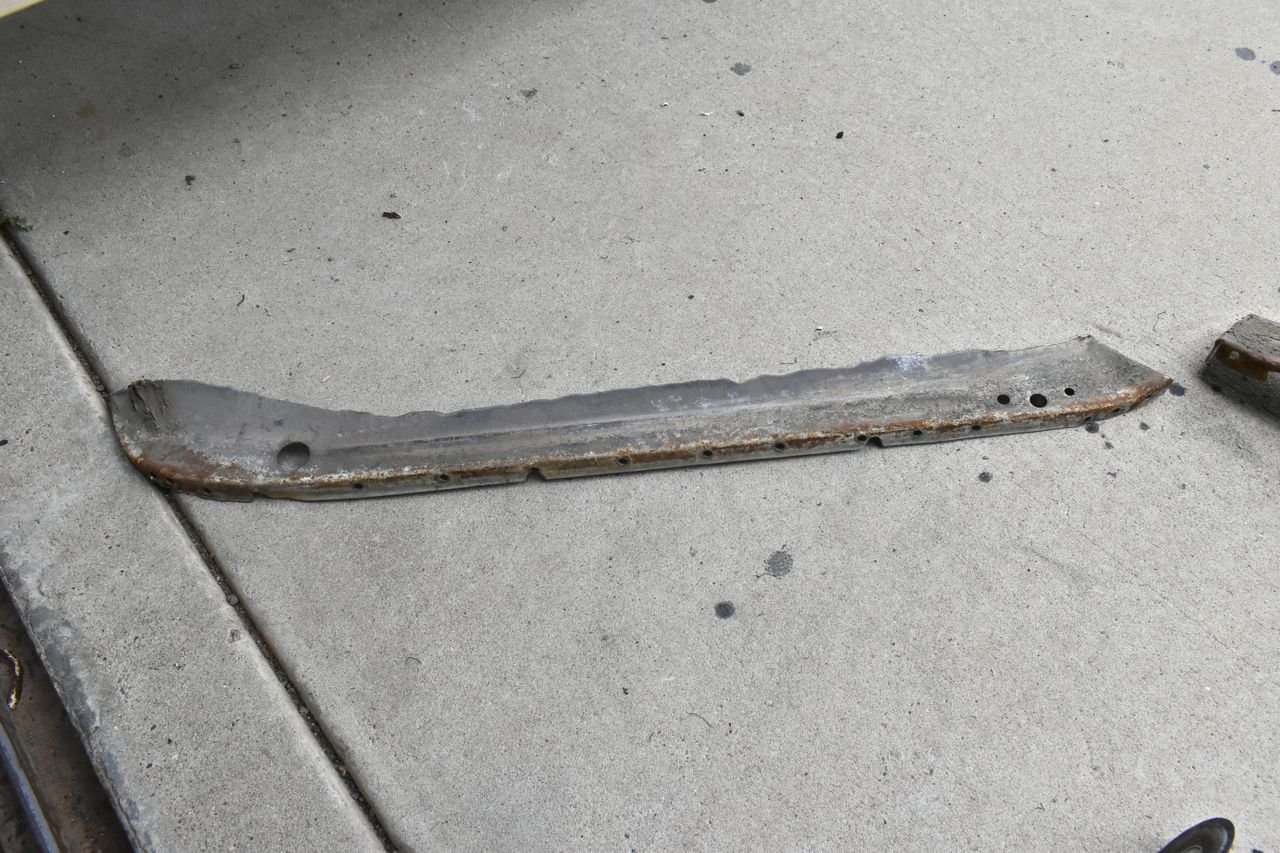
I took some measurements to make sure the splice was right where it should be once this is cut.
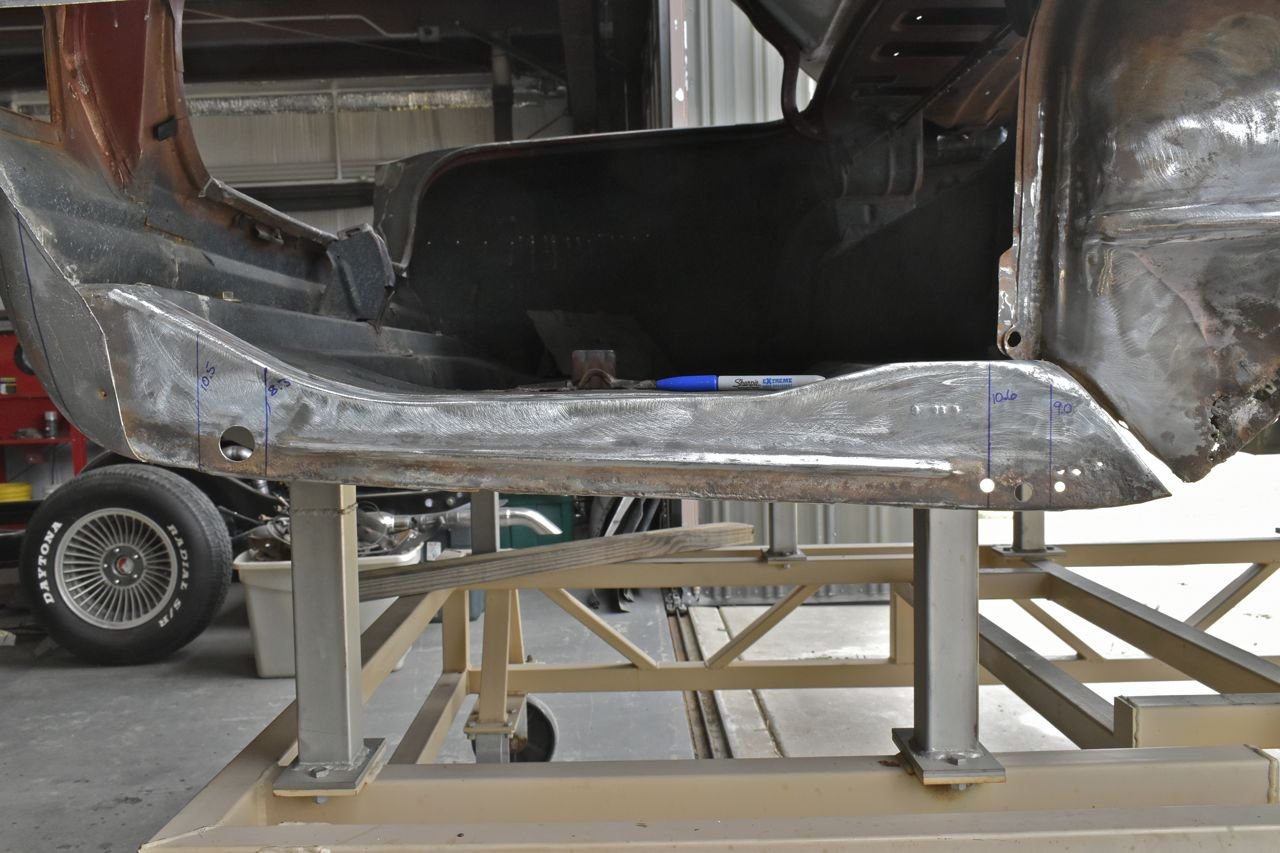
The replacement was sandblasted but you can still see layers of the zinc flashing on it. You'll never get it all off and this limits the welding process to just MIG. The zinc will plate the electrode of a TIG and using oxy/acetylene will just produce plumes of toxic gas.
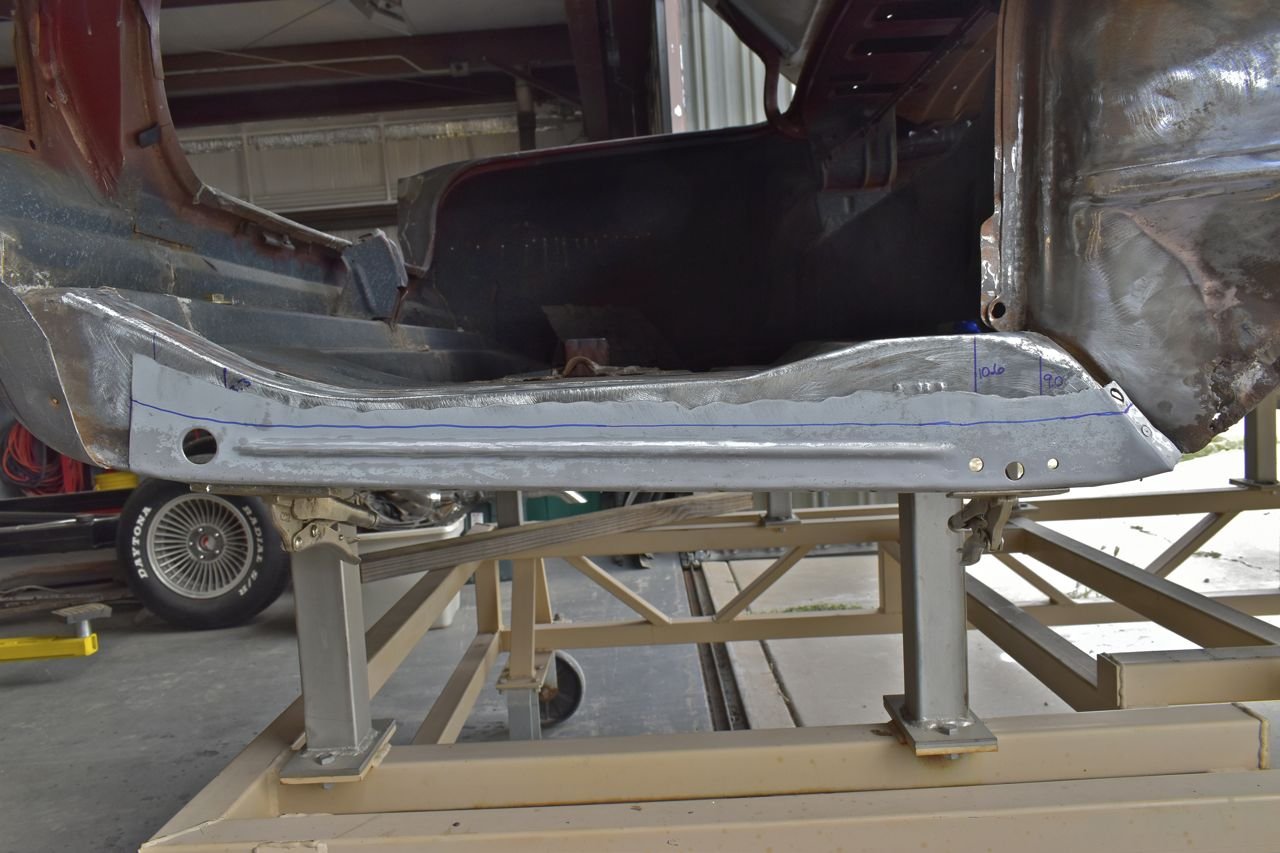
I clamped this replacement over the rusted piece and hand drew a cut line. Then I cut both of them at the same time being clamped together.
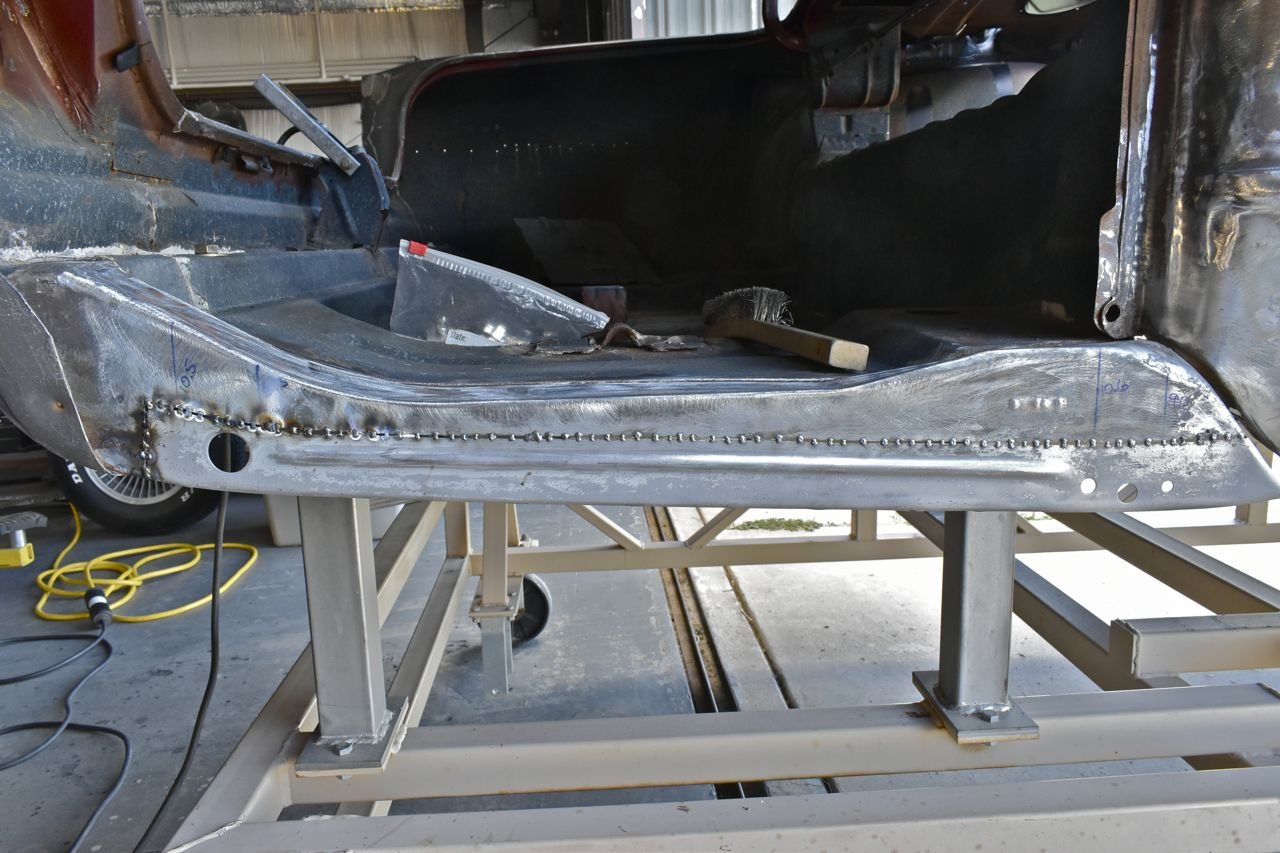
Next the piece is clamped firmly into piece. You can buy these clamps at Hobo Freight at a reasonable price. There is no need to buy the high end versions. I double checked the distance with my earlier measurements. Tis spot on.

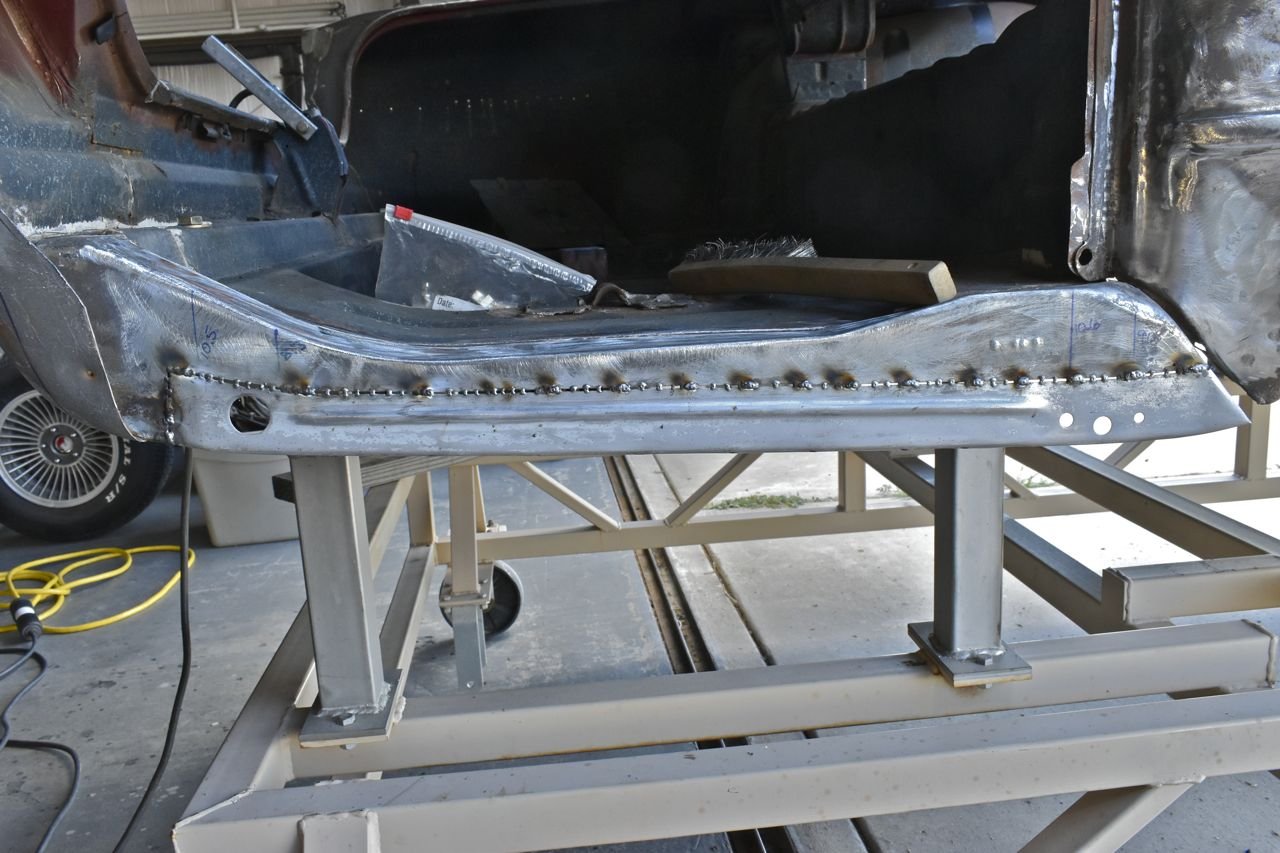
The name of the game for thin sheet metal is tack weld, spread the heat out and tack weld often.

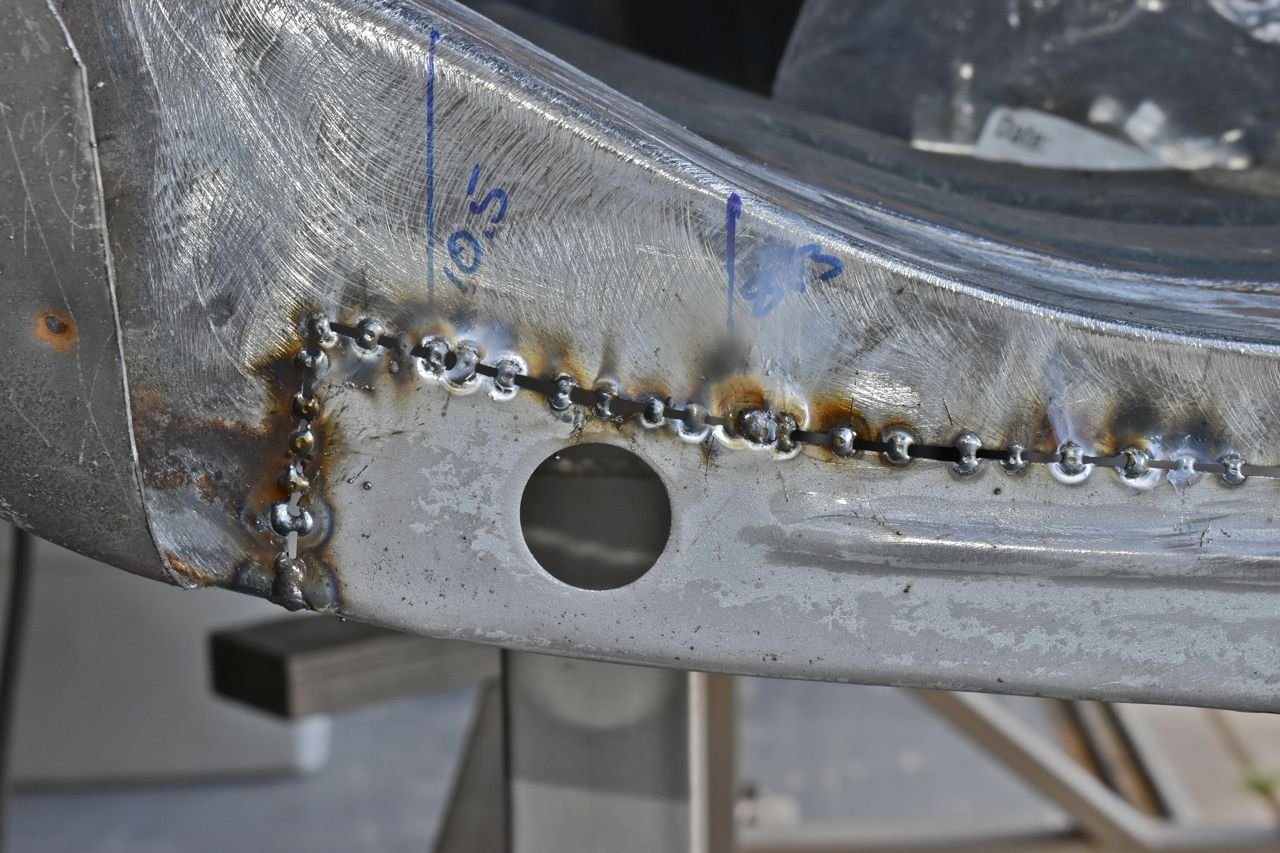
Now even MIG makes the toxic smoke from burning the zinc. You can see the zinc from the white powder around the welds. I did not wire brush the left side for comparison. You do not want to inhale this.
This is what you get when you weld zinc plated steel. Das ist nicht sehr gut, you do not want to breath this.
I have a fan behind me pushing fresh air into me whilst welding. Just not strong enough to push the shielding gas out. Plus I have the car on the door way to the garage so it's mostly outside.
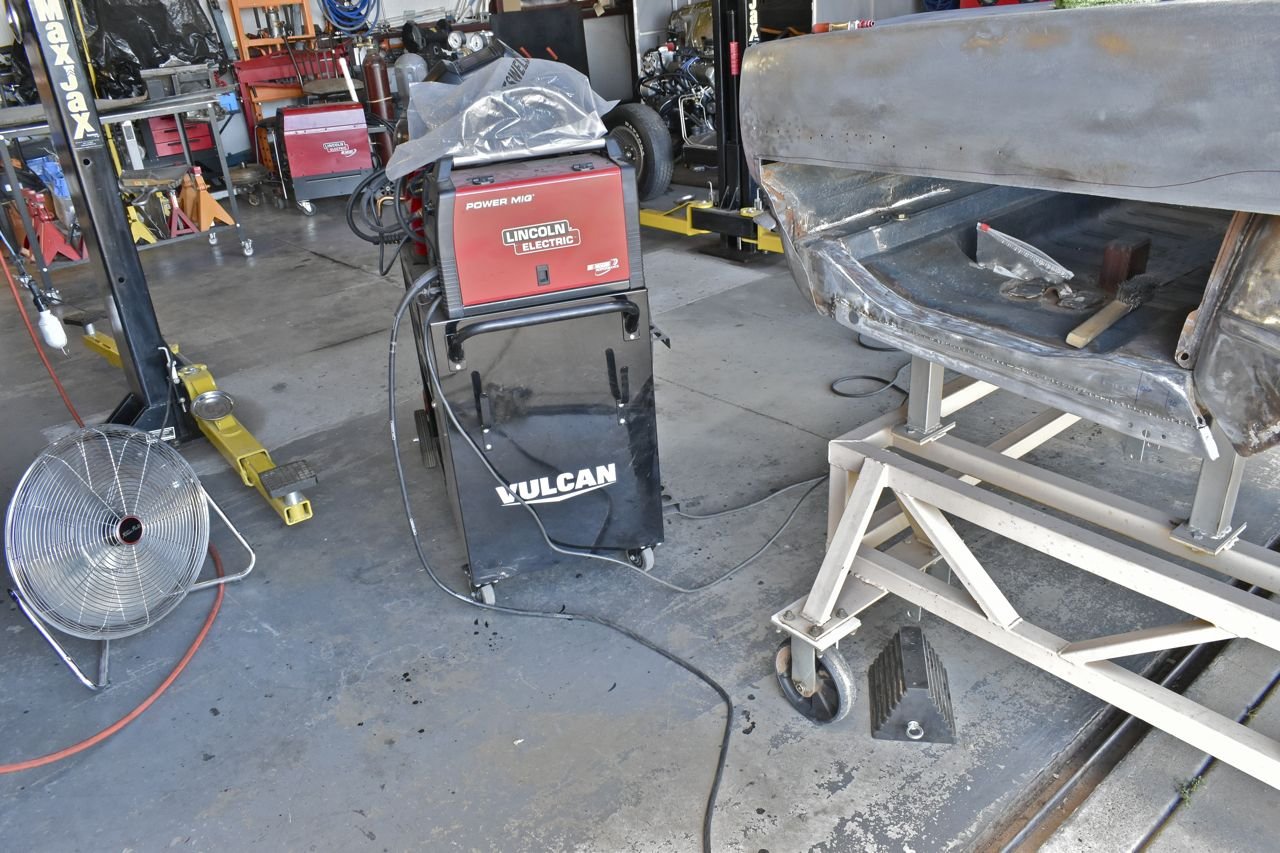
For those interested I am using 0.025" wire with 75% CO2 & 25% Argon shielding gas. I can't stress enough how important it is to have a decent welder. Do not use inner shield flux core wire, it's too much heat (requires reverse polarity compared to gas wire) and it splatters too much. You are making way too much work if you use it.
The next bit is spacing out little areas of weld to spread out the heat and not to warp the panel. This is a tedious process. It's one stitch weld atop the next.
Continued in next post.
Click here to continue to part 91