1966 Ford Galaxie 500 XL Refurbishment : 051 Engine - Custom Serviceable Pulleys
2023, November 14
1 - 2 - 3 - 4 - 5 - 6 - 7 - 8 - 9 - 10 - 11 - 12 - 13 - 14 - 15 - 16 - 17 - 18 - 19 - 20 - 21 - 22 - 23 - 24 - 25 - 26 - 27 - 28 - 29 - 30 - 31 - 32 - 33 - 34 - 35 - 36 - 37 - 38 - 39 - 40 - 41 - 42 - 43 - 44 - 45 - 46 - 47 - 48 - 49 - 50 - 51 - 52 - 53 - 54 - 55 - 56 - 57 - 58 - 59 - 60 - 61 - 62 - 63 - 64 - 65 - 66 - 67 - 68 - 69 - 70 - 71 - 72 - 73 - 74 - 75 - 76 - 77 - 78 - 79 - 80 - 81 - 82 - 83 - 84 - 85 - 86 - 87 - 88 - 89 - 90 - 91 - 92 - 93 - 94 - 95 - 96 - 97 - 98More Engine Minutiae
I had to take a break from this as I caught the china flu (covid 19), but now I'm over that nonsense and back at work. It's going to take a hell of a lot more than that to stop me from finishing these cars.
So I cleaned out Rock Auto on round 1 of buying these pulleys, there's even another one floating around here. The interesting thing is these are the same part number and same manufacturer, but you'd swear there are 4 suppliers. Plus I don't think there's two matching bearings. They are all different. Also all those bearings are the cheapest junk, they feel awful. So I bought some Timken's to replace the brand new crappy bearings.
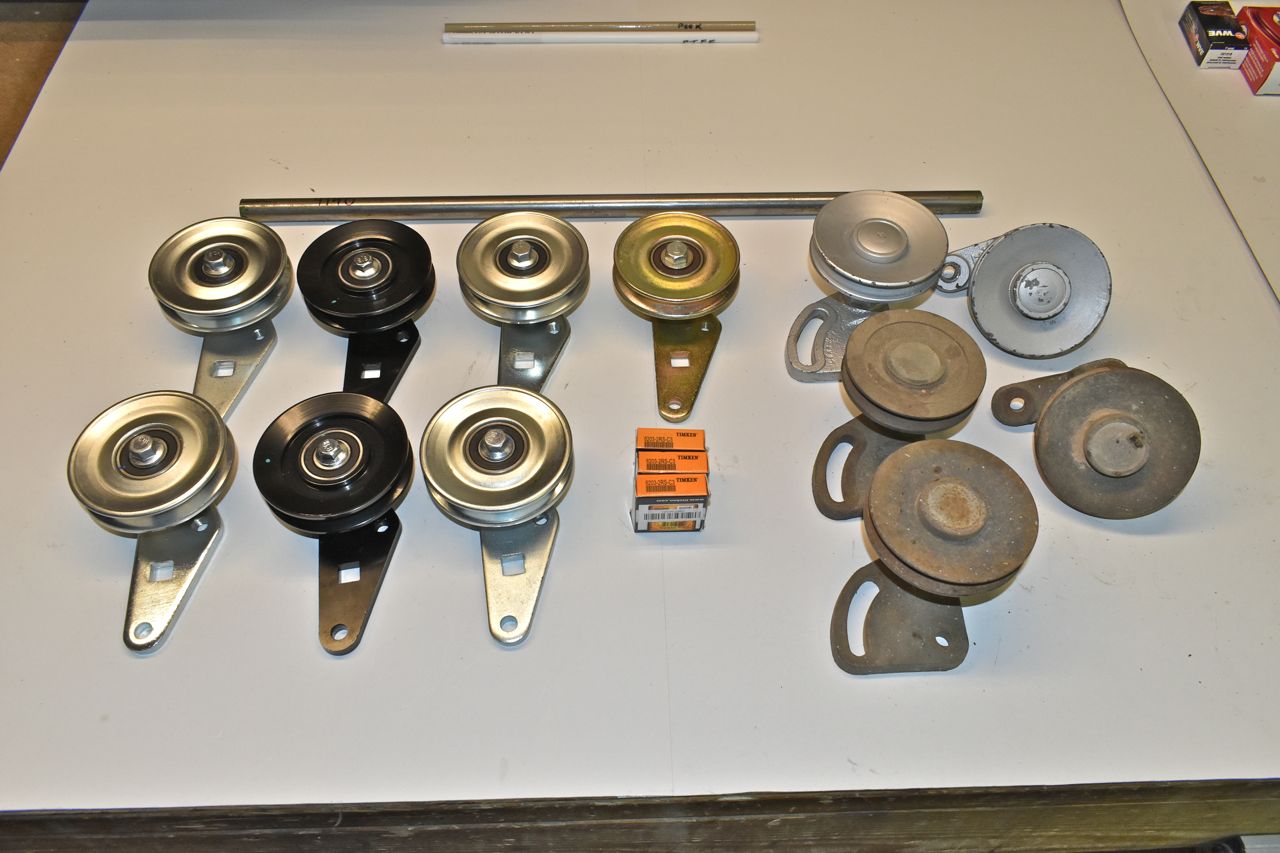
These two pulleys are billet pulley's. I wish they were all like that.
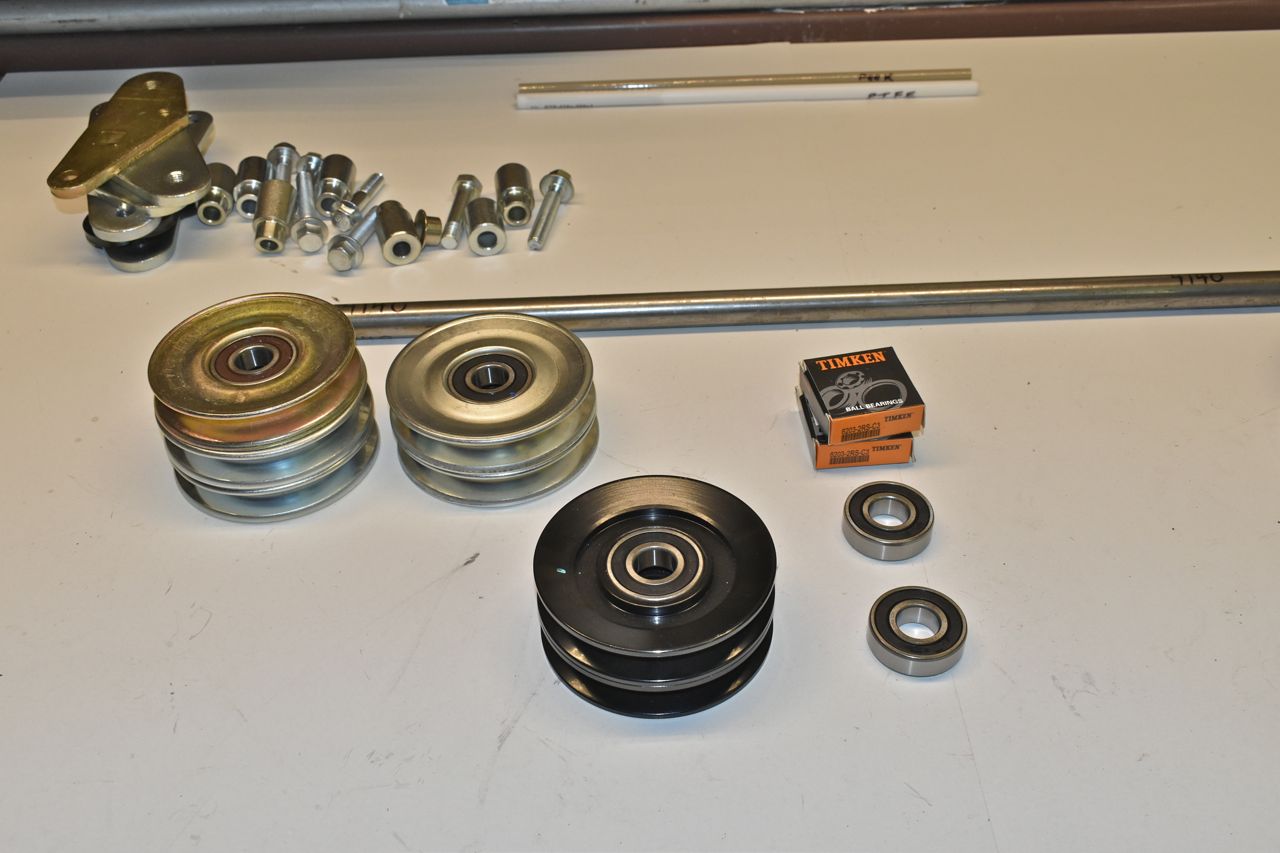
Started on this by pressing out the old bearing/pulley assemblies from the cast iron bases.

That shaft is 4140 3/4 hard steel and still cuts very well on the lathe, it does take its toll on taps though.
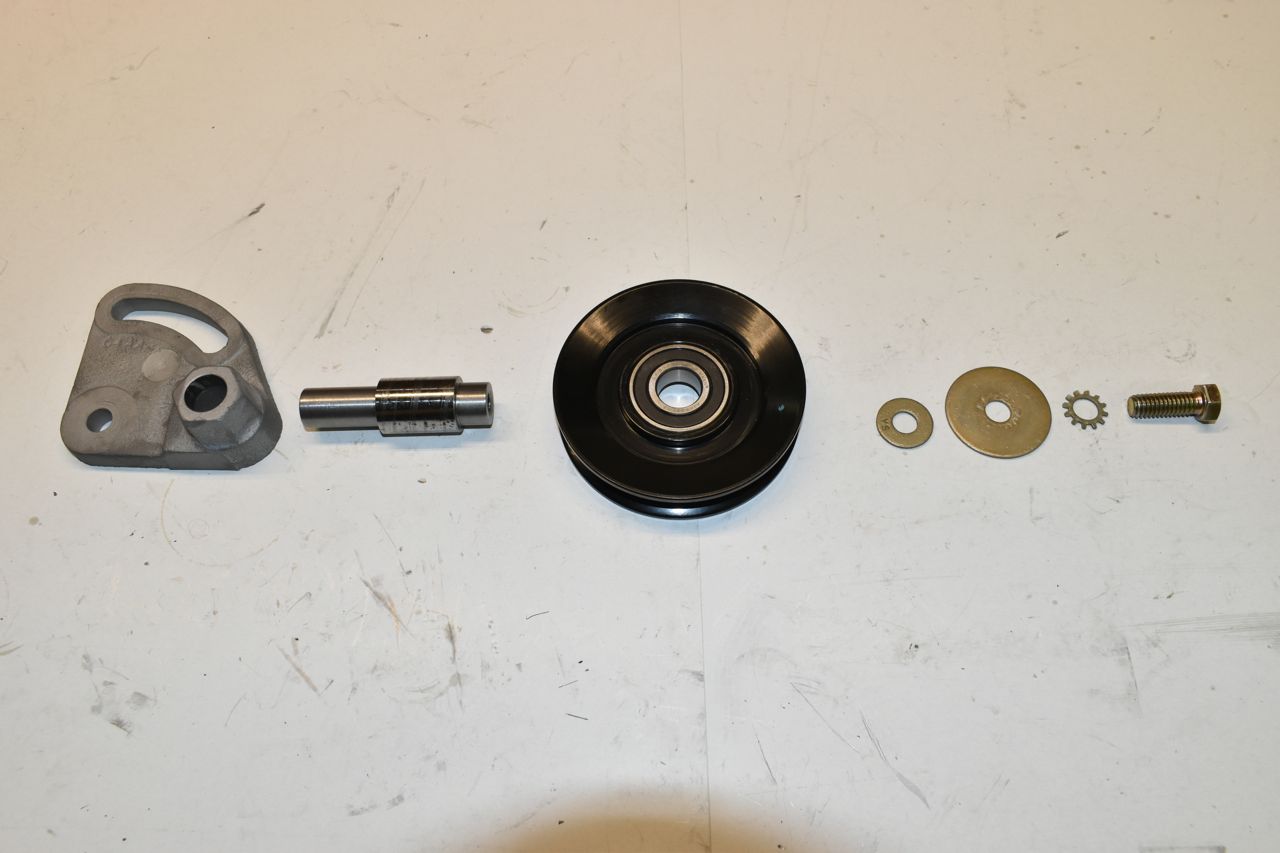
Came out pretty well I thought, for an amateur like myself.
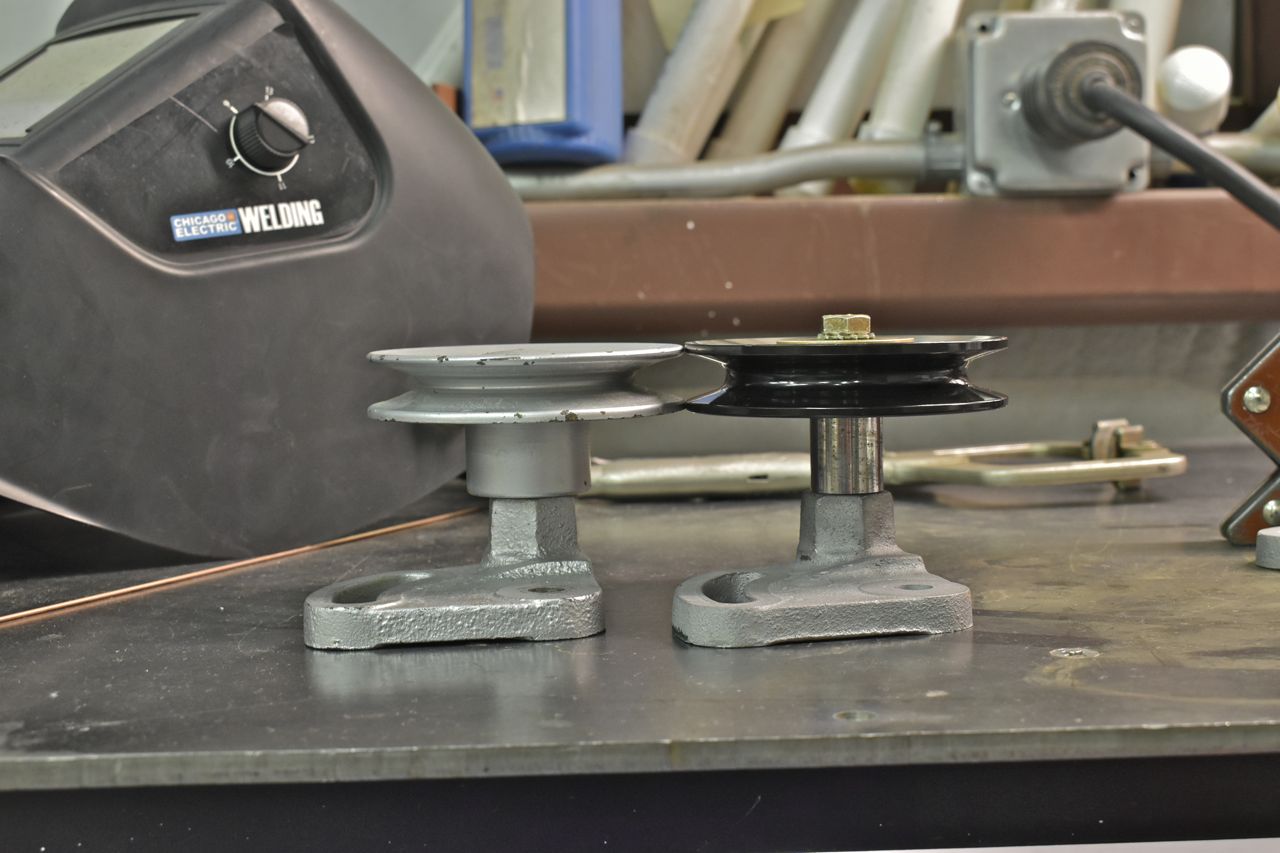
At least now it's a rebuildable part as the bearing is a standard size industrial bearing. No more 50 year old sealed bearings waiting to seize when your driving.

I took a break from this and started on some brackets.

I bought an assortment of 4130 certified aircraft Chromoly for bracket making. This steel is extremely resistant to cracking from repeated stresses and vibration.
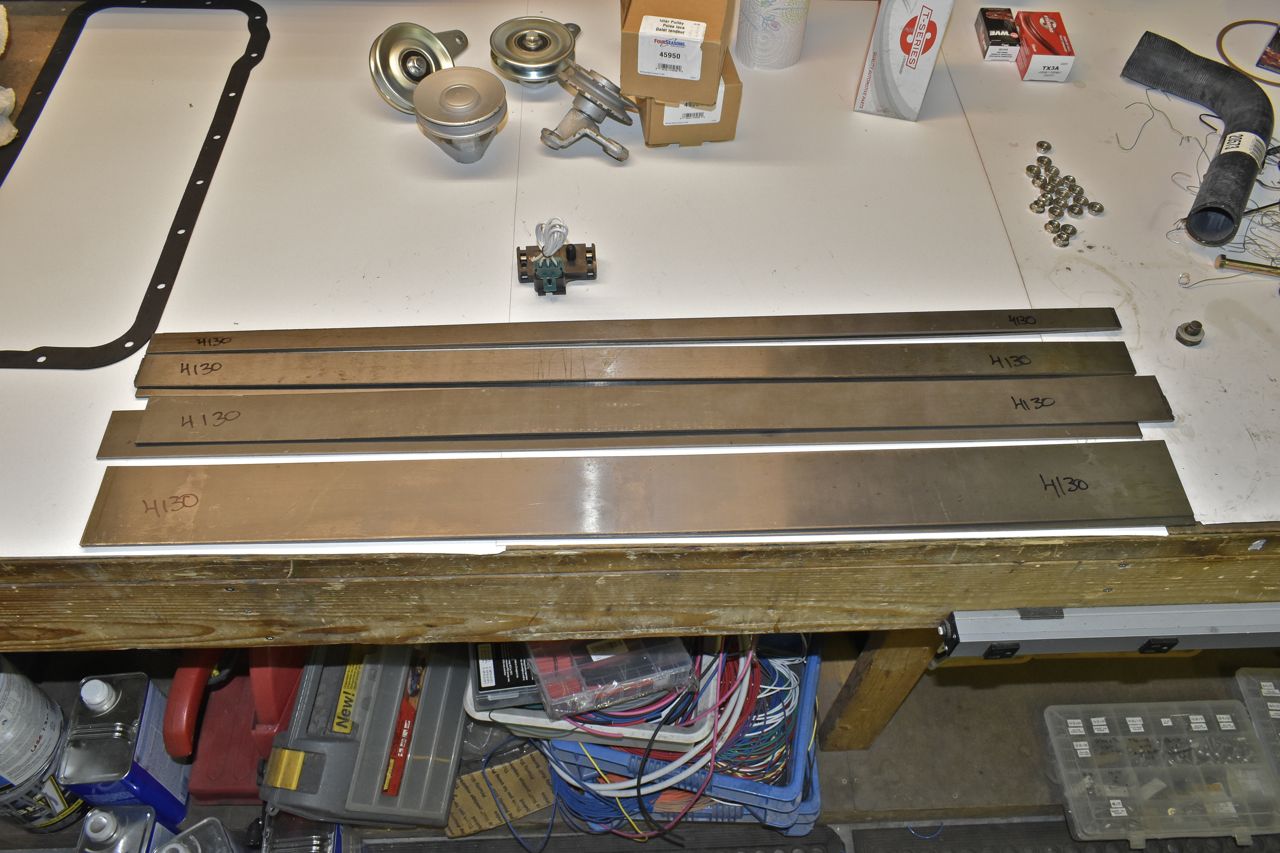
First bracket to make was the one to hold the ignition coil. This was tricky and quite frankly a pain in the butt as I wish Ford would have put accessory holes on both ends of the cylinder heads.

This was difficult to make something that looked half way decent but still bolted in place. That bracket is pretty long and to get the holes to line up in the bracket to the block and intake took some precise measurements.
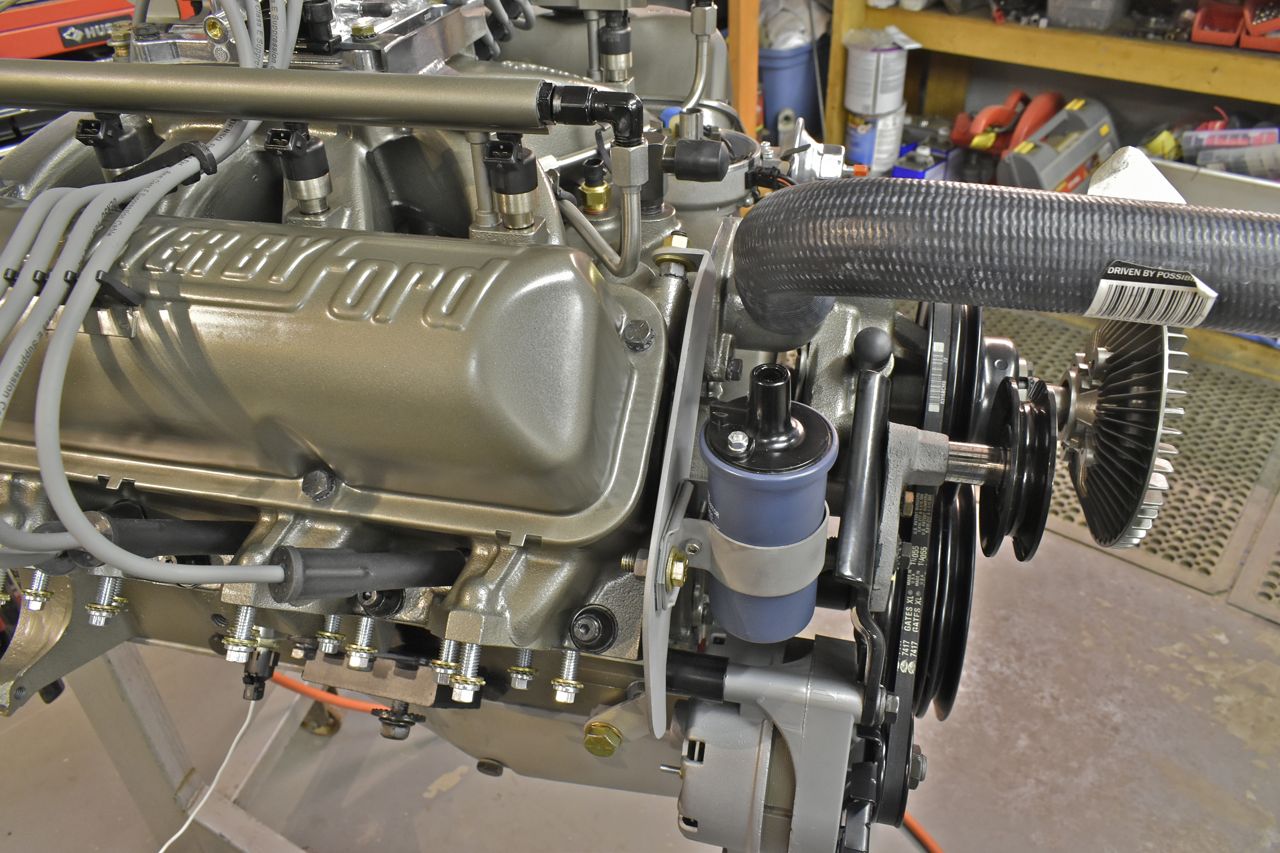
I did remove two of the intake bolts and convert them into studs for the accessory brackets. I took grade bolts, lopped the heads off, threaded down from the top, screwed some grade 8 nuts down to the required length then brazed the nuts on. Finally I turned each down in the lathe so the braze was flush with the bottom of the nut, then I blackened and cleared them.
If it's one thing that irritates me are studs were you have to double nut to remove or install them. This is more like factory hardware and easier to use.

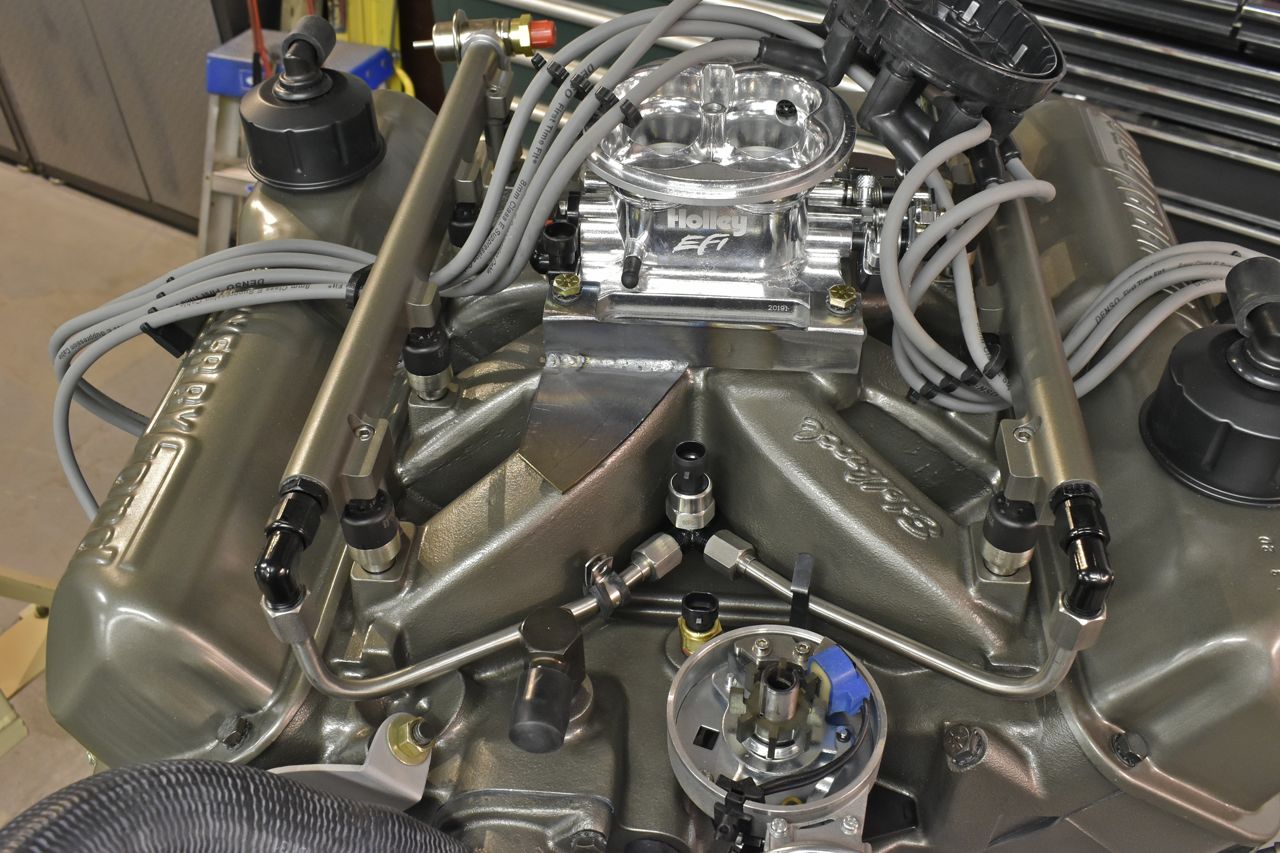
This next bracket in process needs to connect to the Adel clamp on the fuel line in the middle. That whole sender/90˚ elbow is just hanging on those stainless lines and vibration can fracture the aluminum fittings at the rails. Connecting to the Adel clamp will shore that up.
After that was done, I need to figure out a return spring setup for the Ford kick down lever. On the literature for this Holley throttle body it lists every part number on it and additional kits except for the bloody kick down. So I took a guess and ordered this kit thinking..... well Holley.
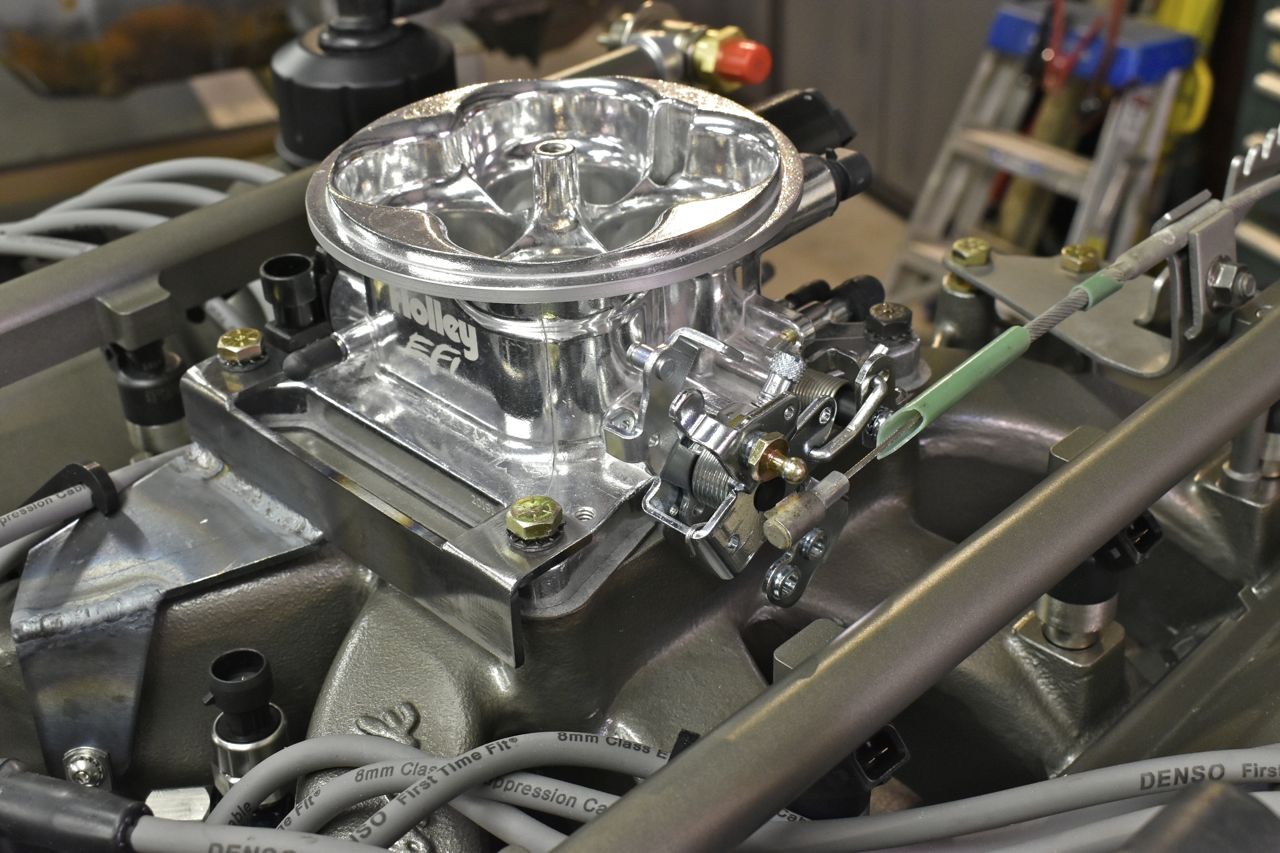
Long story short, this was 15 bucks down the drain. It was all pretty much useless out of the box. I'll get to this in a bit, I was annoyed with this and went back to the other idler pulley I needed to finish.

Working on the second shaft.


Test fitting.
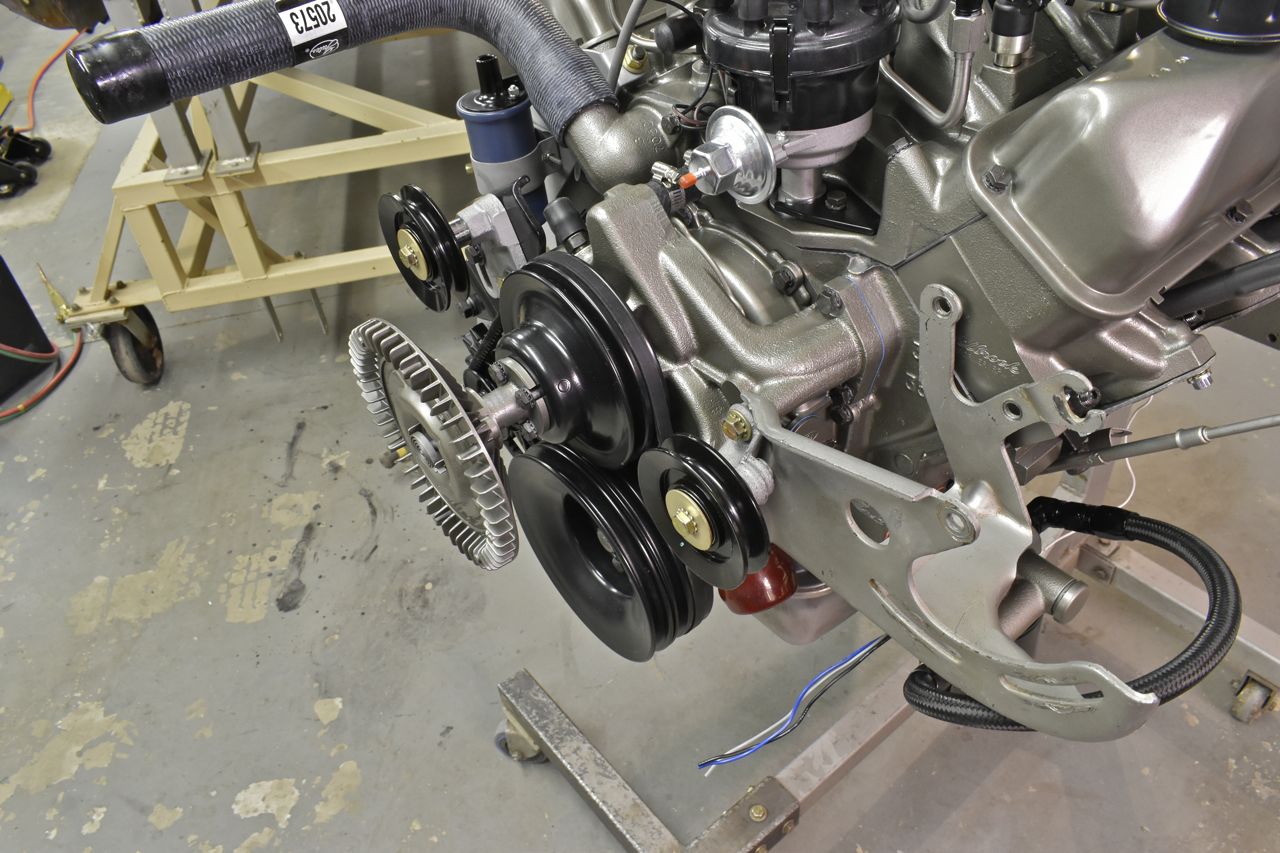
These are loads of work, but to have a now serviceable part is very much worth it.

Continued in next post.
Click here to continue to part 52