1966 Ford Galaxie 500 XL Refurbishment : 022 Interior Seats, New Foam and New Covers
2023, November 14
1 - 2 - 3 - 4 - 5 - 6 - 7 - 8 - 9 - 10 - 11 - 12 - 13 - 14 - 15 - 16 - 17 - 18 - 19 - 20 - 21 - 22 - 23 - 24 - 25 - 26 - 27 - 28 - 29 - 30 - 31 - 32 - 33 - 34 - 35 - 36 - 37 - 38 - 39 - 40 - 41 - 42 - 43 - 44 - 45 - 46 - 47 - 48 - 49 - 50 - 51 - 52 - 53 - 54 - 55 - 56 - 57 - 58 - 59 - 60 - 61 - 62 - 63 - 64 - 65 - 66 - 67 - 68 - 69 - 70 - 71 - 72 - 73 - 74 - 75 - 76 - 77 - 78 - 79 - 80 - 81 - 82 - 83 - 84 - 85 - 86 - 87 - 88 - 89 - 90 - 91 - 92 - 93 - 94 - 95 - 96 - 97 - 98Interior - Rear Seats
And now for something completely different.In taking a break from the chassis and add to that fact it snowed and was a whopping 1 degree ˚F this morning I have no desire to work outside.
None.
Even though this phase is a bit premature I have the items to complete these tasks, so why not do them inside where it's warm.
Mind you I haven't tried replacing all the foam and stuffing before, so this is new to me. I read up on this and was confident I knew enough to be dangerous.
This took me an entire day to do one bloody seat as I had to start over several times.
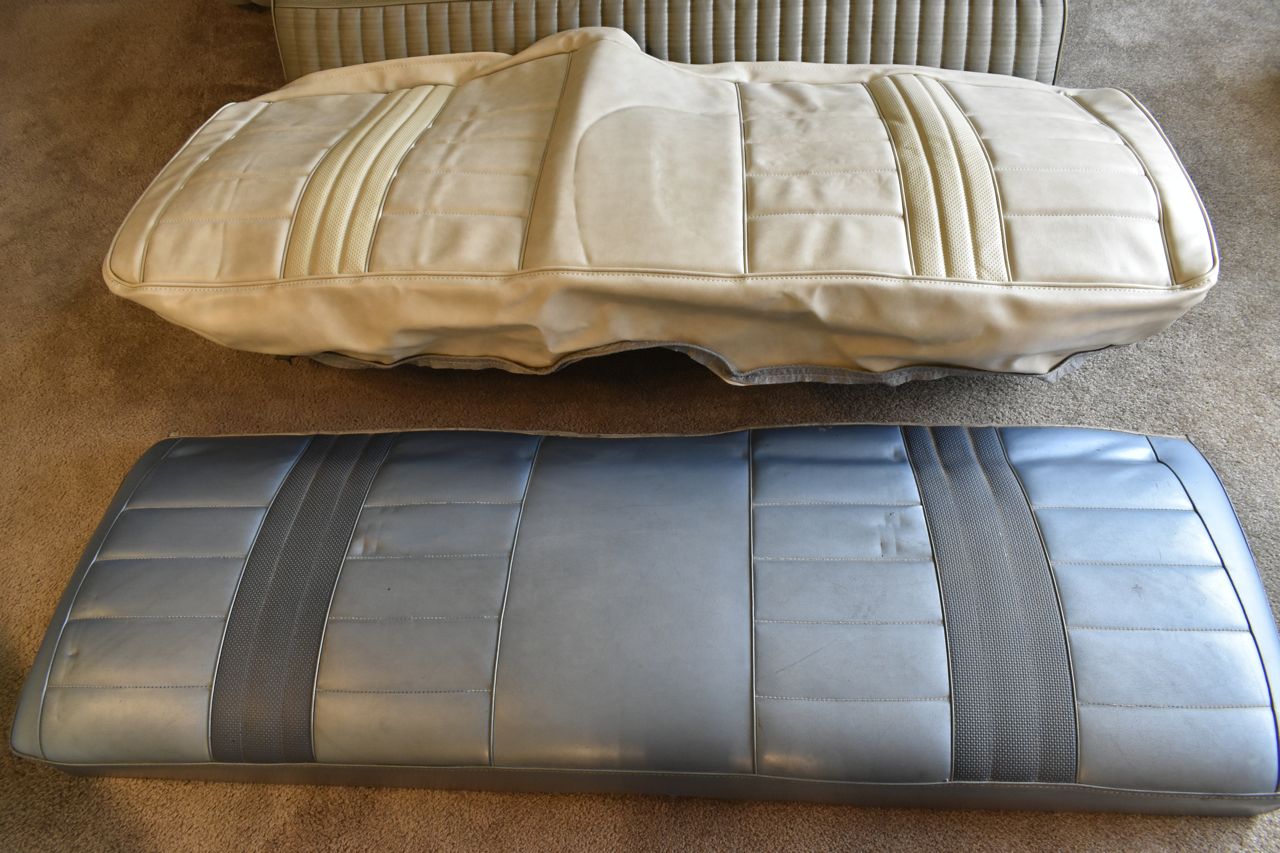
Here's the old seat.
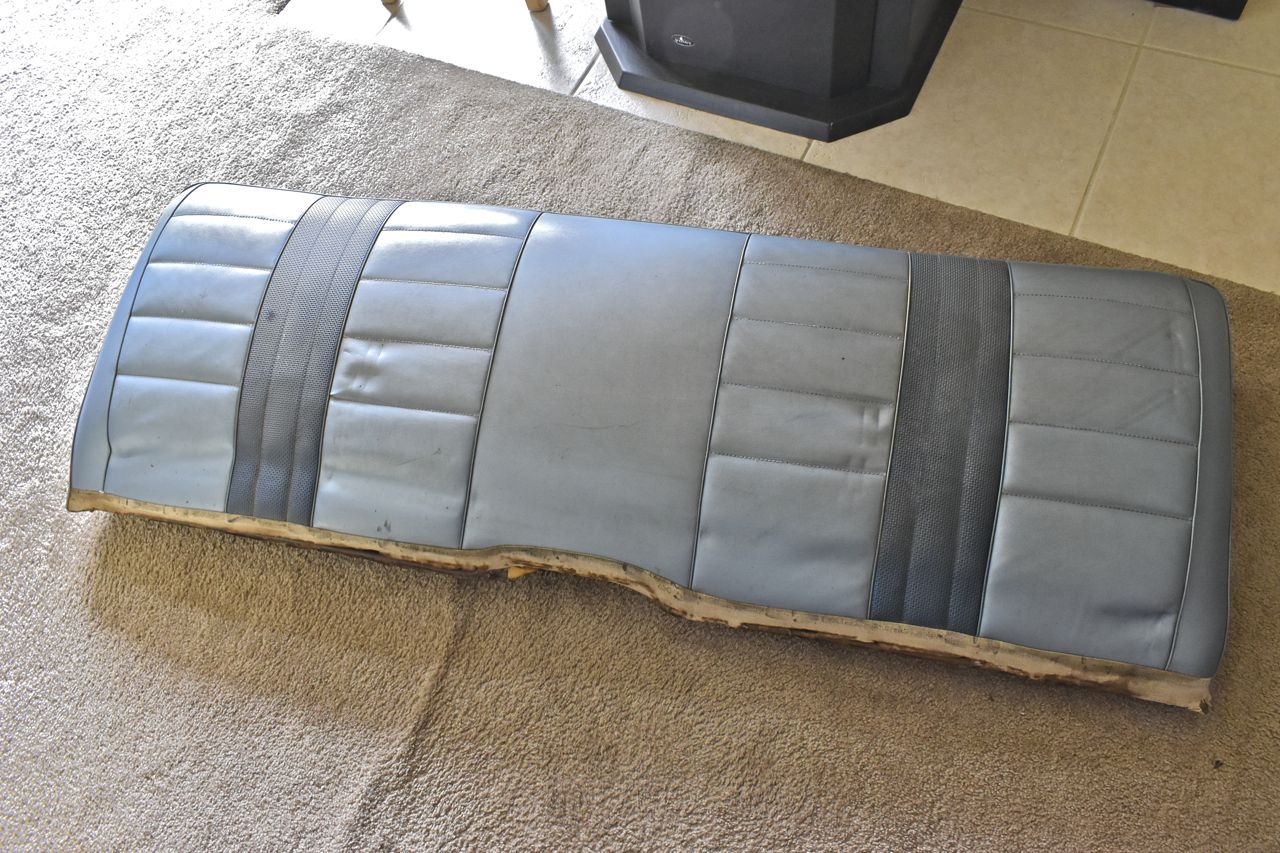
It doesn't look to bad. The one nice thing about this XL, it may be the only nice thing come to think about it, is that there was no evidence that it was ever a thriving rodent metropolis.
However it did have that abandoned old car smell funk to it.
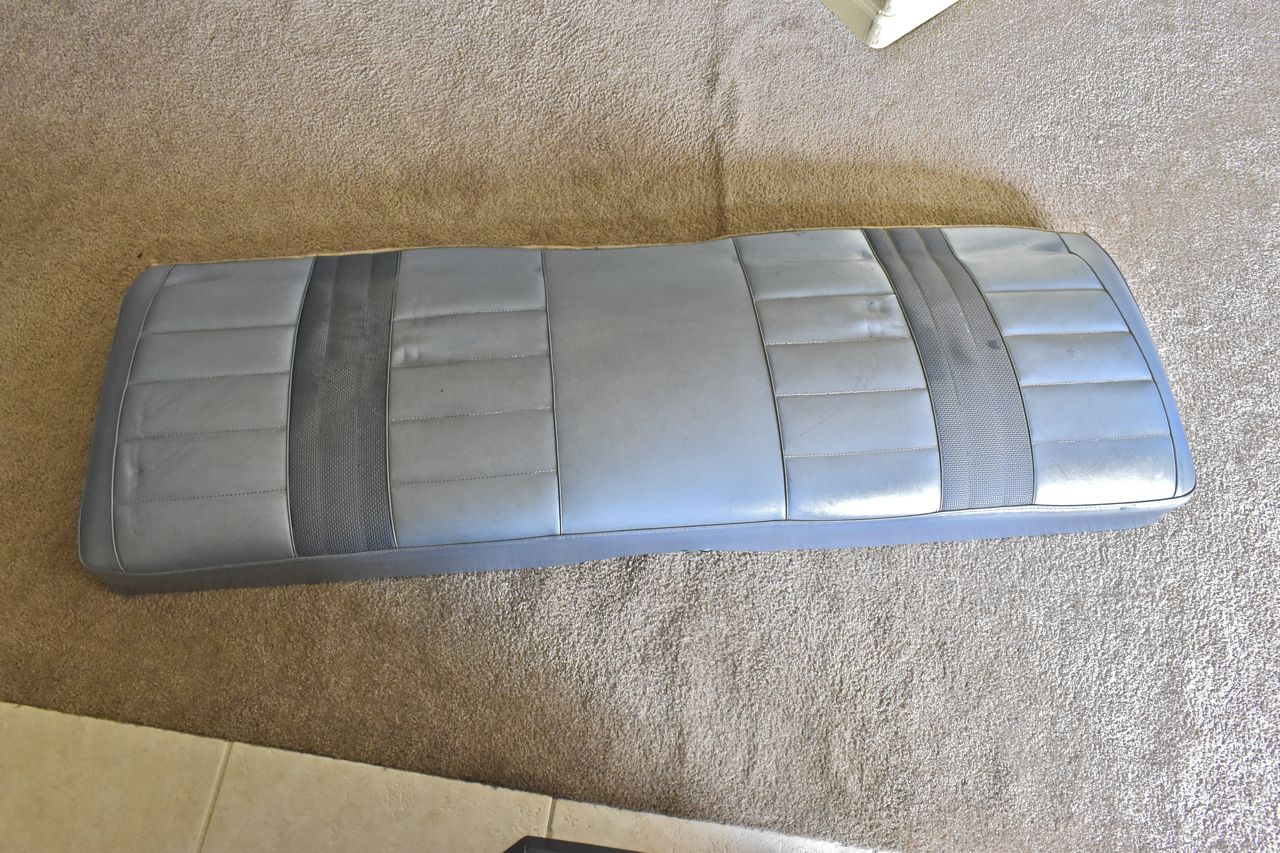
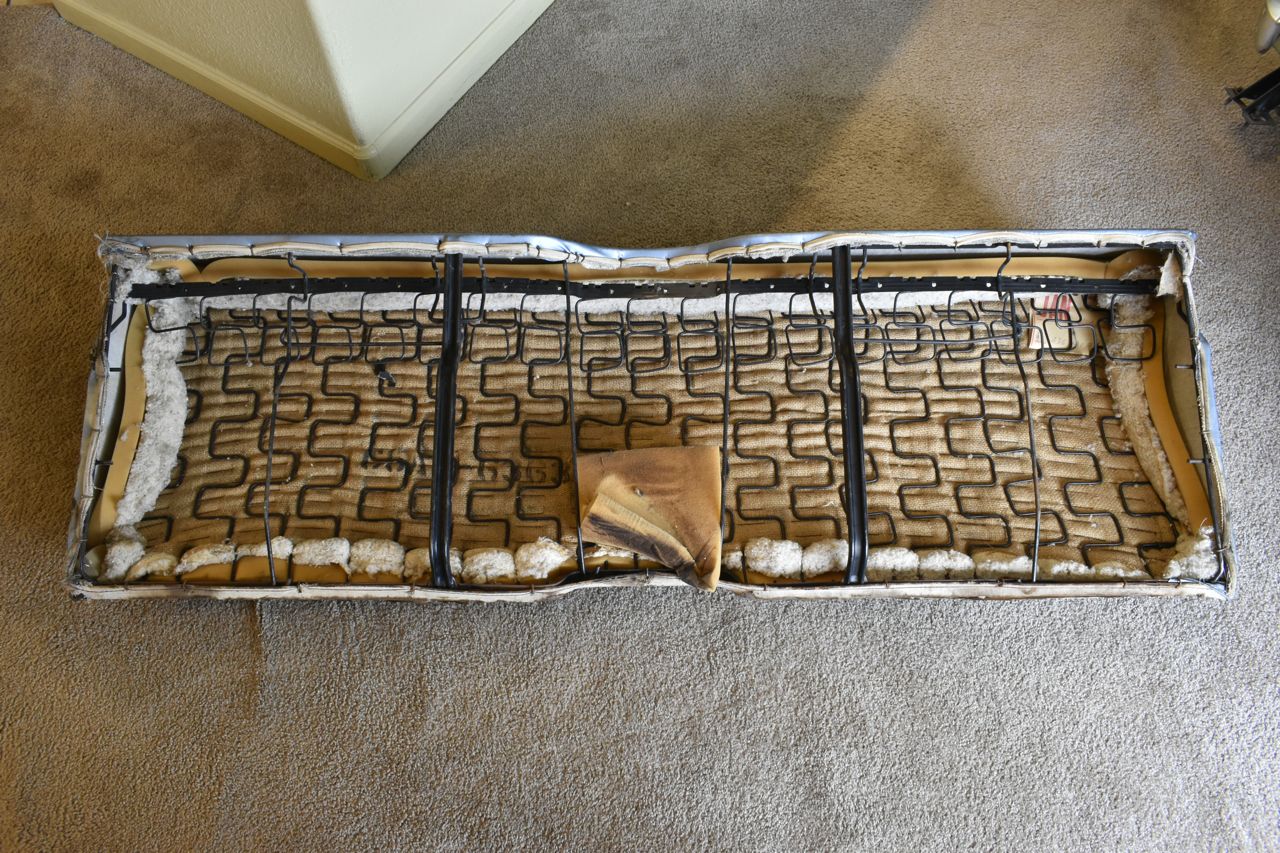
The underside is pretty clean considering.
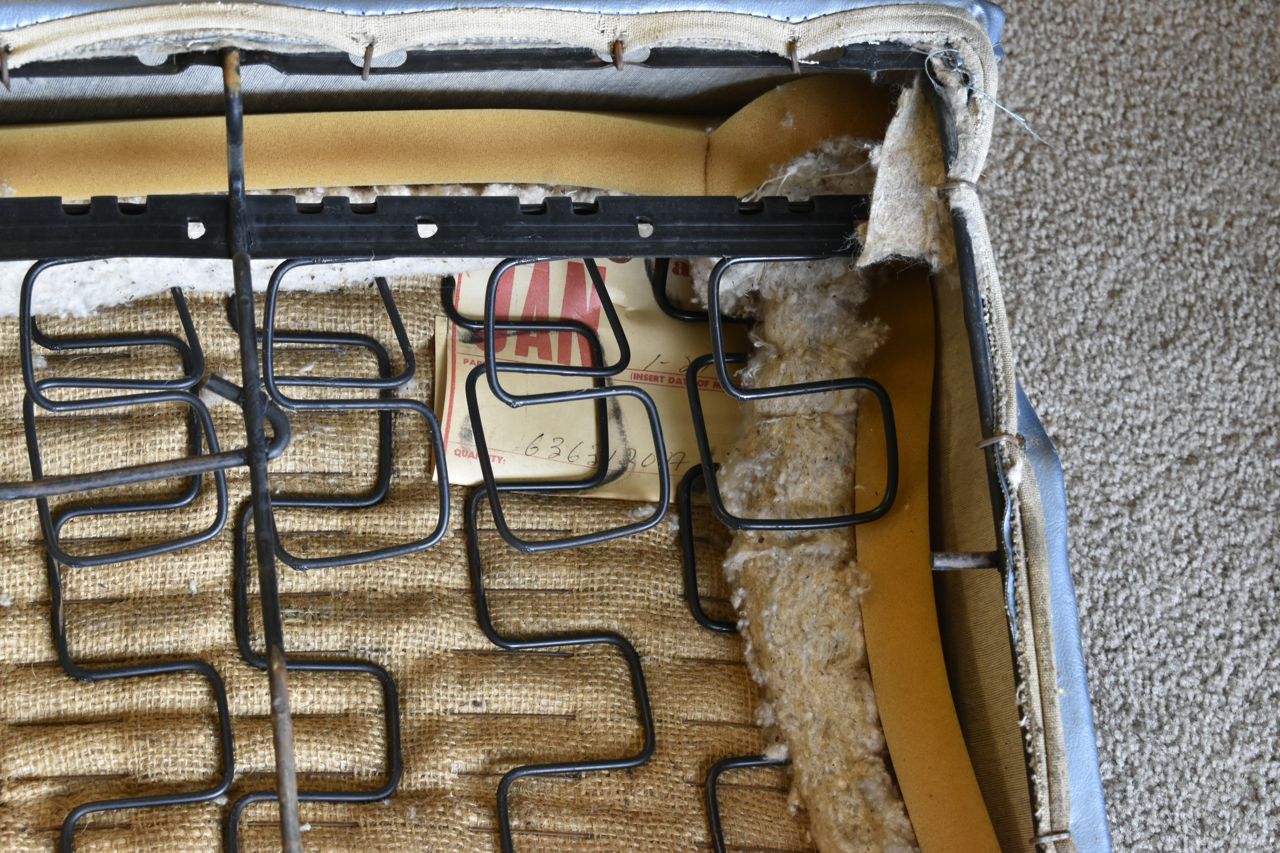
This was neat to find, there is a tag with the part number for the seat but also the serial number for the car.
I left this tag in place for the new covering and such.
The new seat cover. So we are changing the colour of the interior from the Ford blue to Ford palomino. These are the factory replacement style seat covers.
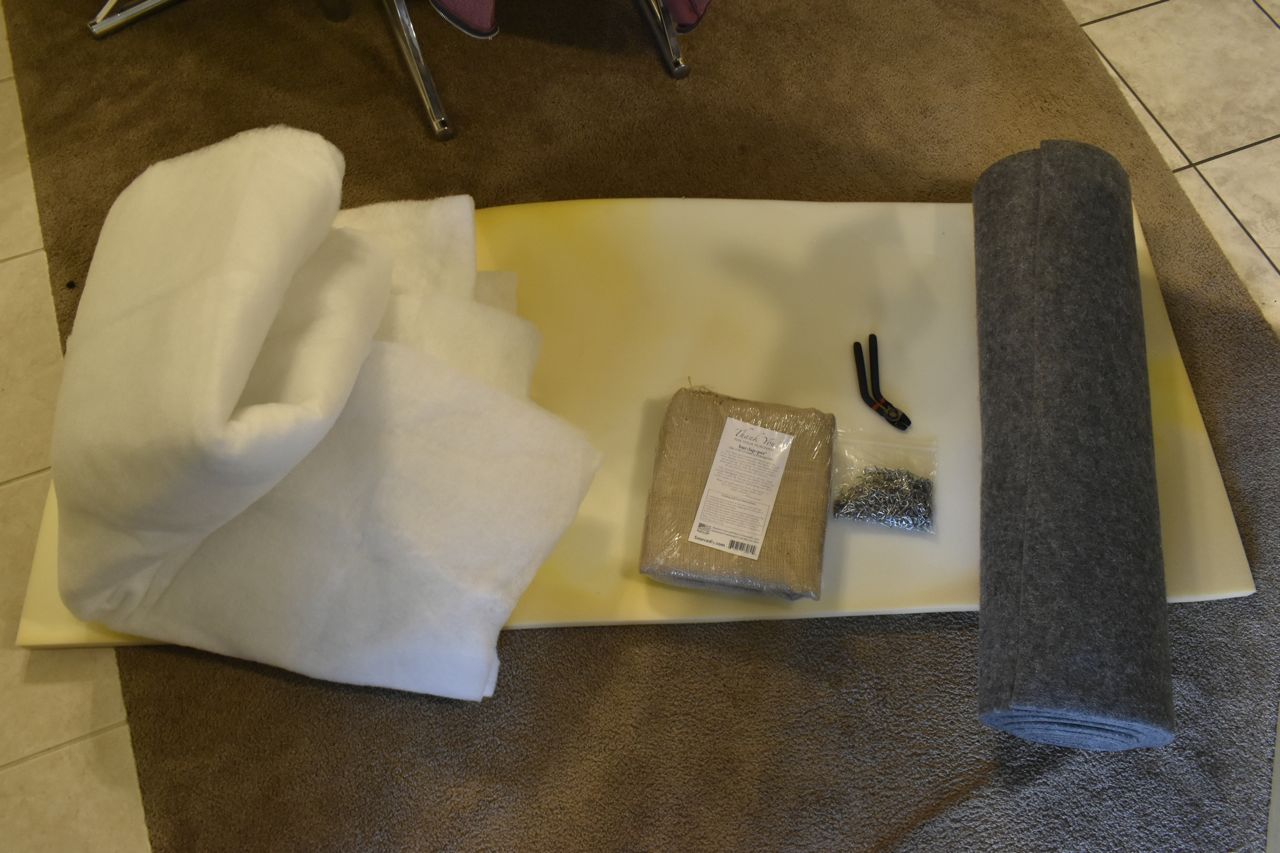
I wanted to replace the old stuffing and whatnot to rid that smell, but also use some more modern synthetic fibers instead of the cotton. I wanted to pick a material that would put off any future rodentia.
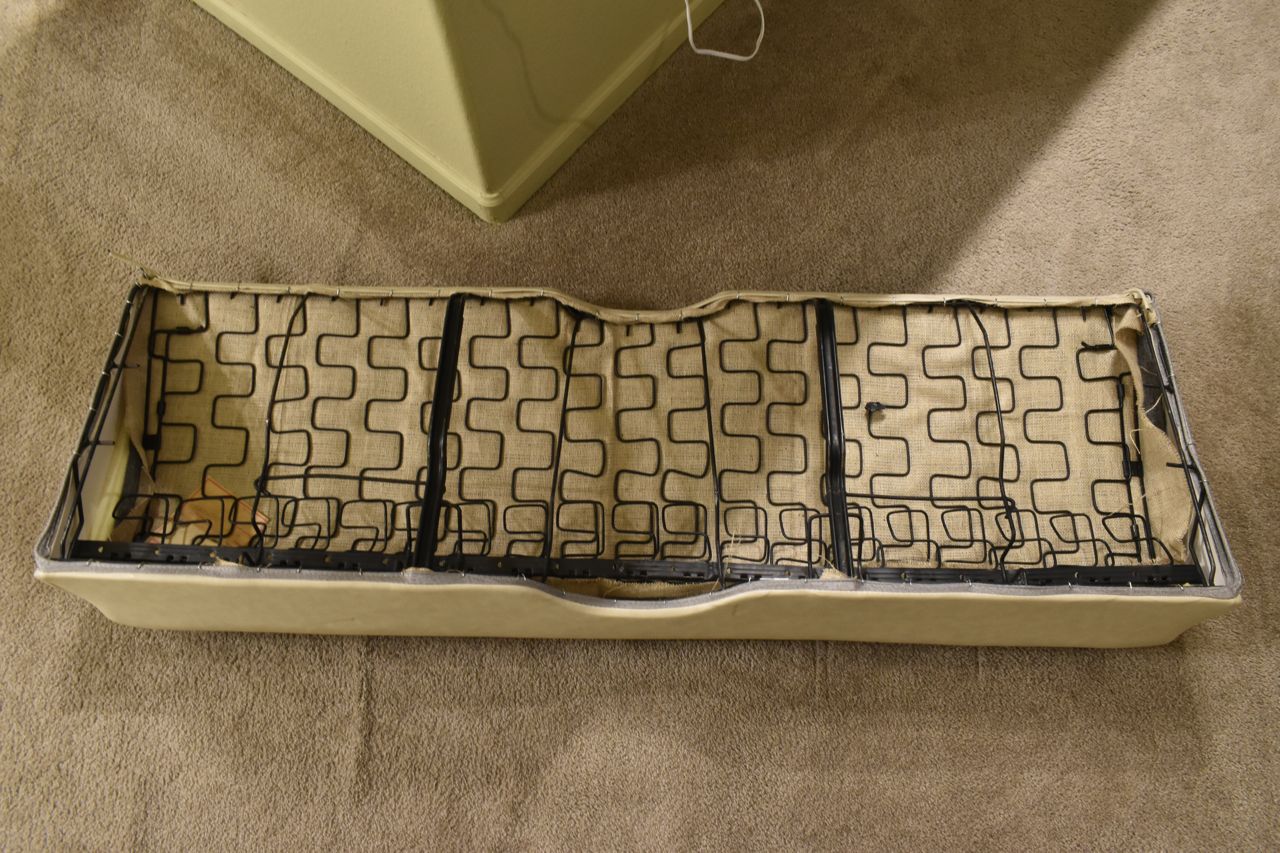
The seat frame cleaned up rather nicely.
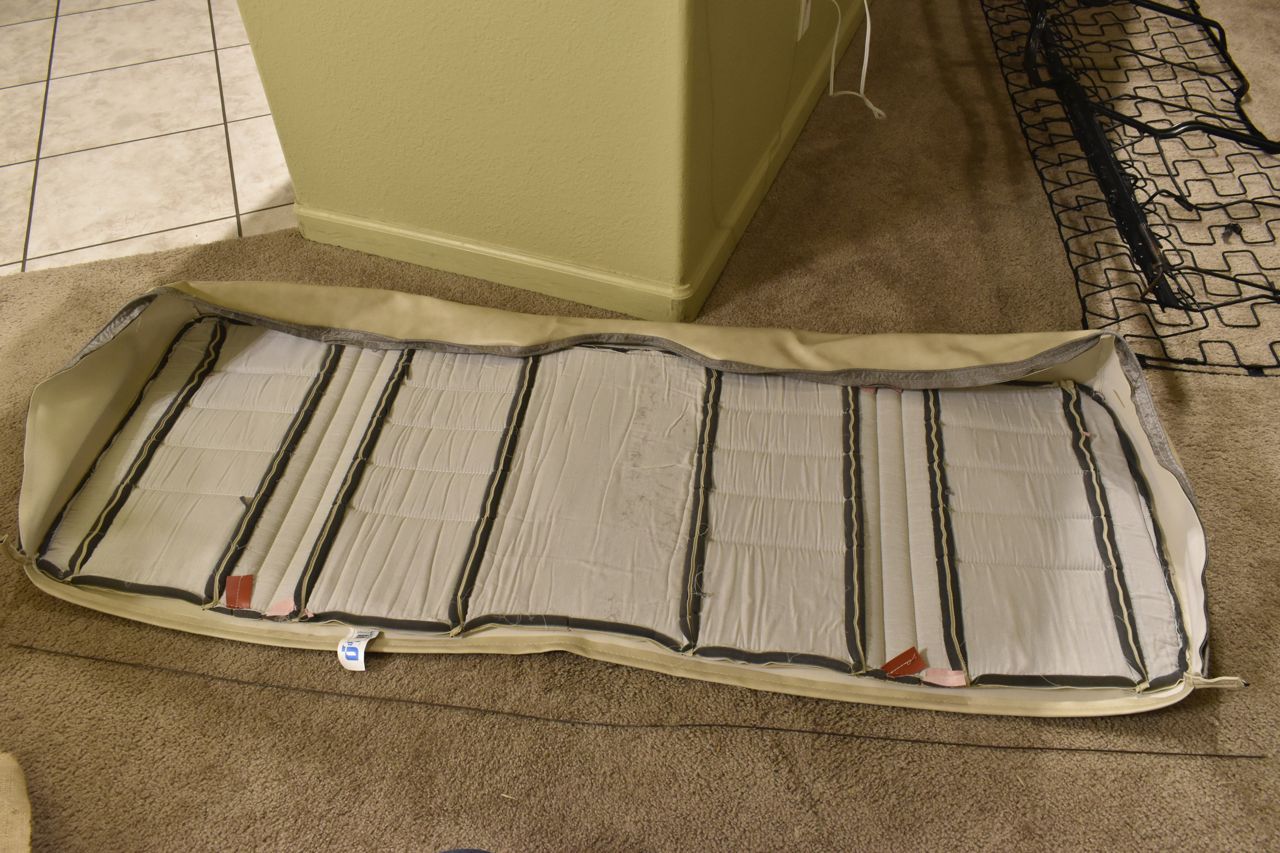
There was one problem with the new lower seat cover. There was no wire in the rear material loop for the hog ring to latch onto.
I nicked it from the old seat cover, then made a tiny hole in the rear sewn foldover of material and inserted it in place. I guess they just forgot to put that in.
Here's the completed new seat. Here's what I learned:
I used carpet jute material to substitute for the original cotton filler as it was close to the thickness and compressibility. I used new burlap and also the same thickness new foam slab as the original. I did not use the Dacron.

In order to fit this as the original, this is what I did:
1. Trim the filler material flush with the back seat mounting flange.
2. Flip the new cover upside-down and lay the filler layers in the cover.
3. Then place the frame upside-down on top of all that.
4. Let the filler material overhang the sides and front (similar to factory)
5. Start securing the seat cover in the rear middle.
6. Once the rear middle is hog ringed then pull the rear sides to stretch.
7. Finish installing hog rings to finish securing the backside first.
8. Secure the front middle with hog rings.
9. Pull and stretch the cover over the sides of the metal frame.
10. Finish securing the front with hog rings.
11. Finish the sides with hog rings.
Done.
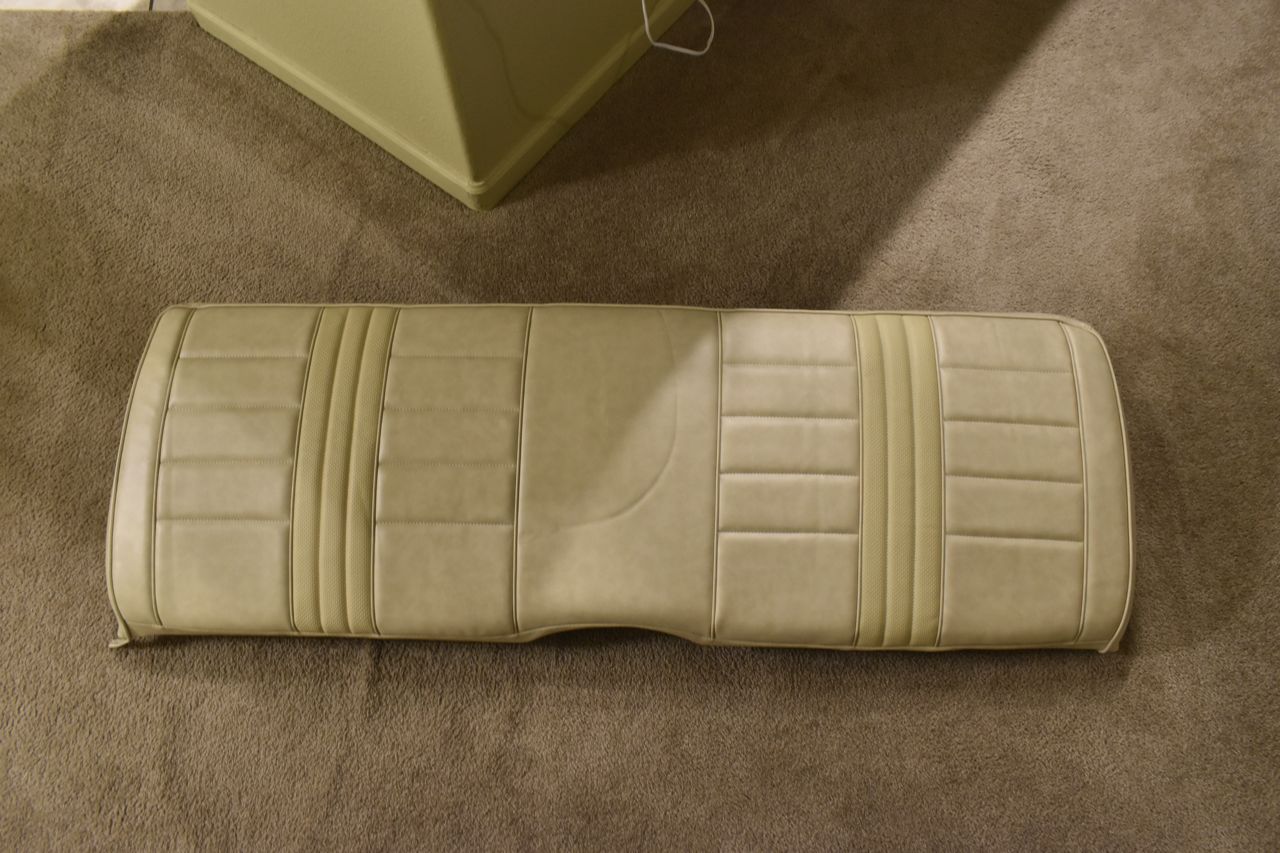
I figure it will take a while for the fold lines to work themselves out. But it looks a darn sight nicer and smells like new upholstery.
The padding just floats on top of the metal frame. This seat cushion doesn't grip naturally all the way around. I've replaced the seat covers in my Impala SS and those had formed seat foam in the front buckets and the rear seats.
These seats are nothing like that Chevrolet rear seats. It's one reason why I had to start over multiple times and it took me all day to get this right.
Next, I thought I'd finish up the rear seats.
I thought the lower seat was difficult. This was the involved one.
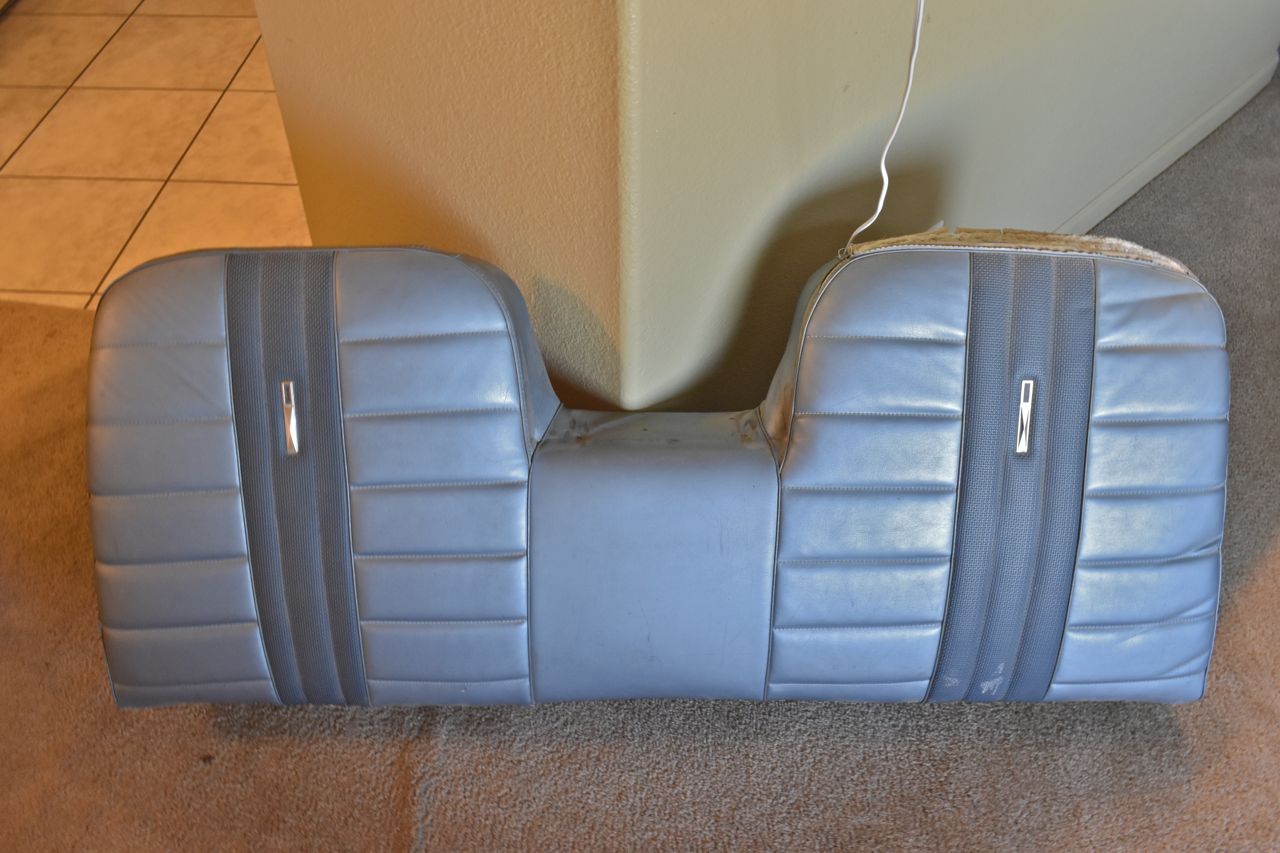
The upper rear seat back has loads of cotton in it especially sewn into the sides, top and bottom to make the edges around the seat puffy.
This must have taken loads of time to sew up and crudely form to this seat. They would have been better off molding foam to these seats as in the fronts. Why they didn't do that I'll never know.
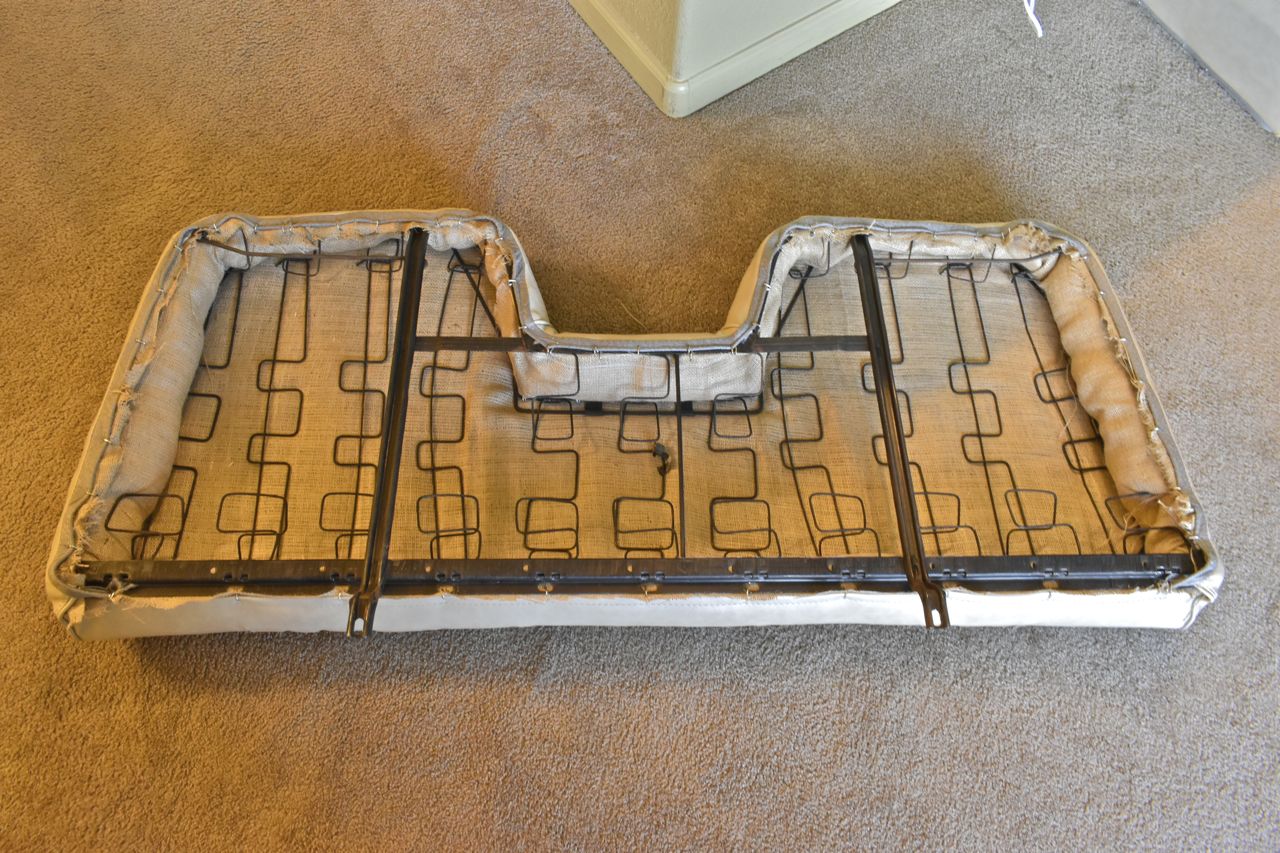
I had to come up with a way to make the new material work in a similar fashion. In this case I used the roll of Dacron as it simulates the cotton in compressibility and softness. I also used the jute material as well as the burlap.
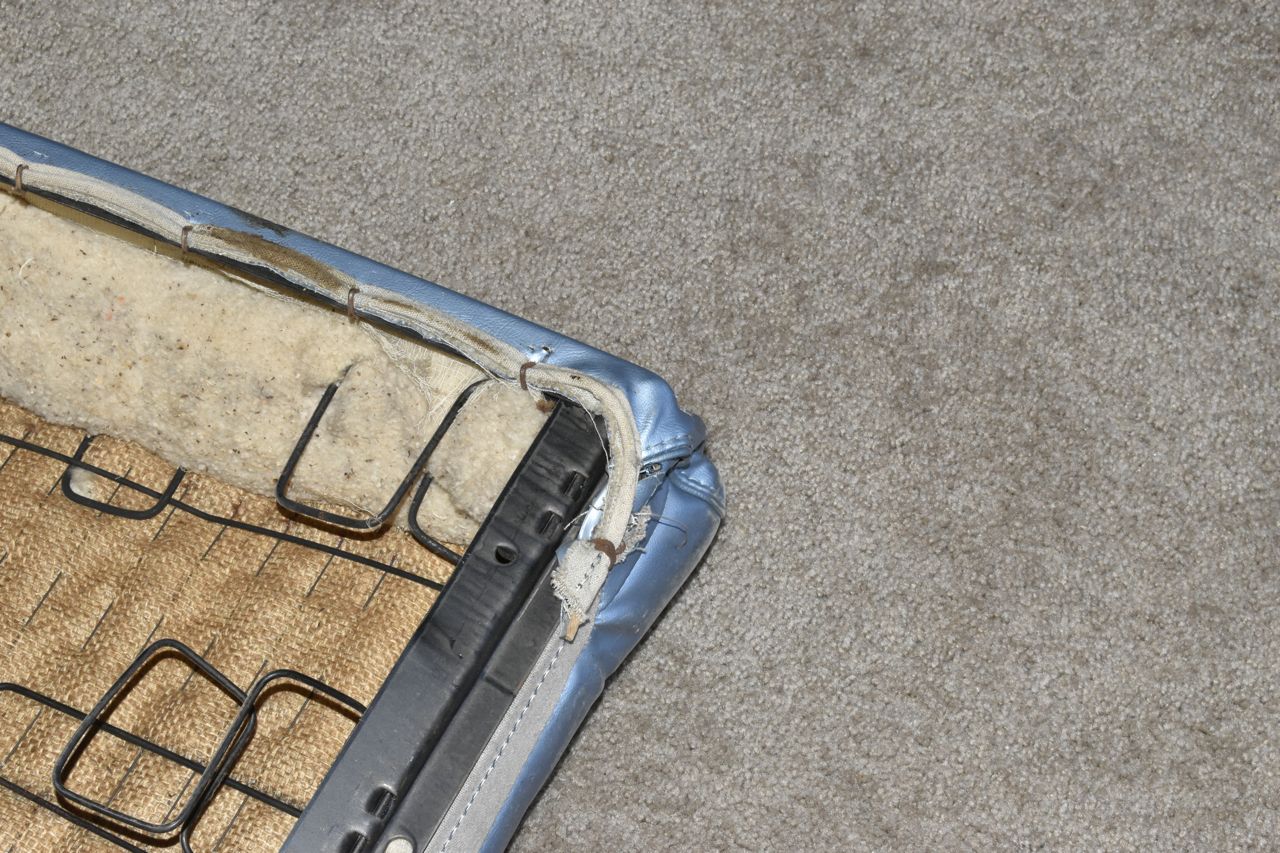

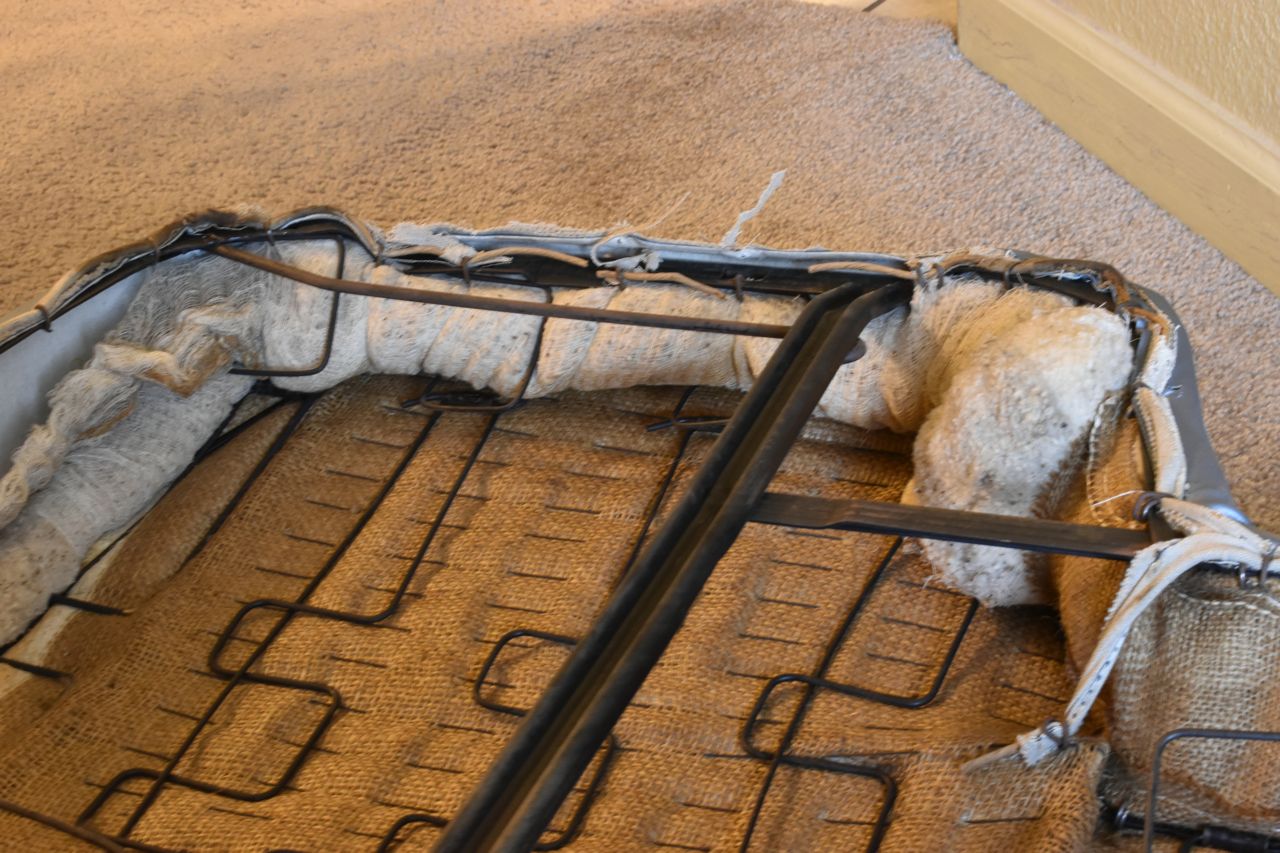
The new seat cover.
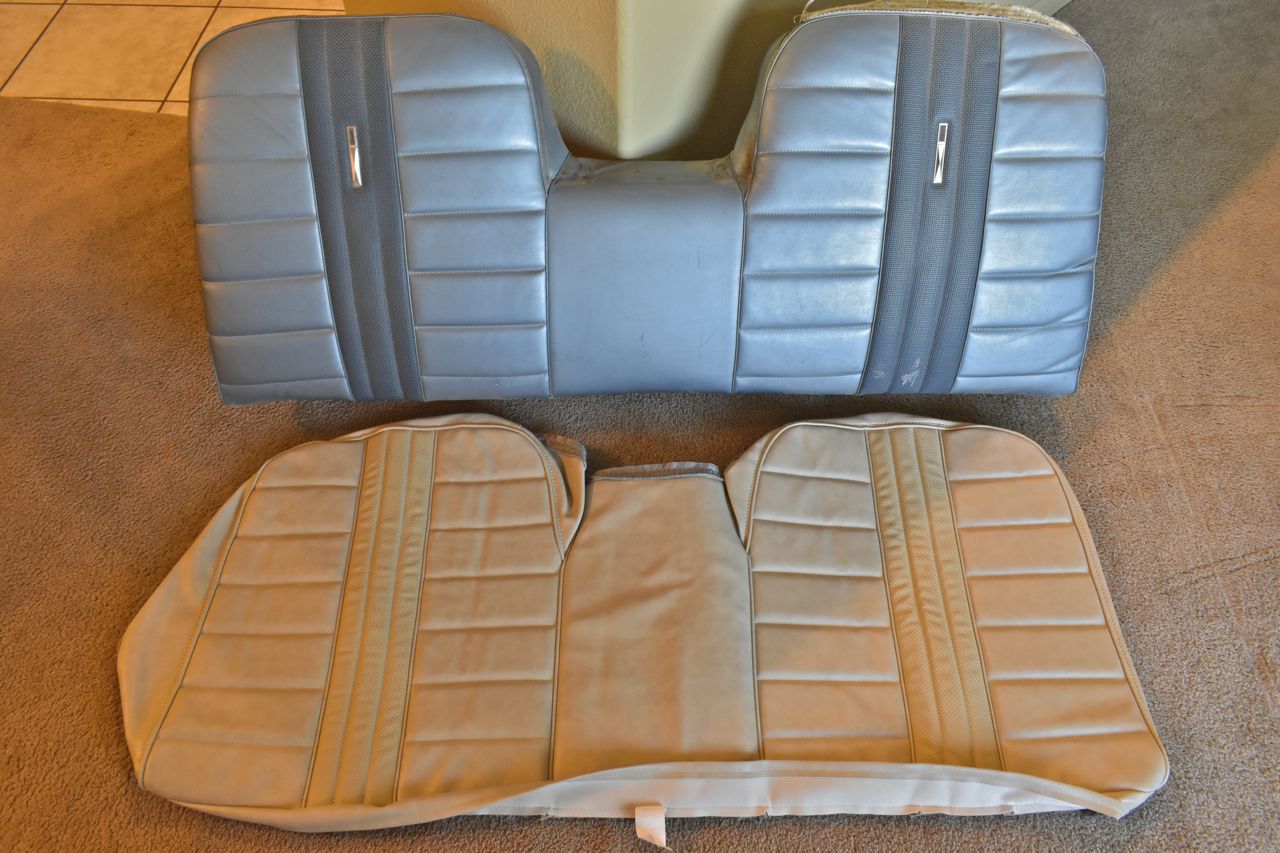
I bought new seat emblems as the old ones were pretty scratched up and the faux wood applique was peeling off.
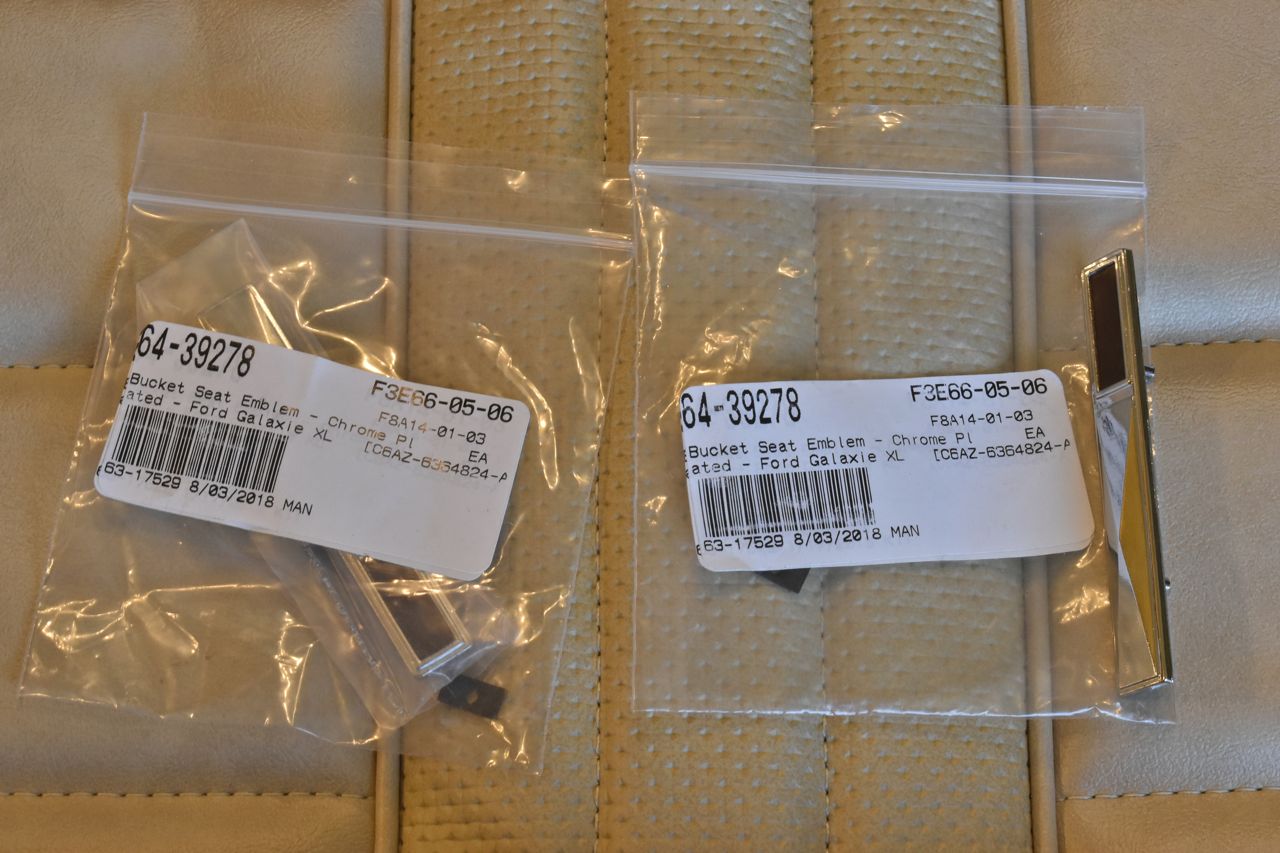
First I needed the metal cups behind the emblems in the old seat, plus the metal wire in the lower material fold over as the new seat cover was missing that as well, just like the lower seat cover was missing its wire. So you do have to reuse some bits off the old seat covers.

I carefully measured and installed the new emblems with the old cups and Styrofoam glued to the backside as in the factory covers.
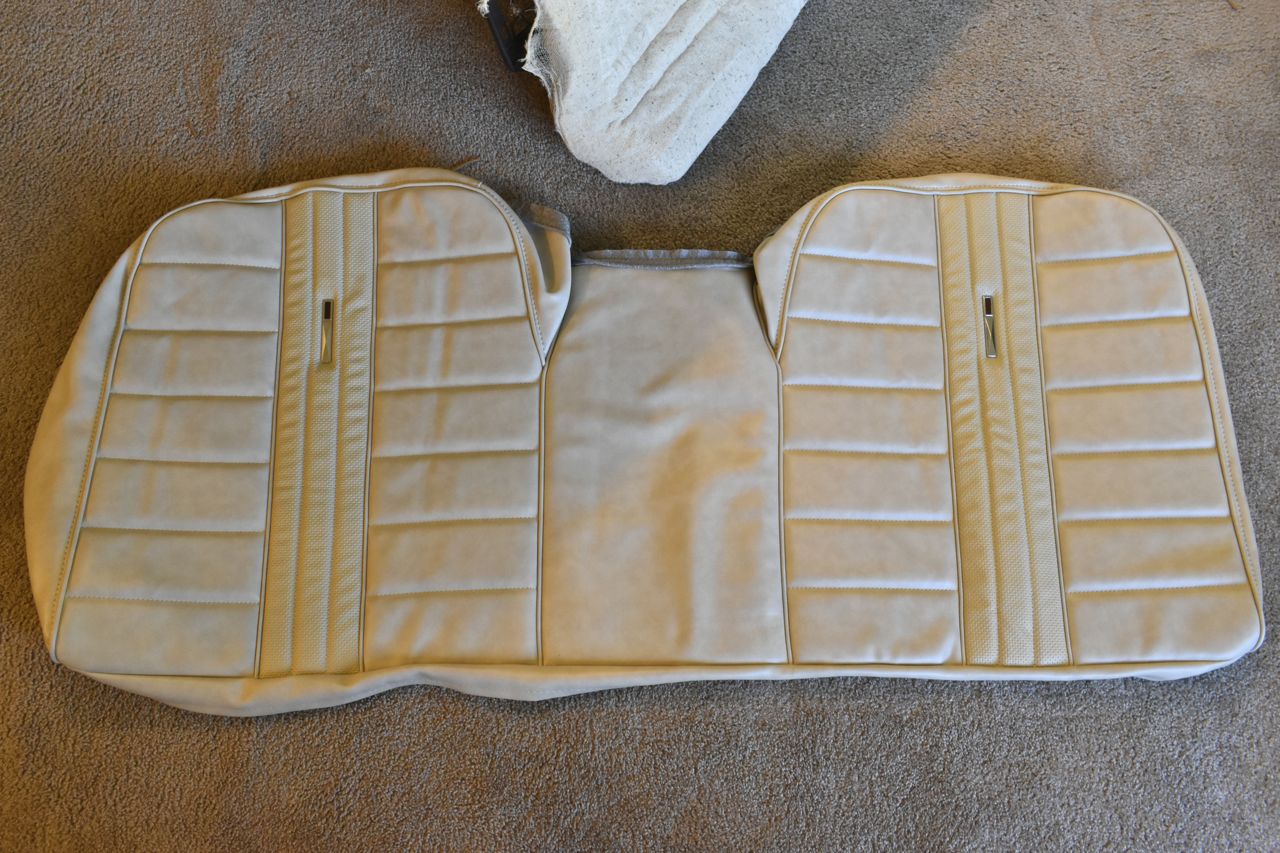
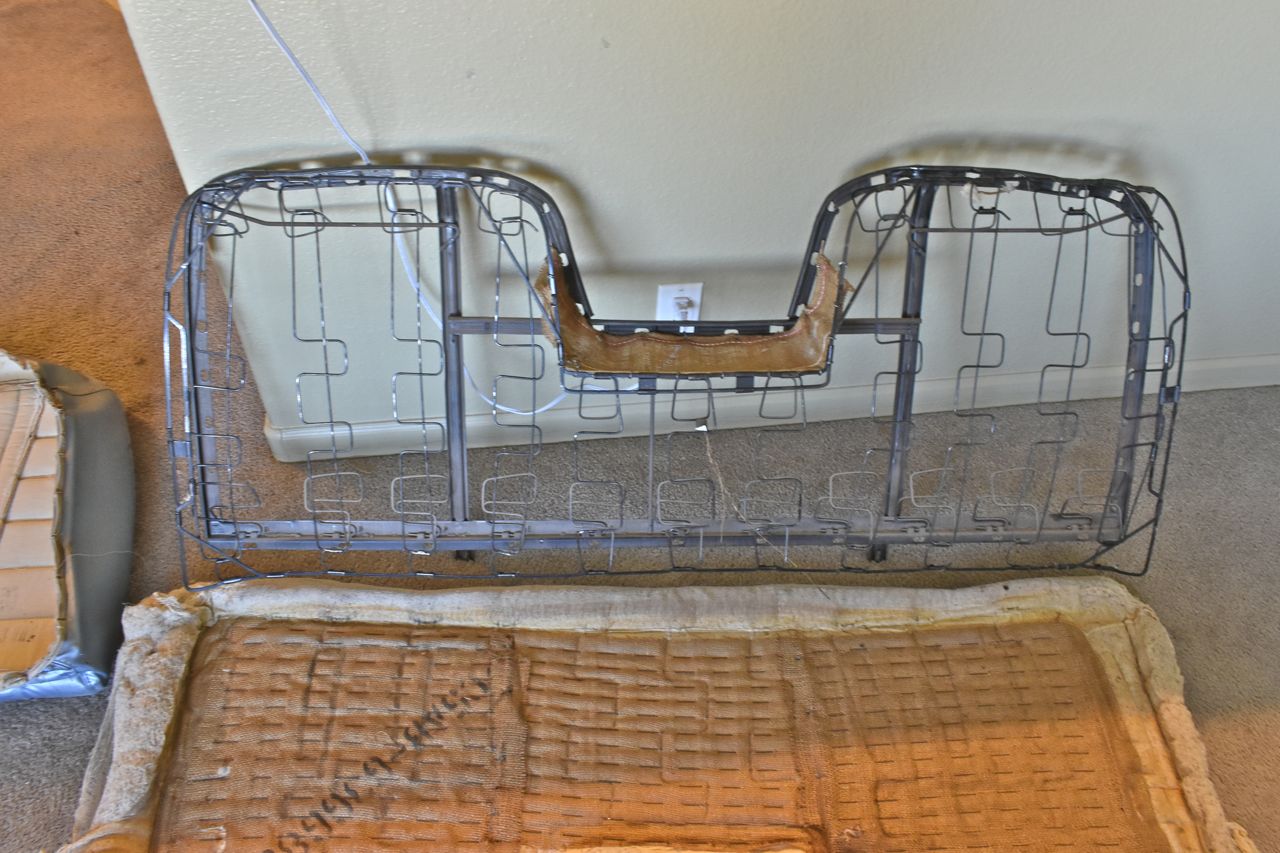
You can see how the old seat cotton/backing is more less formed the hard way. On the seat frame there is a separate piece of sewn burlap with support and that is installed first. This piece was disintegrating and need to be made first.
I had to sew the channels/fold overs into the new burlap. I went and bought a sewing machine at Wally World. I opted for the heavy duty version with no electronic controls (other than the speed control). I figured buy the most simple and robust machine I could so it would last. This little guy worked fantastic right out the box.
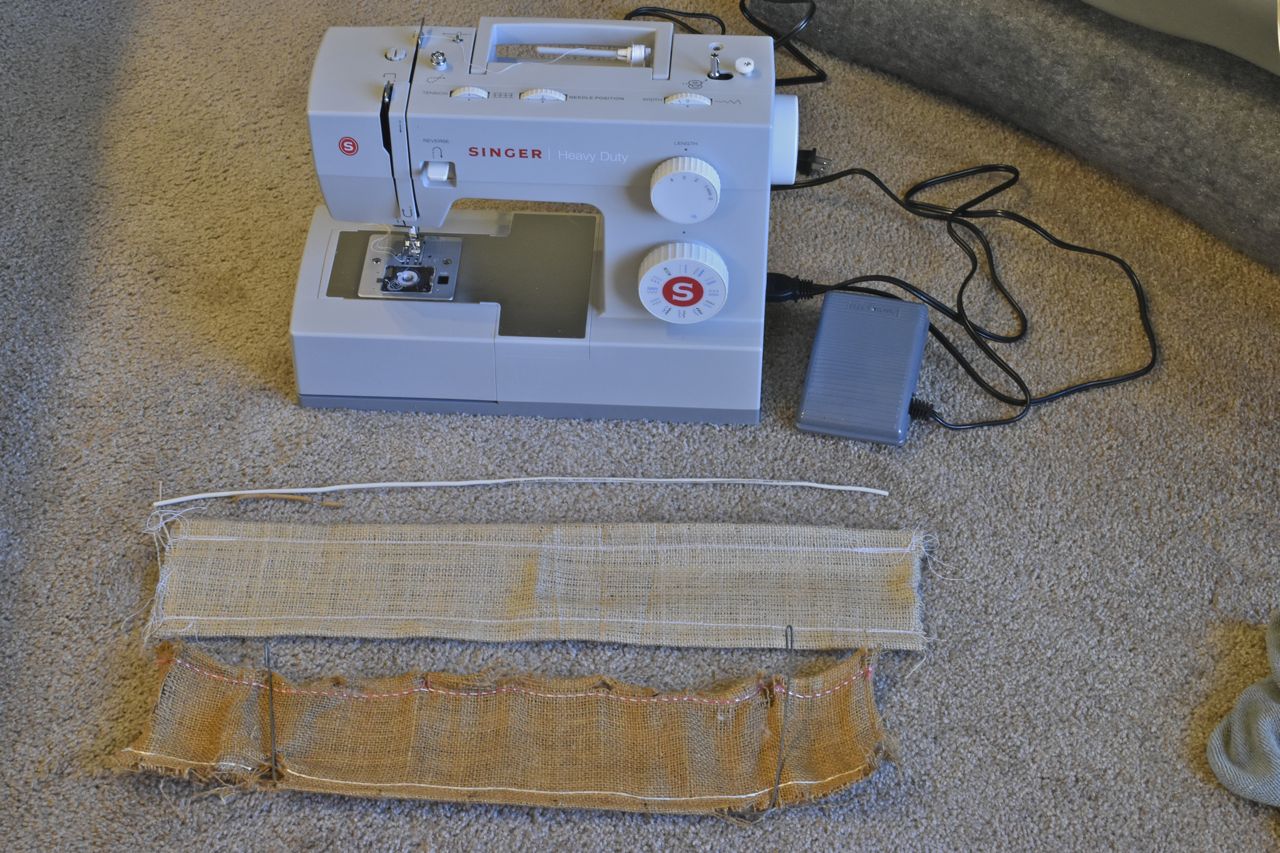
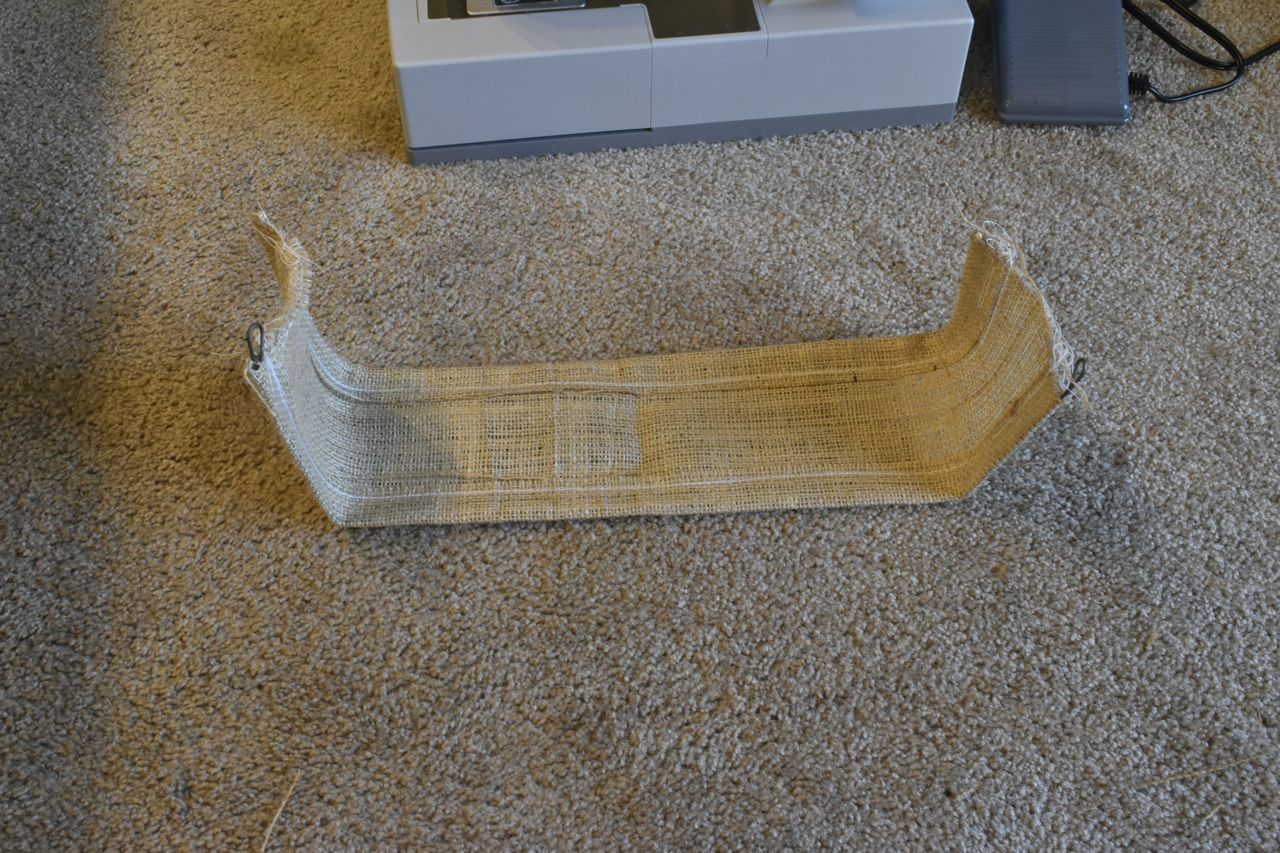
Inserted the wire in the sewn channels.
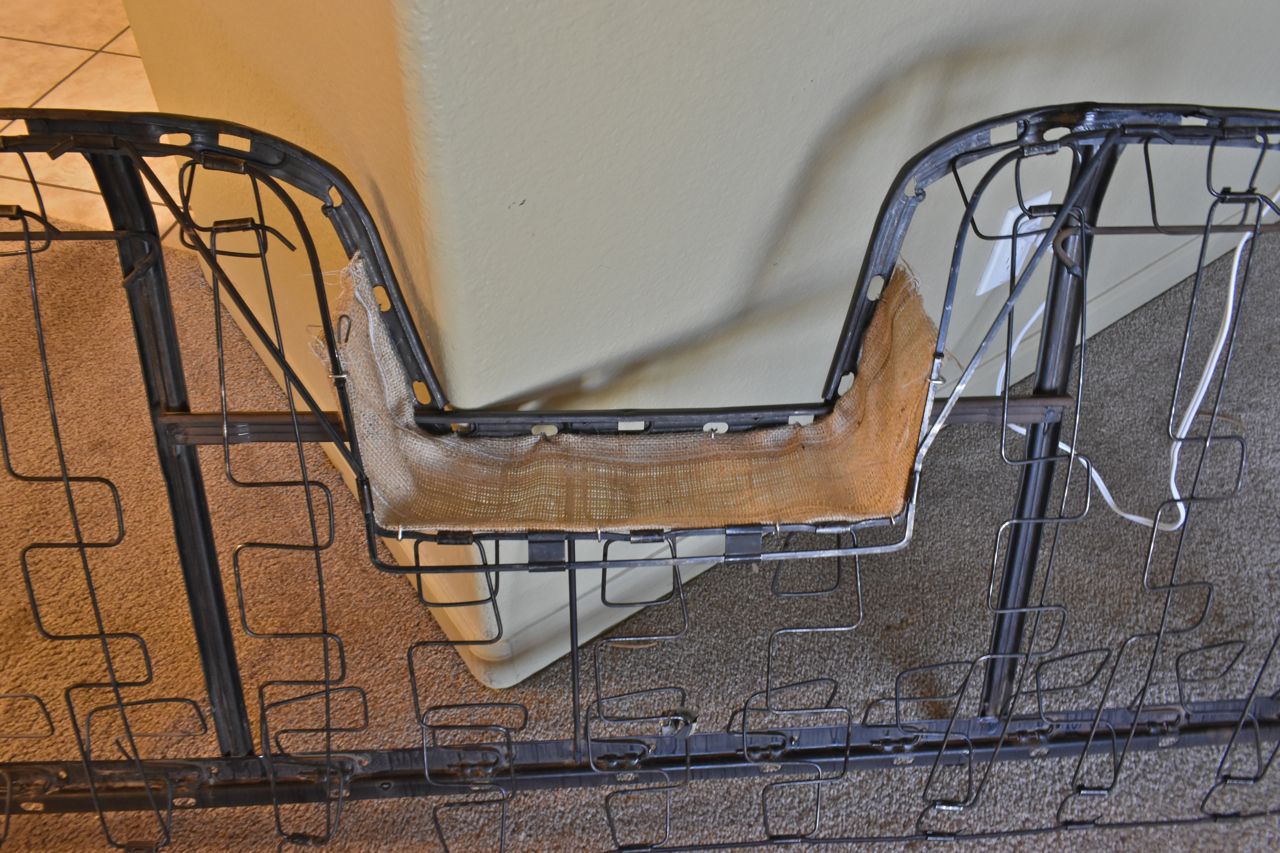
That was secured with hog rings first on the cleaned metal frame.
Next I layered the jute, Dacron and burlap roughly into place and then laid the metal frame atop and started at the middle bottom and worked outwards on the bottom until it was secured. Now the tricky bit was leaving enough Dacron overhanging and pulling on the burlap to act as a pocket for the Dacron to sit and put tension on the sides so they would puff out. This took quite some time. I did end up undoing some of it and removing excess Dacron and stuff it in places where there wasn't enough.
As you can see I used the burlap excess to form pockets to hold the Dacron in place.
What a pain in the........

But it's done. Again it will need some heat and sun in the summer to work out the wrinkles from sitting so long folded.
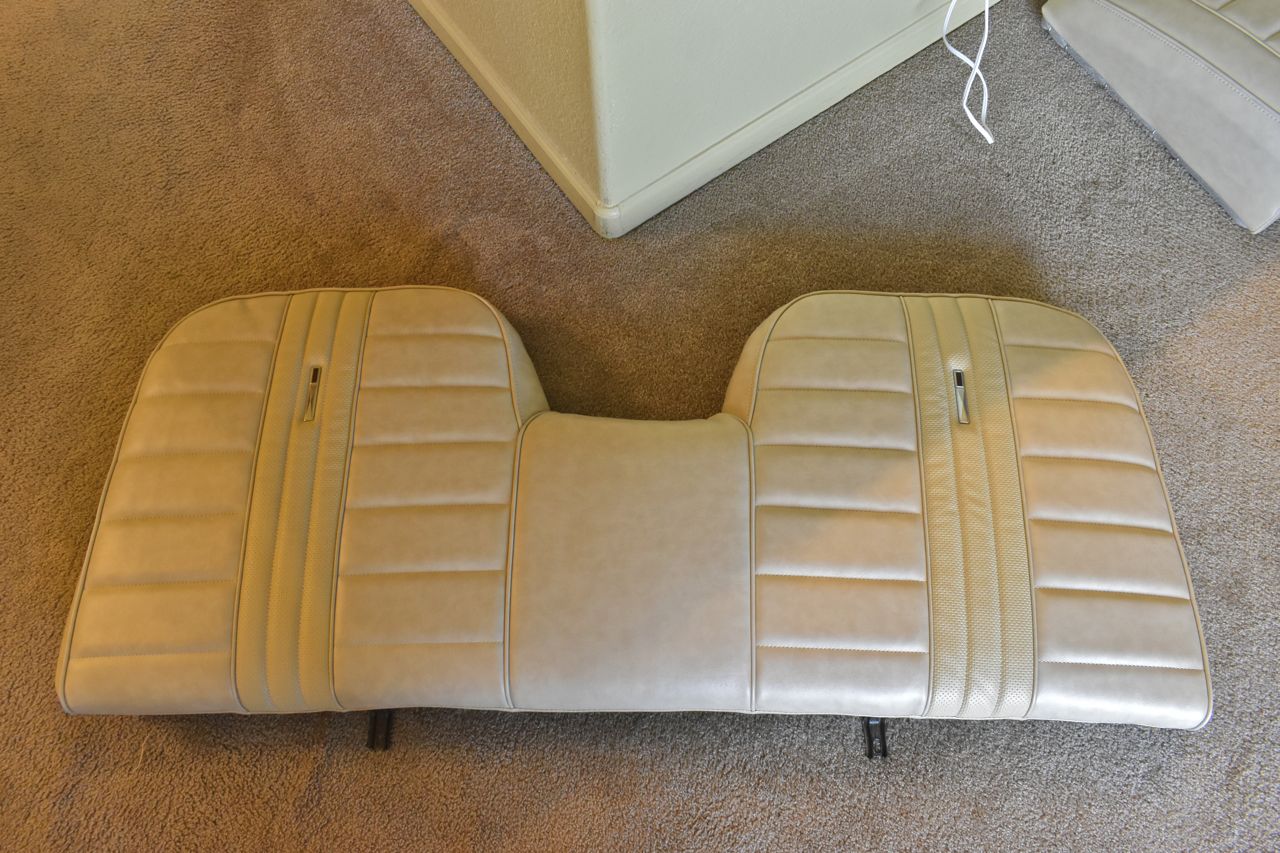
That concludes the rear seat.

Boy I can't wait to get the body done to start installing this and the rest of the interior.
It's funny how this is quite a modern colour. It's very Star Trek - Next Generation colour. However the ordinary more common colours offered like blues, reds, etc are very 60's/70's. But you do not see too many 3rd generation Fords with this color.
I bought the seat covers through a Mustang interior place, but they are made by the same company (probably thee only one) that makes them for places like MACS/Dearborn, Dennis Carpenter, Obsolete Auto, etc.
It's not SMS Auto Fabrics, that is unless they are doing business as Distinctive Industries. That's the tag on the seat covers. Also they were made in Mexico.
Cheers
Click here to continue to part 23