1966 Ford Galaxie 500 XL Refurbishment : 076 Interior HVAC Plenum, part 3
2023, November 14
1 - 2 - 3 - 4 - 5 - 6 - 7 - 8 - 9 - 10 - 11 - 12 - 13 - 14 - 15 - 16 - 17 - 18 - 19 - 20 - 21 - 22 - 23 - 24 - 25 - 26 - 27 - 28 - 29 - 30 - 31 - 32 - 33 - 34 - 35 - 36 - 37 - 38 - 39 - 40 - 41 - 42 - 43 - 44 - 45 - 46 - 47 - 48 - 49 - 50 - 51 - 52 - 53 - 54 - 55 - 56 - 57 - 58 - 59 - 60 - 61 - 62 - 63 - 64 - 65 - 66 - 67 - 68 - 69 - 70 - 71 - 72 - 73 - 74 - 75 - 76 - 77 - 78 - 79 - 80 - 81 - 82 - 83 - 84 - 85 - 86 - 87 - 88 - 89 - 90 - 91 - 92 - 93 - 94 - 95 - 96 - 97 - 98Interior HVAC Plenum Part 3
Installed and sanity checking both doors for proper operation.
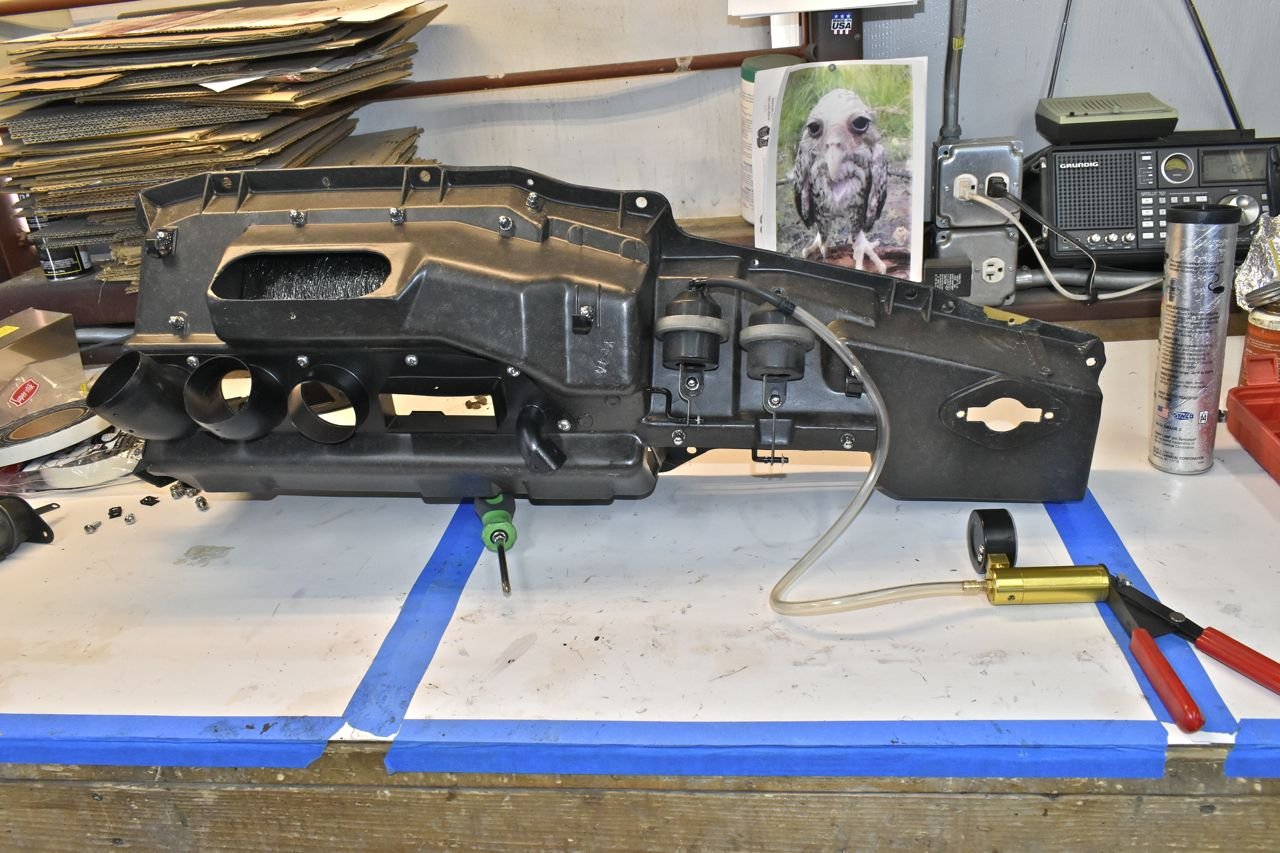
The last door is the fresh air door. The tinermans go in first.
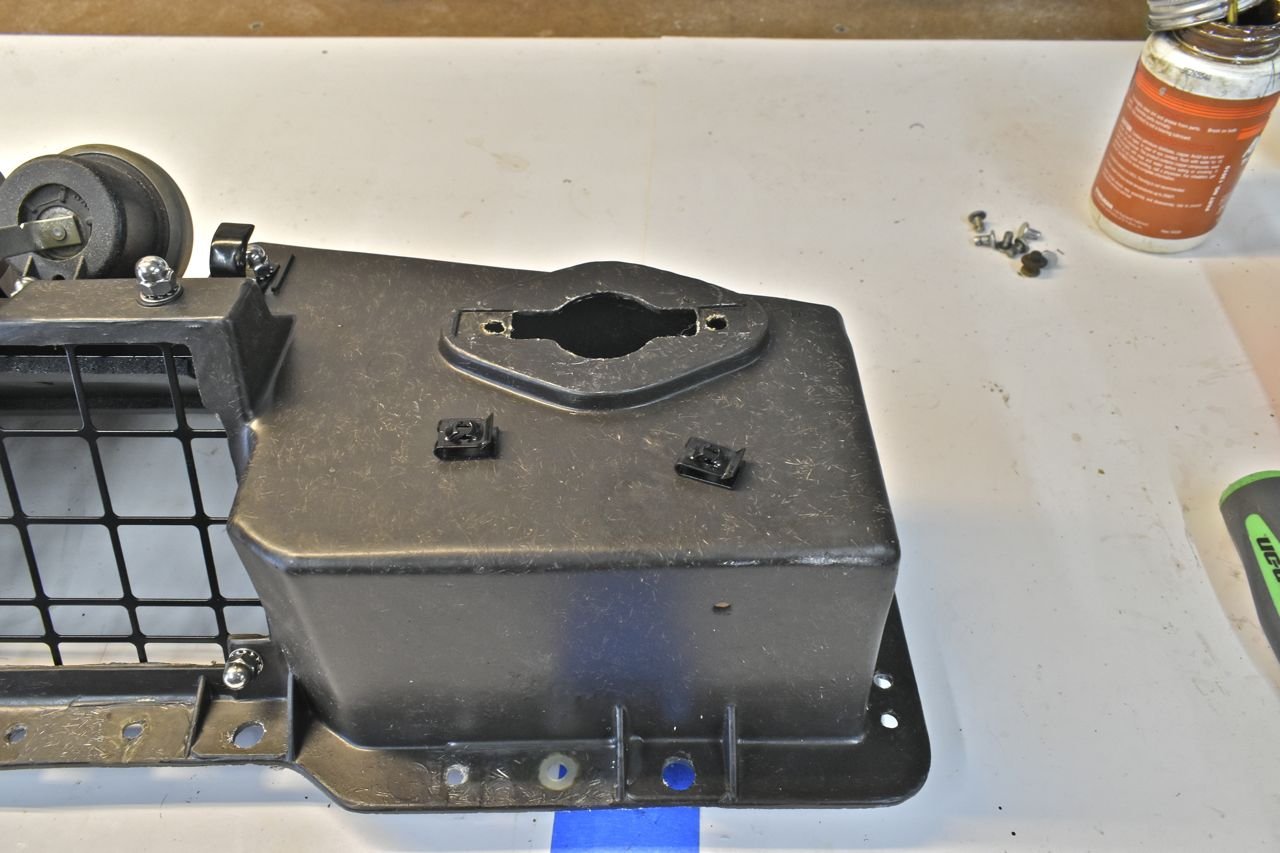

Unfortunately all these fresh air doors had rubber that was starting to delaminate. So I smeared some ultra black RTV around the areas where the rubber was lifting off to stop it from progressing. The rest of the rubber is extremely pliable and serviceable.
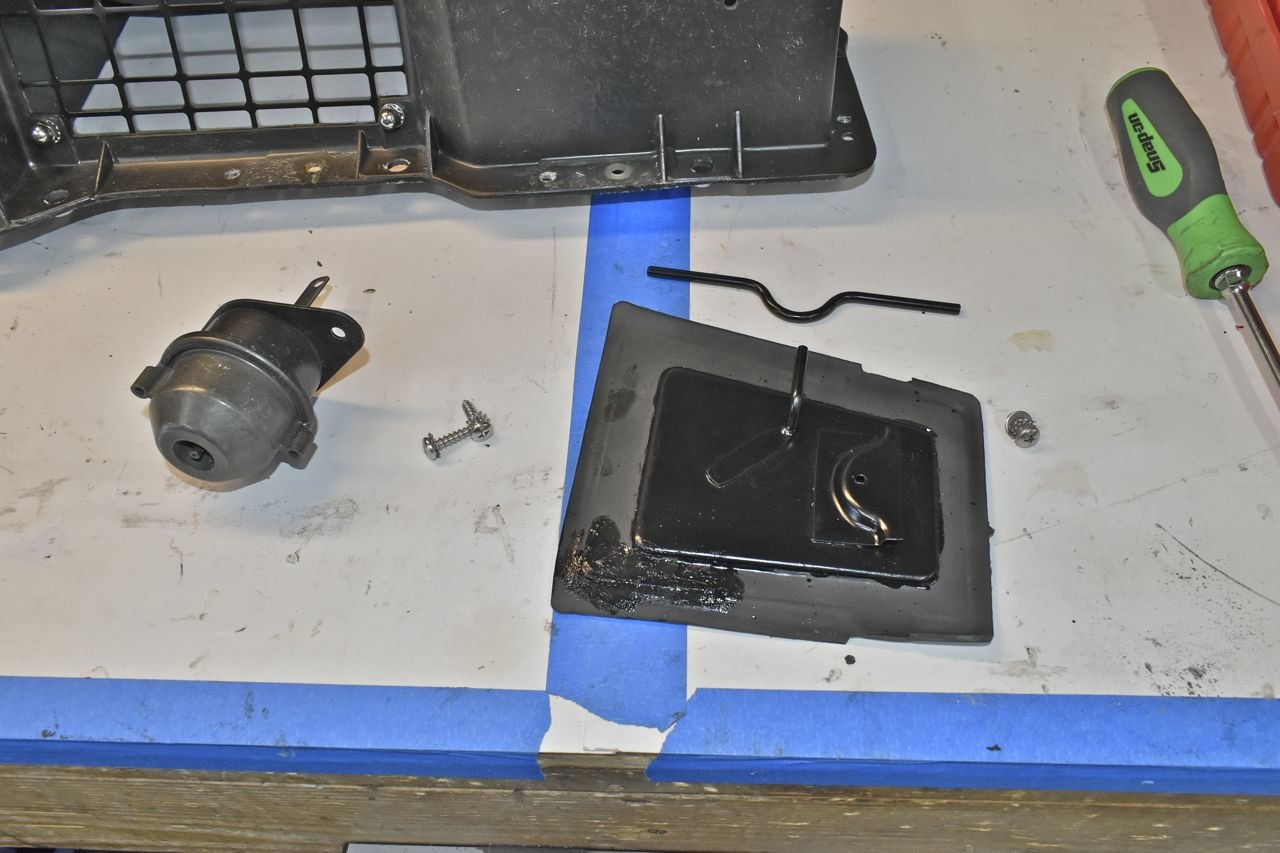
Door installed and servo attached.
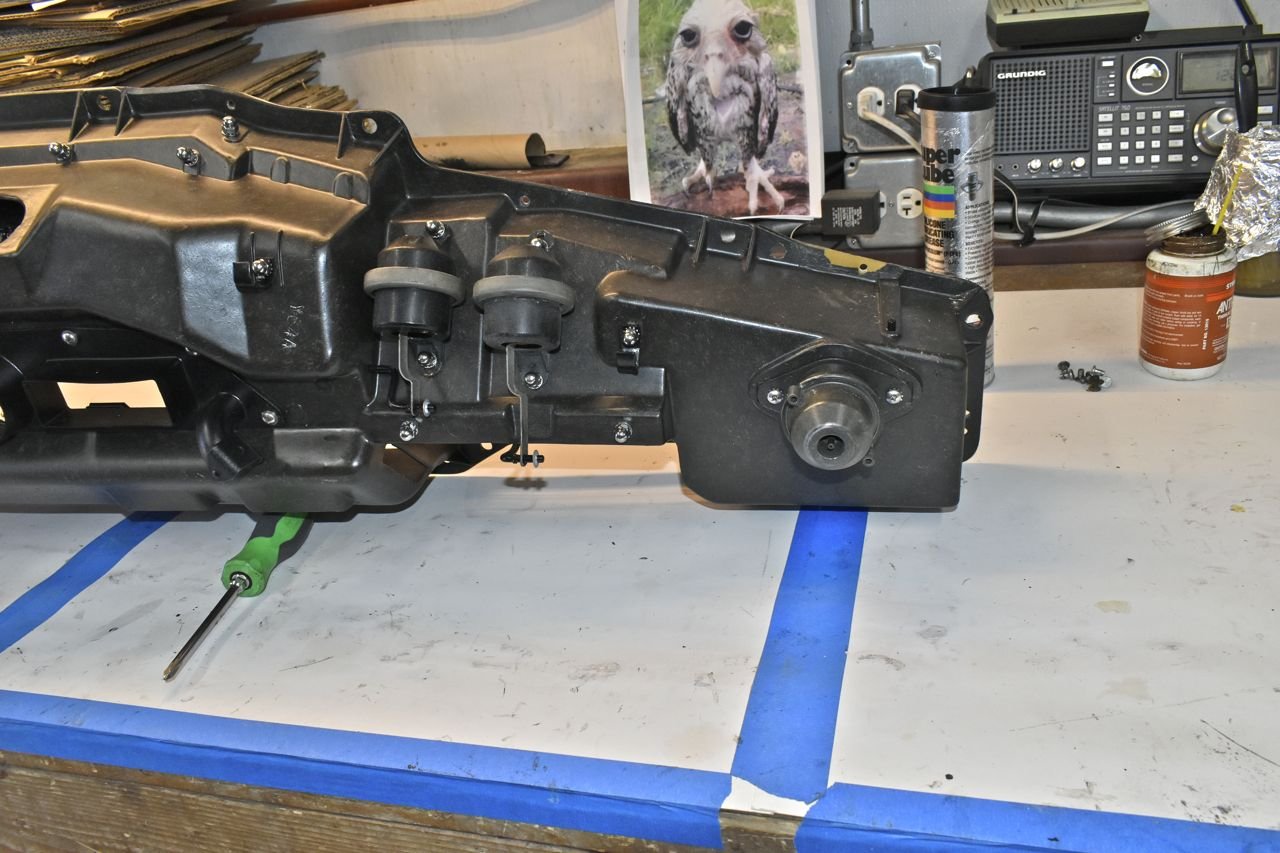
It's not pretty, but given the unique construction of the door (vulcanized perimeter) this will do for many years to come.

All the doors were checked now and everything is working smoothly. Now to prep for the steel outer ring on the plenum.
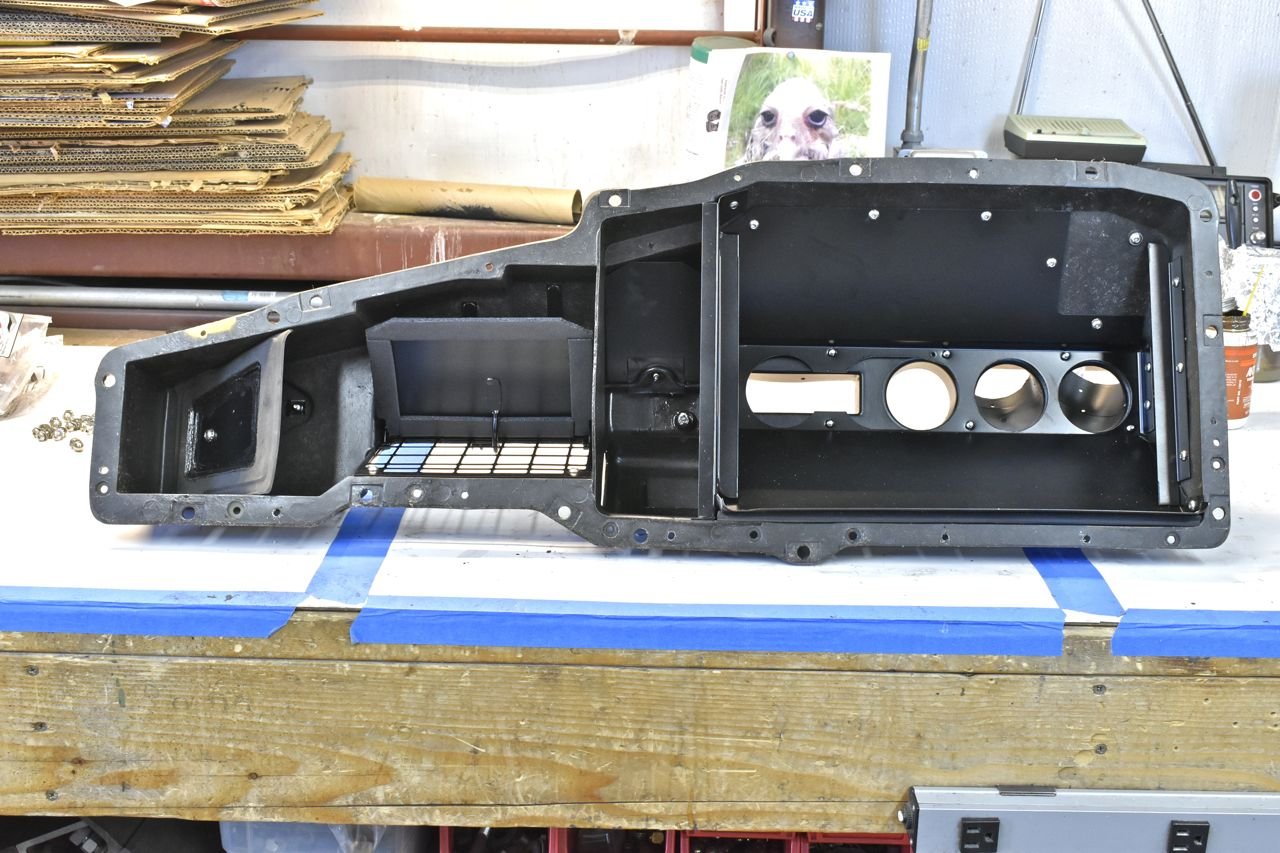
The large tinnermans are installed.
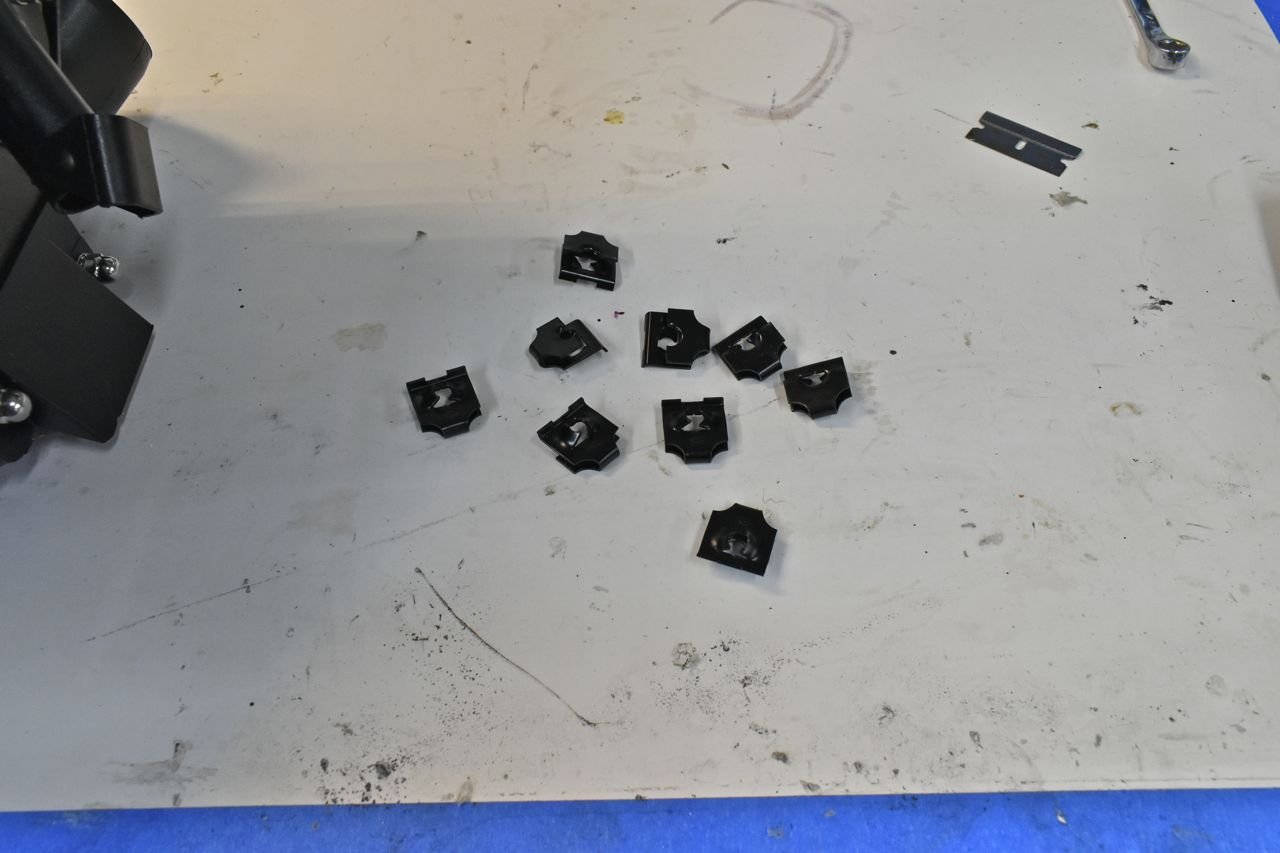
Along with the lower shield studs.

This is the material Ford used on this originally. It's messy so I want to use it as sparingly as possible.
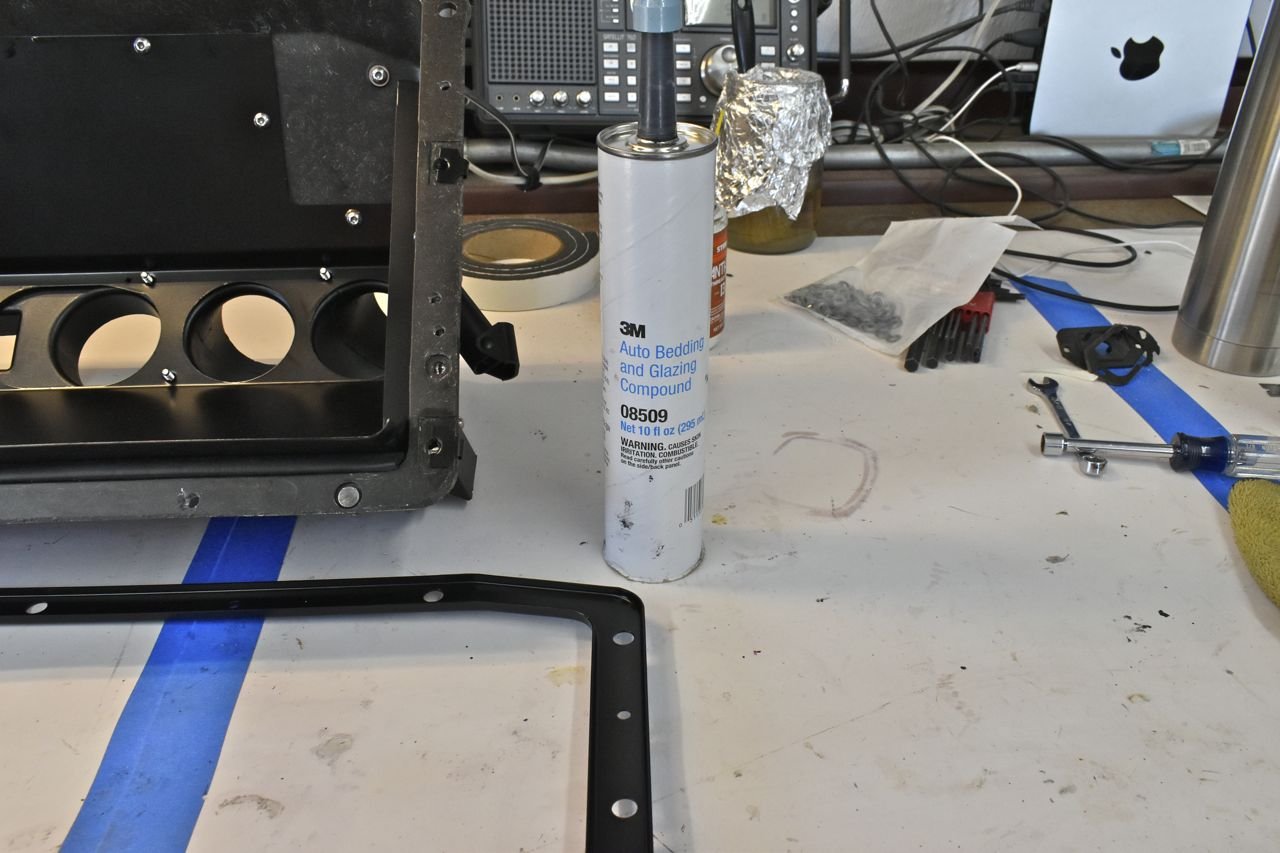
I experimented with applying this and found the small thin bead laid closest the interior was the best route.
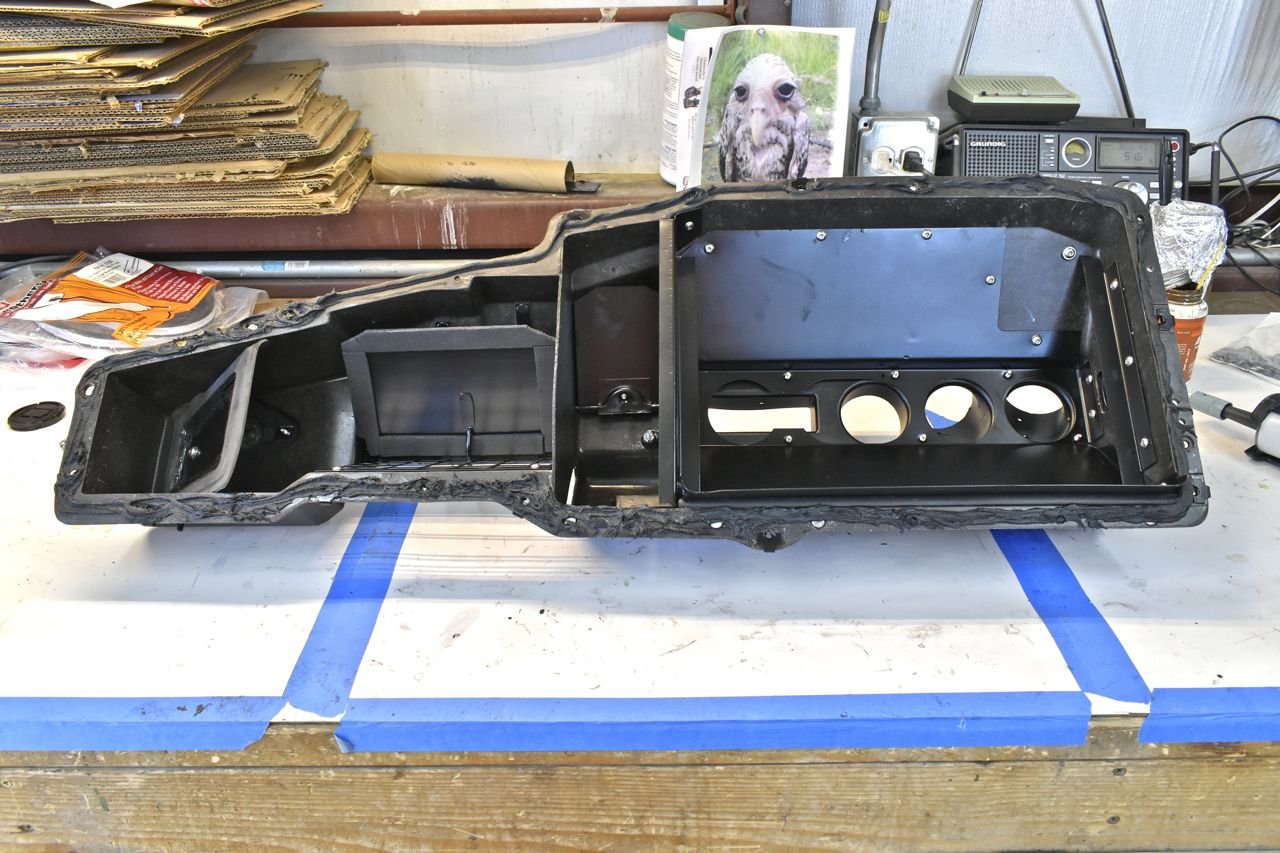
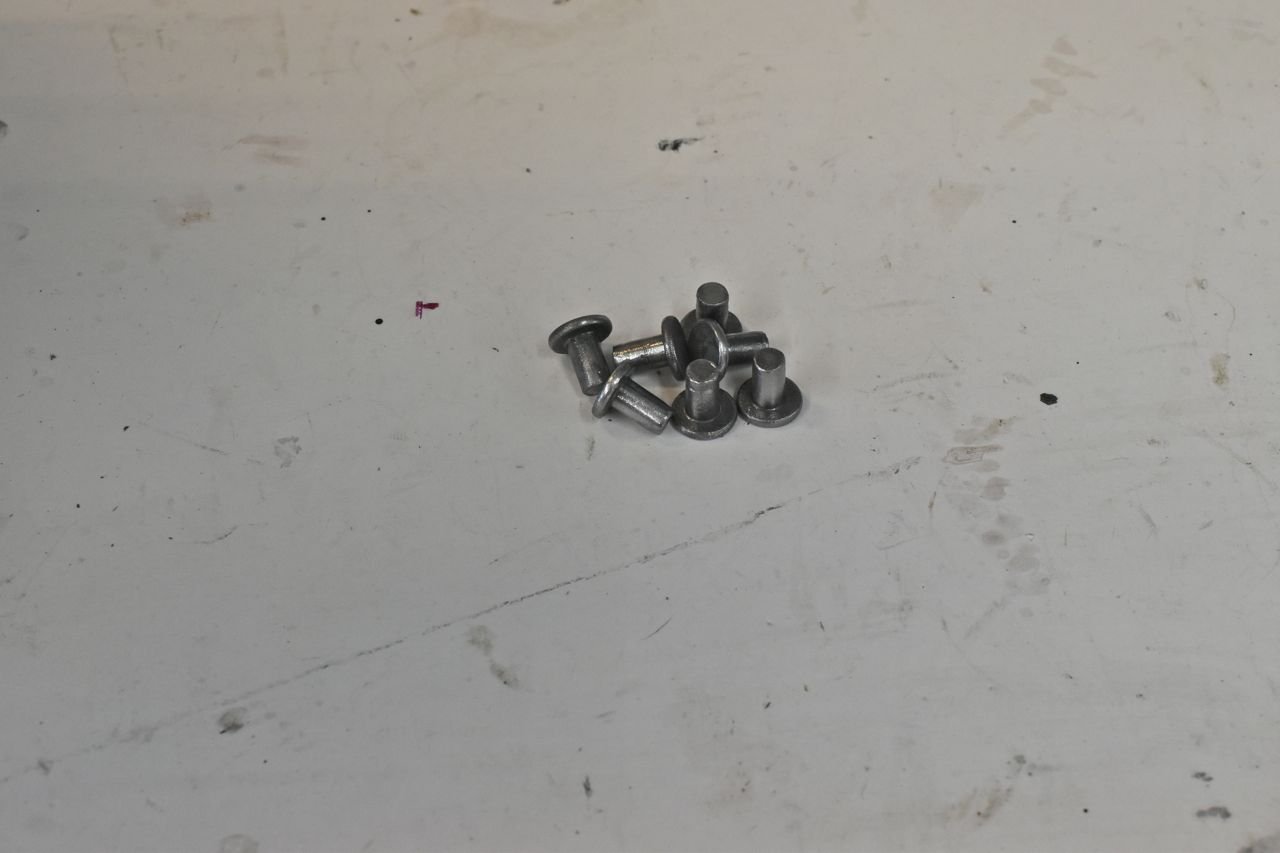
This too was riveted on but now I will use stainless hardware.
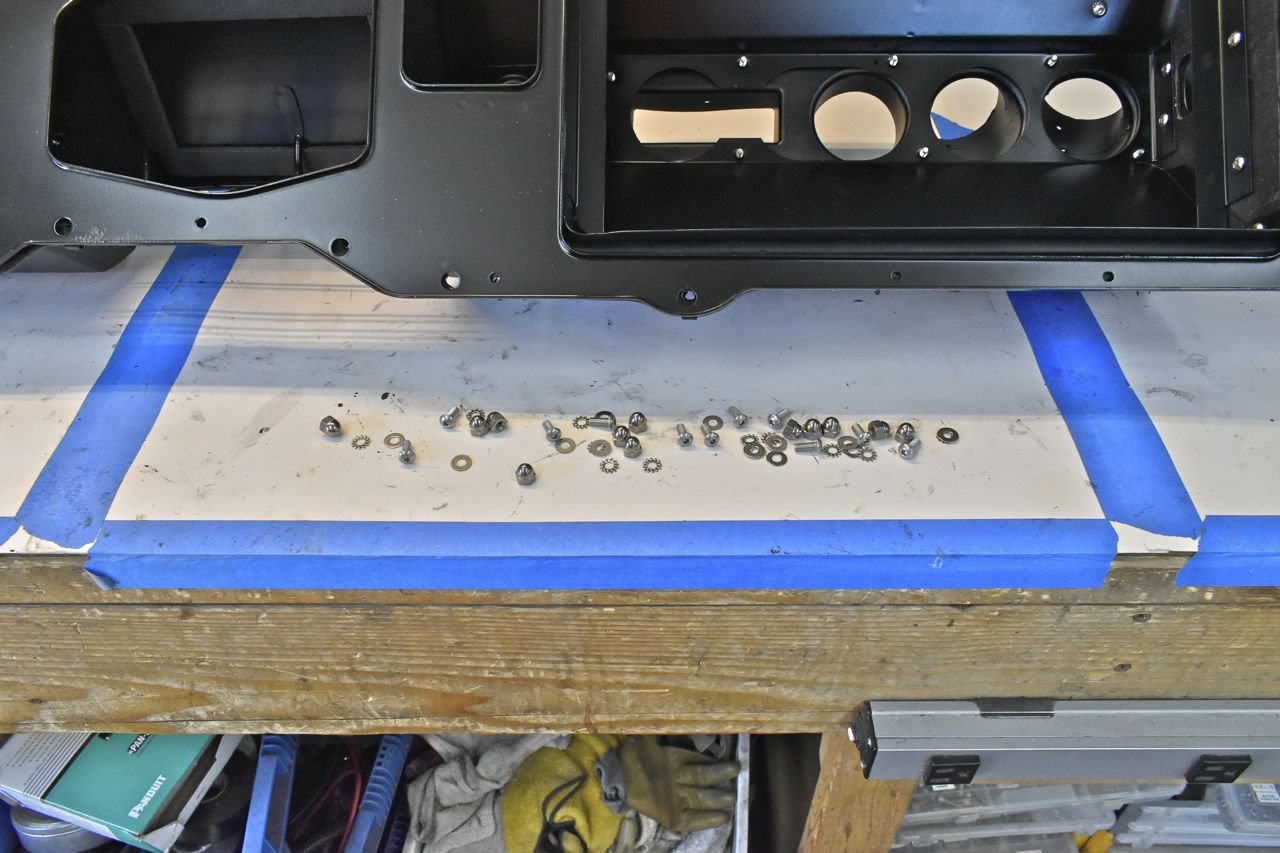
After much hardware assembly.
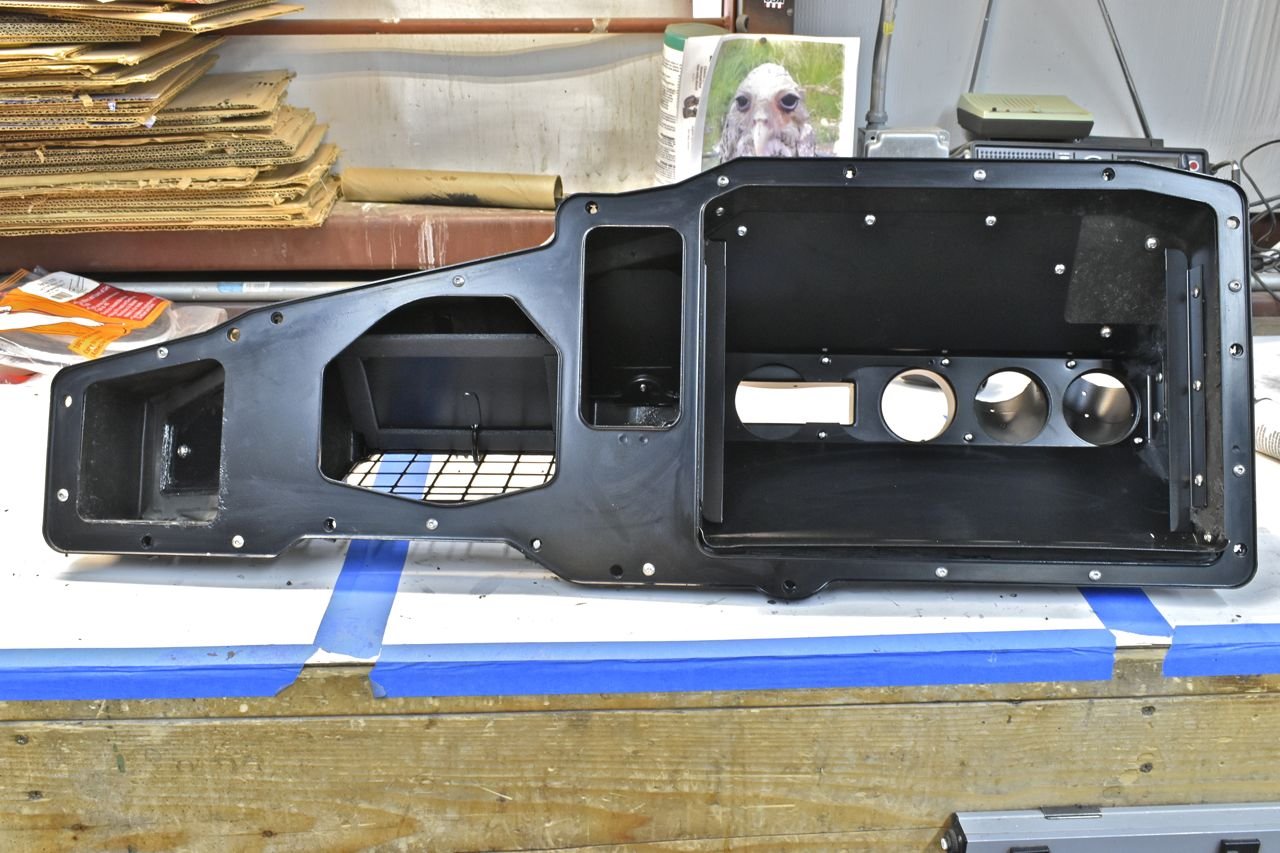
I know the gasket is piecemeal, however I chose this route for a couple of reasons. First finding a sheet of EPDM high density foam is difficult, expensive and time consuming to then cut to fit. It could take an additional 2 to 3 weeks depending on delivery, availability, labour of cutting and testing. The most important seal is the lower one as condensate from the evaporator has to run off the tray and not be allowed to leak back into the interior via down the firewall cabin side.
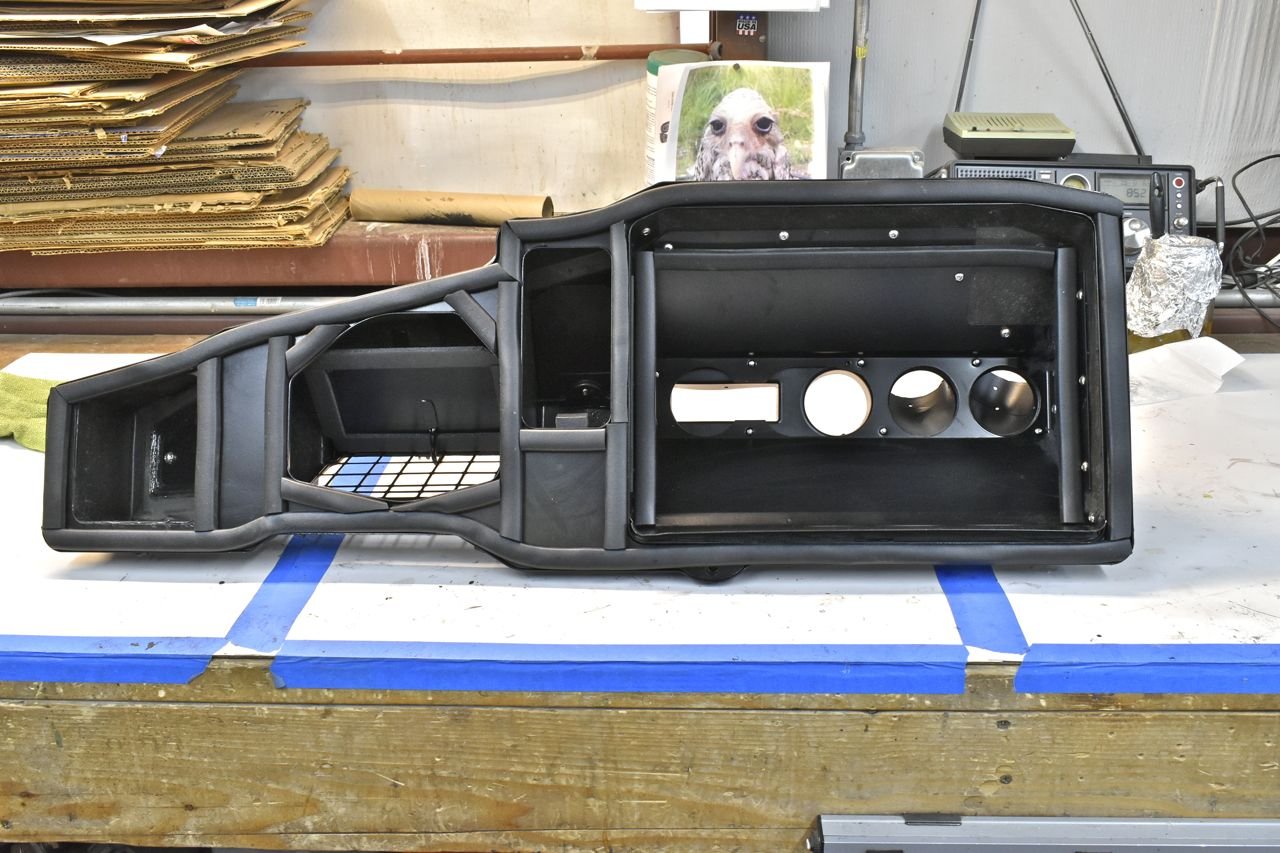
This is done aside from using a dremel to cut holes for the main screws in the weather stripping seals.
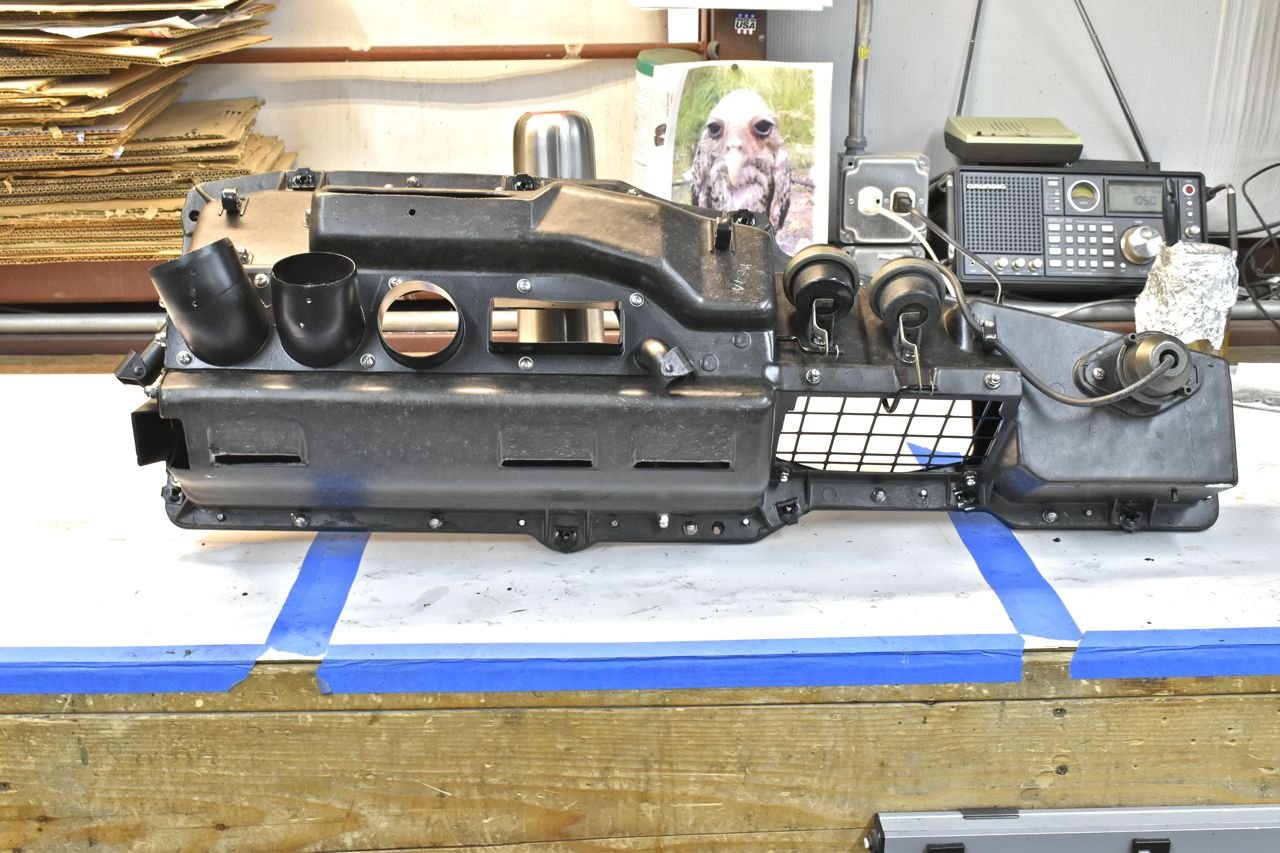
For something seemingly so simple it was still loads of work.

Now for those who might say why didn't I try that seal kit they are making for these rather than go this route... well......
I did..... and guess what.... it's going back.... The main foam is the wrong density (to light) plus you have to glue this stuff on and it's not an easy 3M double sided tape. The density is also way off on the foam that butts up against the evaporator. In a nut shell this kit was close and from what I saw they did a nice job on modeling/cutting it, but still missed the mark. It is my personal opinion you will have water leaks with this kit and for 100 bucks and then having to pull this all apart again to seal it, it's not worth it at all!
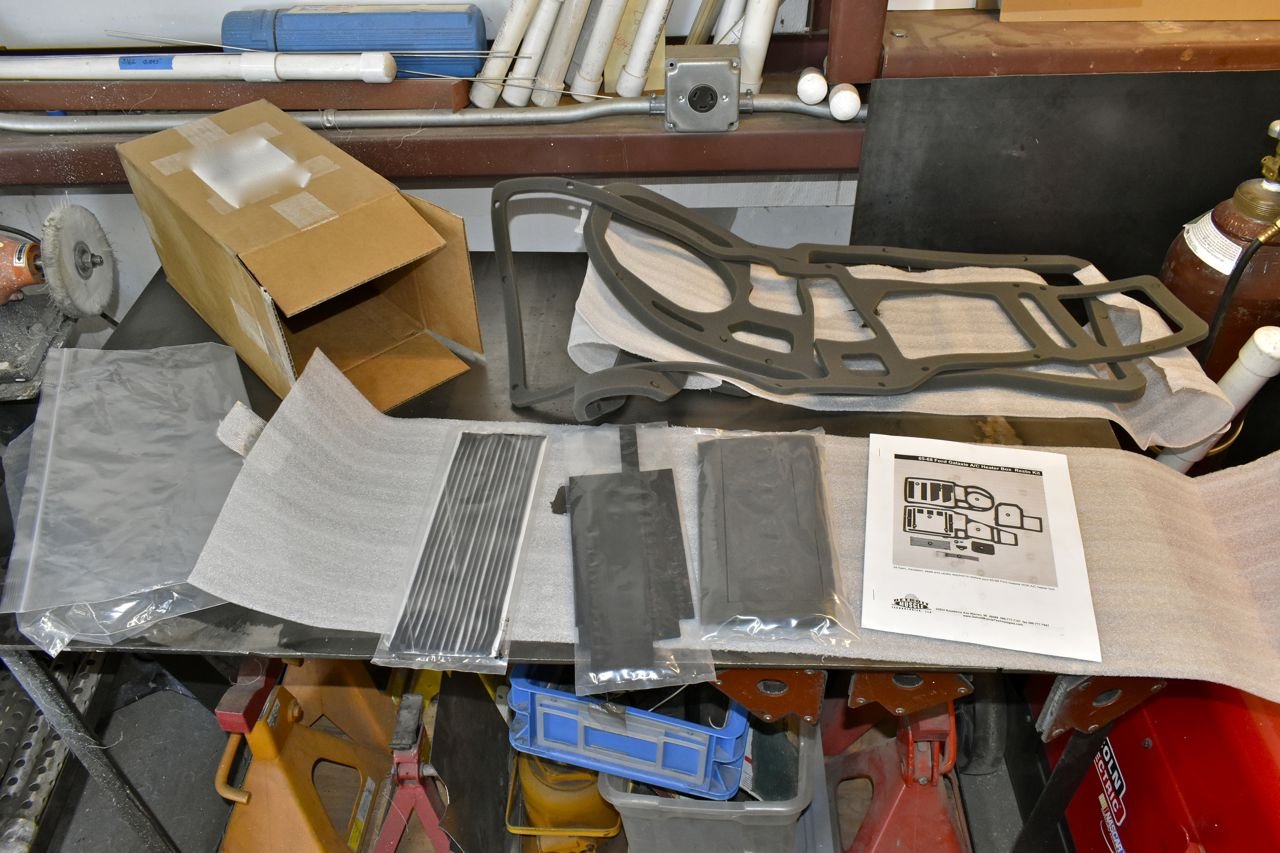
That's it for this plenum. One more to go.
More to come.
Cheers
Click here to continue to part 77