1966 Ford Galaxie 500 XL Refurbishment : 044 Engine - Intake Manifold Porting & Polishing
2023, November 14
1 - 2 - 3 - 4 - 5 - 6 - 7 - 8 - 9 - 10 - 11 - 12 - 13 - 14 - 15 - 16 - 17 - 18 - 19 - 20 - 21 - 22 - 23 - 24 - 25 - 26 - 27 - 28 - 29 - 30 - 31 - 32 - 33 - 34 - 35 - 36 - 37 - 38 - 39 - 40 - 41 - 42 - 43 - 44 - 45 - 46 - 47 - 48 - 49 - 50 - 51 - 52 - 53 - 54 - 55 - 56 - 57 - 58 - 59 - 60 - 61 - 62 - 63 - 64 - 65 - 66 - 67 - 68 - 69 - 70 - 71 - 72 - 73 - 74 - 75 - 76 - 77 - 78 - 79 - 80 - 81 - 82 - 83 - 84 - 85 - 86 - 87 - 88 - 89 - 90 - 91 - 92 - 93 - 94 - 95 - 96 - 97 - 98Intake Manifold
Hello all,
Just a little update on the gal 500 XL. I finished the machining of the intake, what a task that was. I have 10 bloody contiguous hours in this and am I over this intake
I managed to do the recess for the manifold to head bolts.
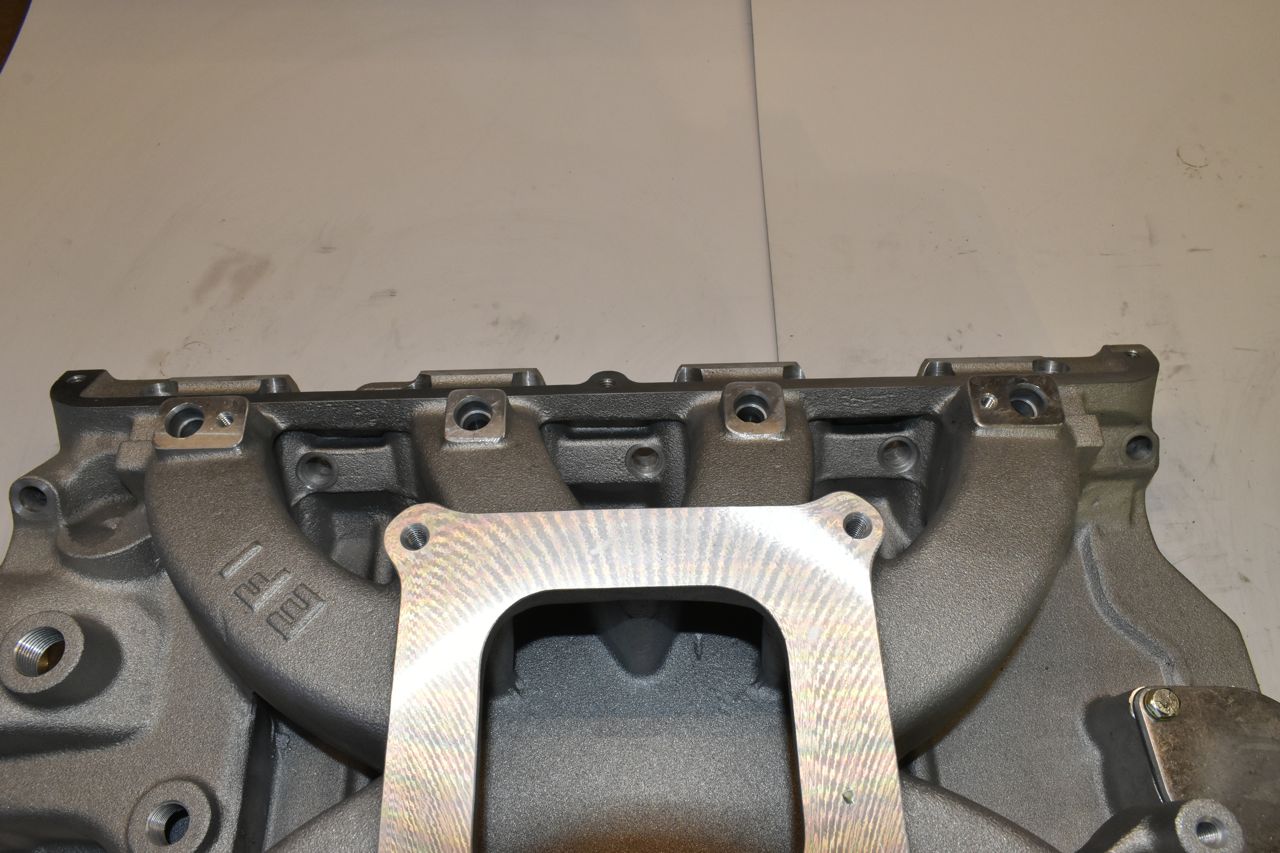
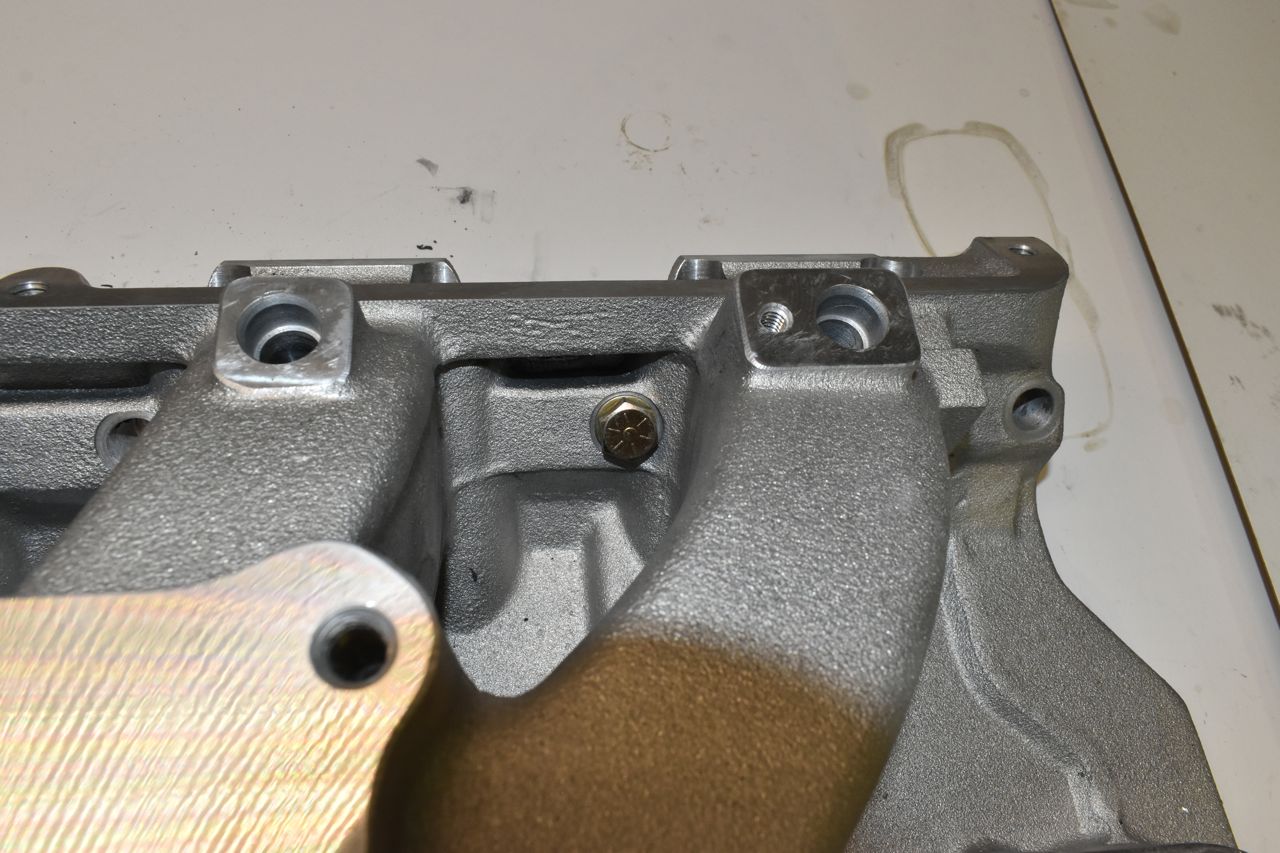
Now that's how it should have come from Edelbrock. They all sit flat now.
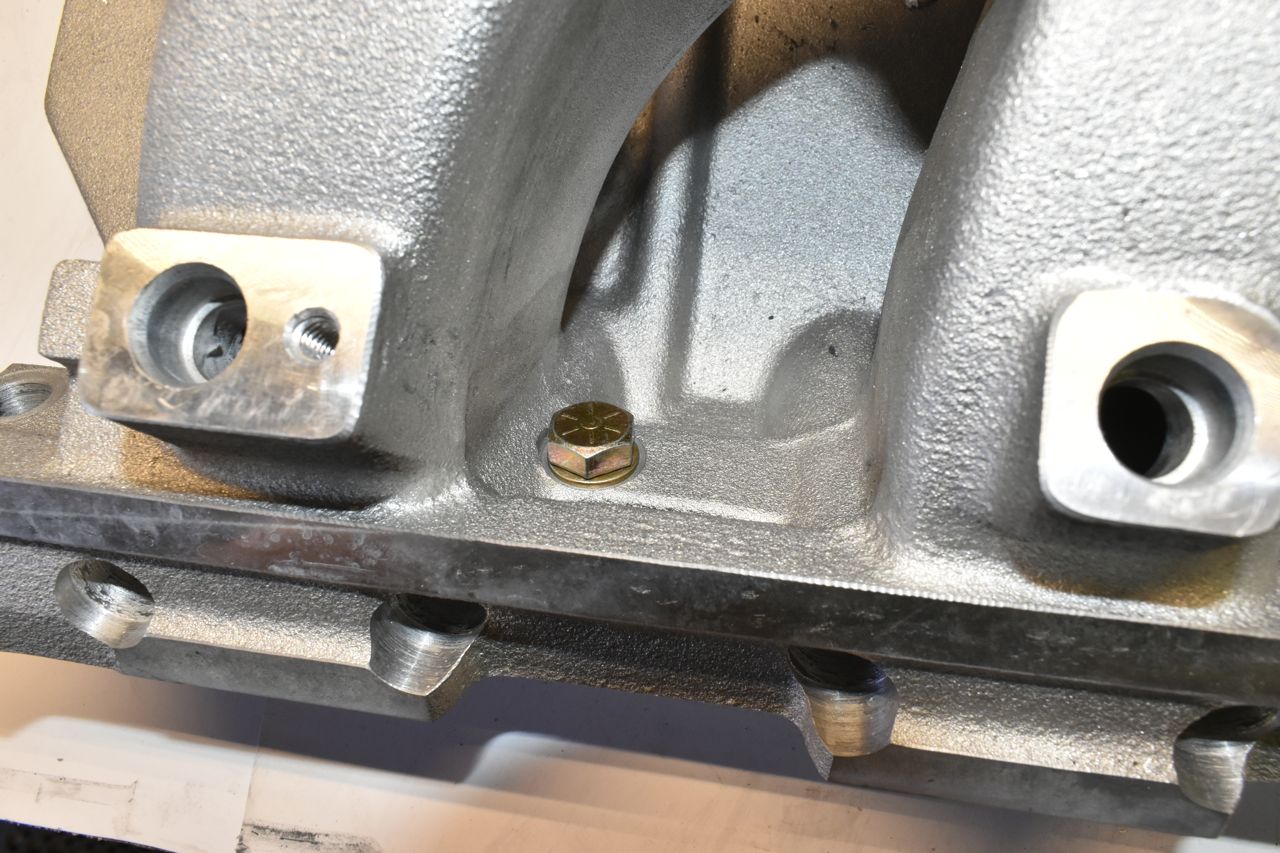
This was a pain in the butt to do. So Edelbrock crudely and I do mean crudely drilled the manifold to head bolt holes. It's a 3/8" bolt but Edelbrock made the holes slightly larger than 7/16" and they are all not the same diameter. The holes were already that large and I did not want to go larger. So first I had to find the largest hole then take a 1/2" round steel rod and turn it down on the lathe till it fit the largest through hole on the manifold. Now I had to make the other ones all this one size. So I took that turned down 6" or so round rod and put a radius on the nose and cut slots like flutes on the sides at a severe angle and made a crude reamer. It's cutting aluminum and didn't need to be out of tool steel or anything. So I reamed the other smaller holes to the size of the largest hole already existing.
OK, now the holes are all the same size.
Next I cut another slug out of the turned down 1/2" rod and centre drilled it for this little Dremel bit. Now I have a guide bushing to centre the cutting stone in each bolt hole.
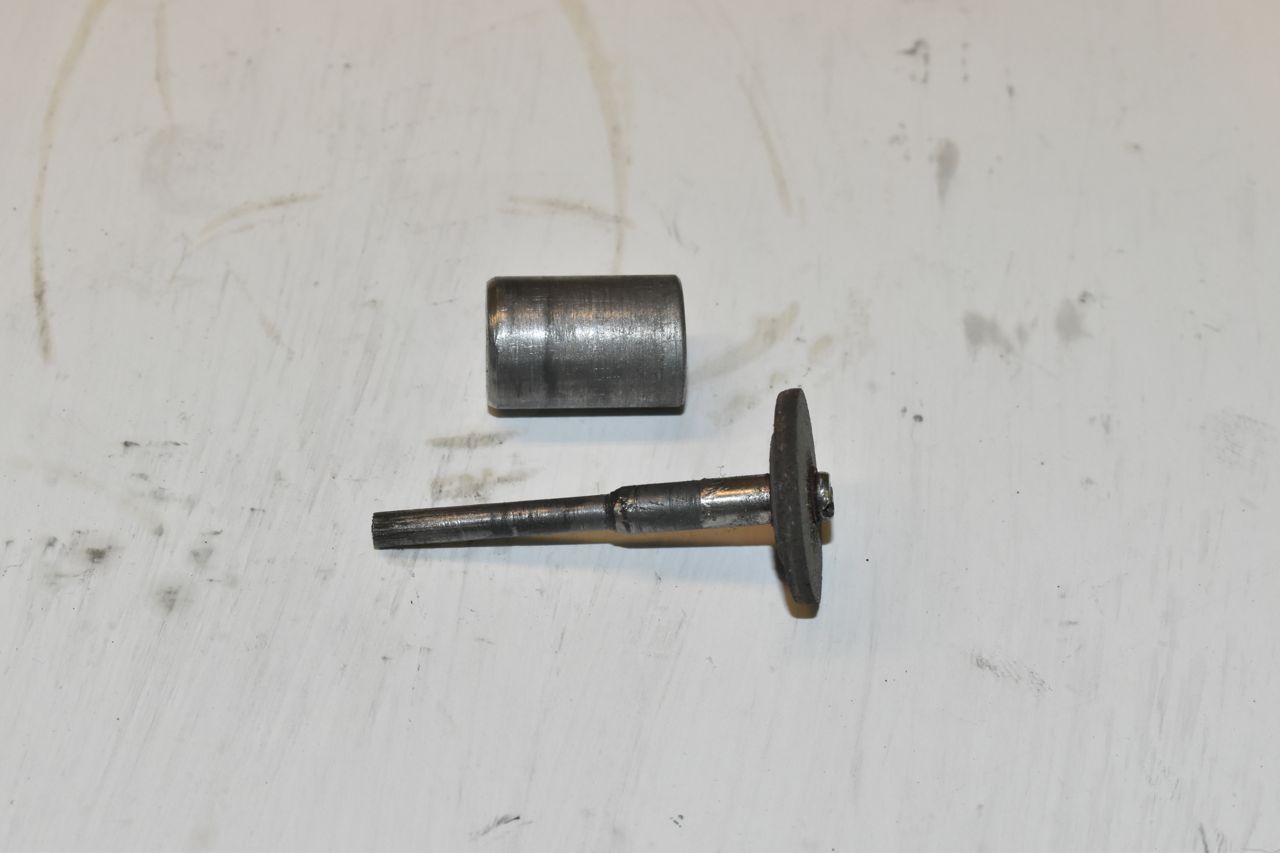
I took the cutting stone on the right and ground it down to a diameter slightly larger than the washer I intend to use. The washer is a 3/8" AN washer.
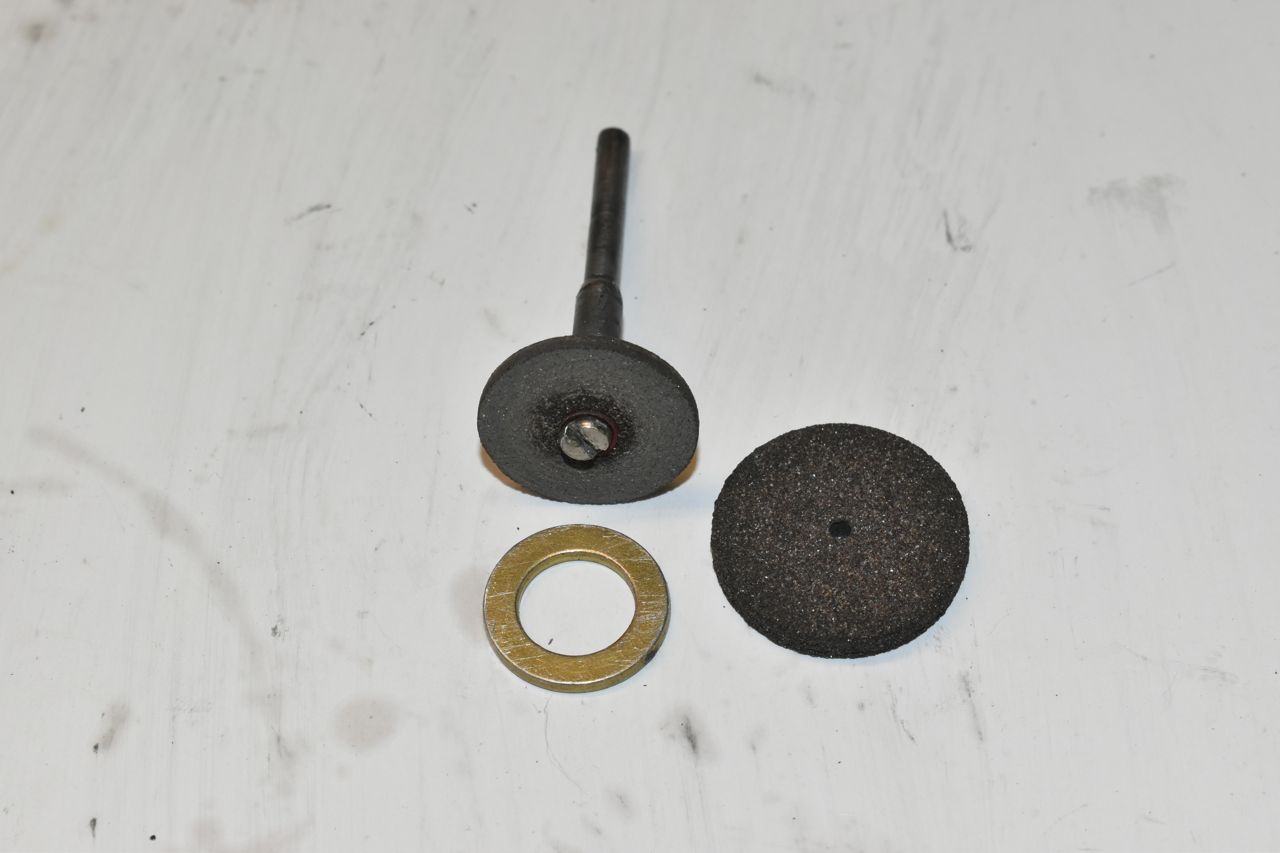
The Dremel was too weak to do this so I used a battery powered drill to spin and pull the cutting stone into the top of the manifold from the bottom side.
That was tricky but it's done.
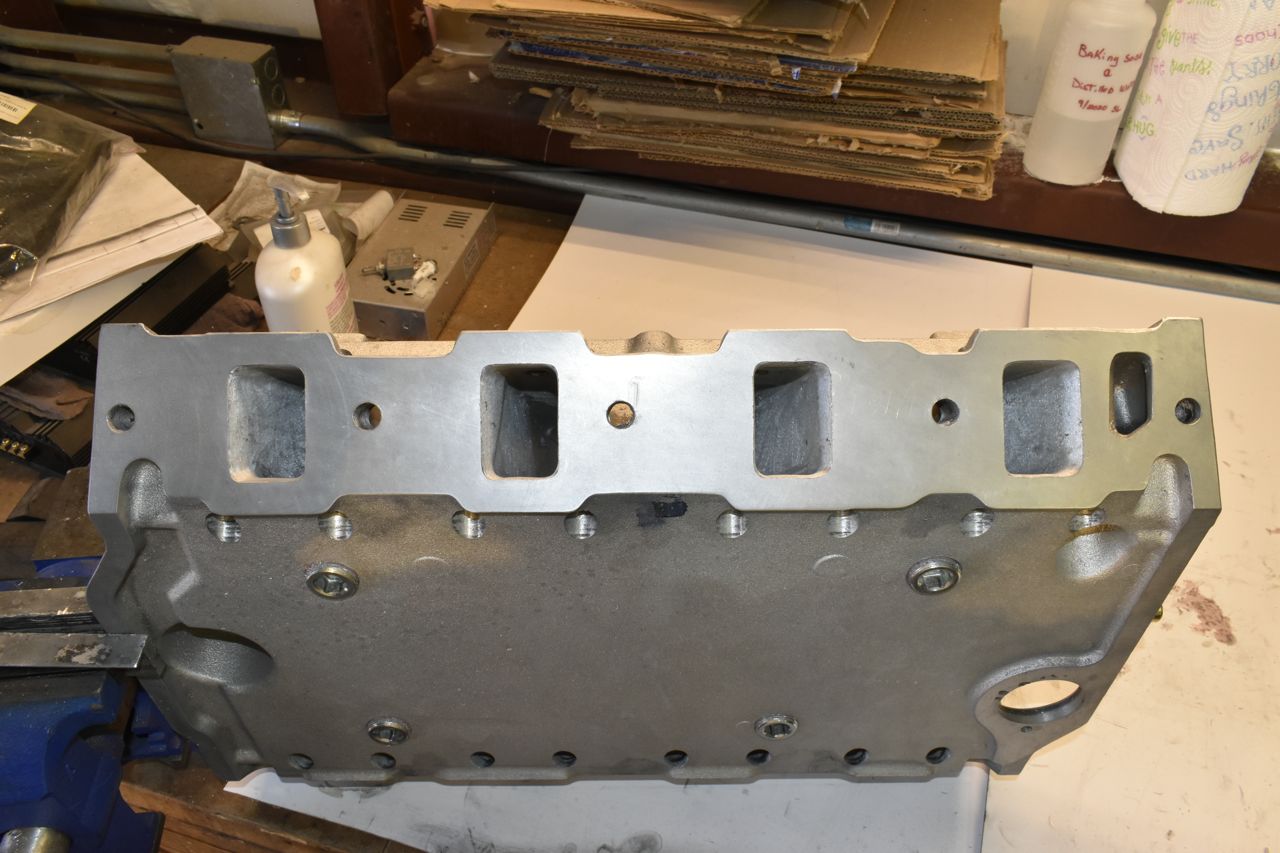
Now for the truly grueling part, porting this. My gosh did they miss the mark on casting this. I was asked initially if the rest of the runner was the same area as the port size. At first I thought it was, but it turns out it's not. The port mouth and about 1/2-1" inwards funnels down. Now this is counter productive because air flow will speed up through this hit the sudden edge, create vortices which will slow down the laminar flow, then it would dump into the head port which is larger and further slow down flow.
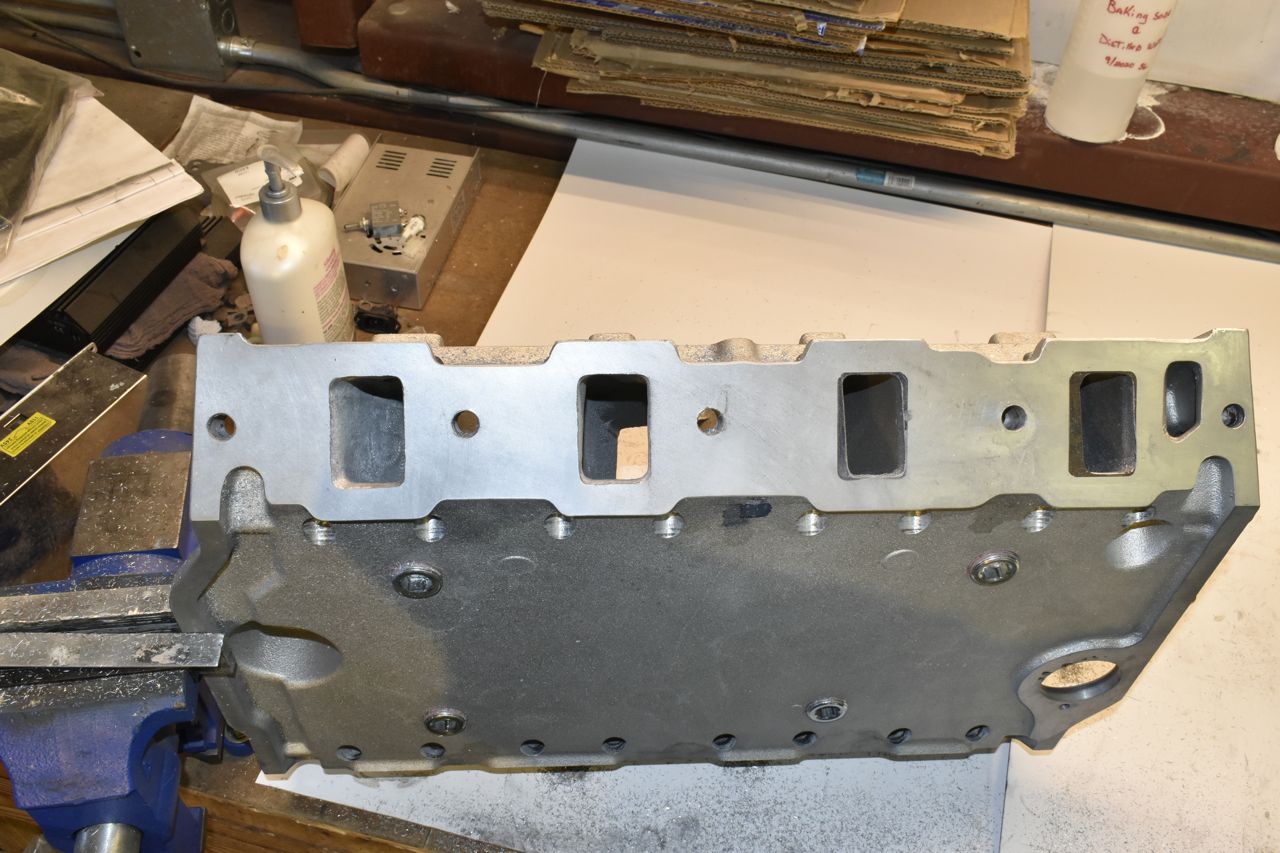
As sold as, it's awful, I don't think you could make anything worse. Ug....
Turns out I was able to open the mouth of the intake port and cut back 1/2" or so and the rest of the runner is size of the new port, withcidentally is the standard medium riser port size. I don't know what Edelbrock was thinking.
I had to remove tremendous amounts of aluminum from this thing to achieve the medium riser port size.
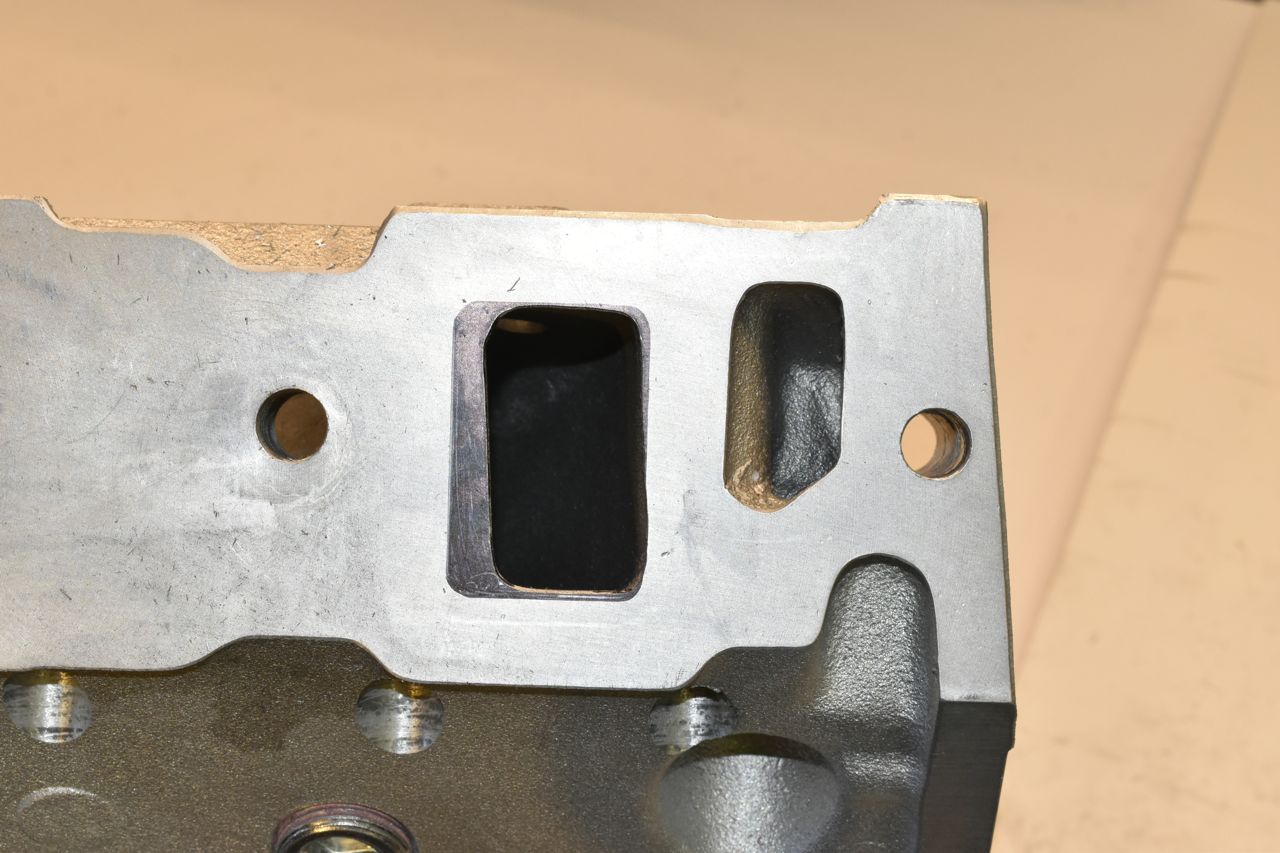
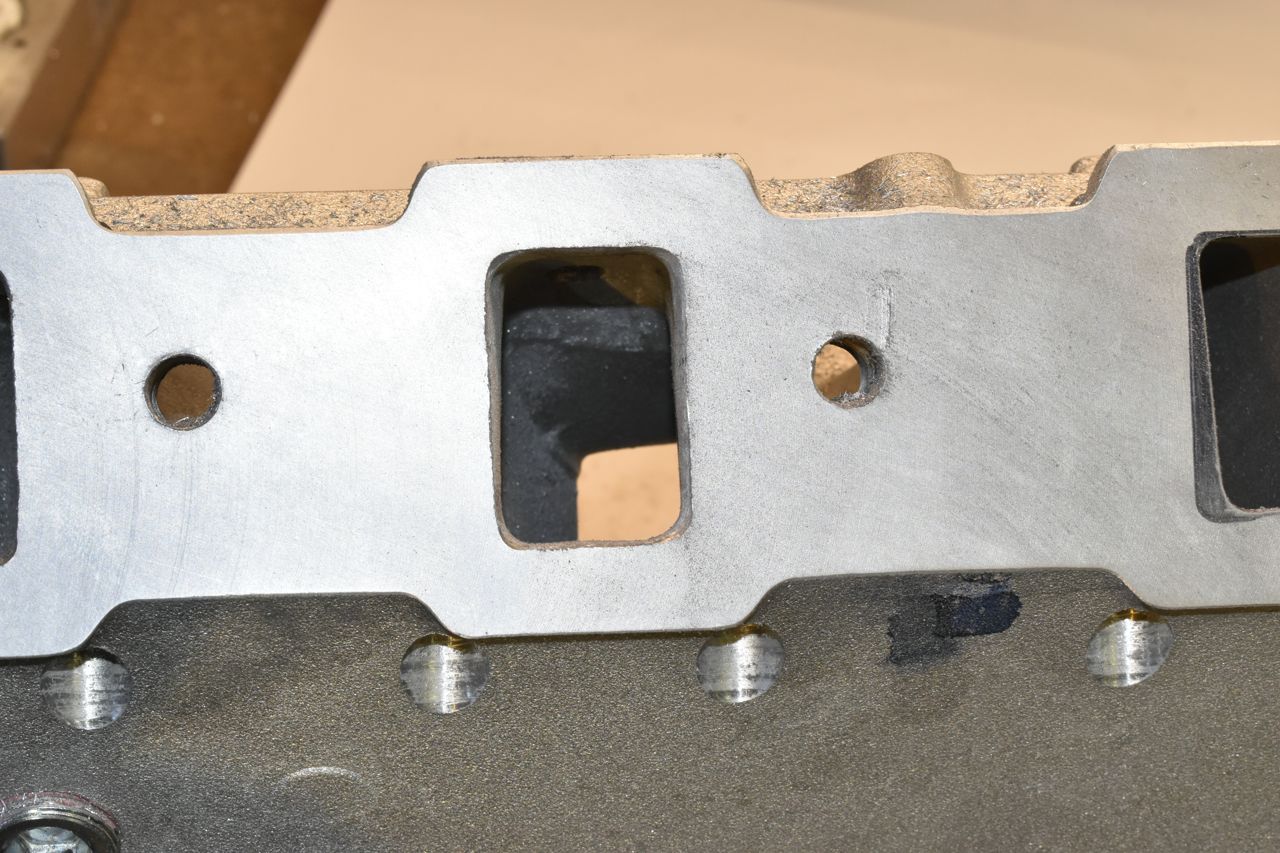
Now were talking..... oh yes.....
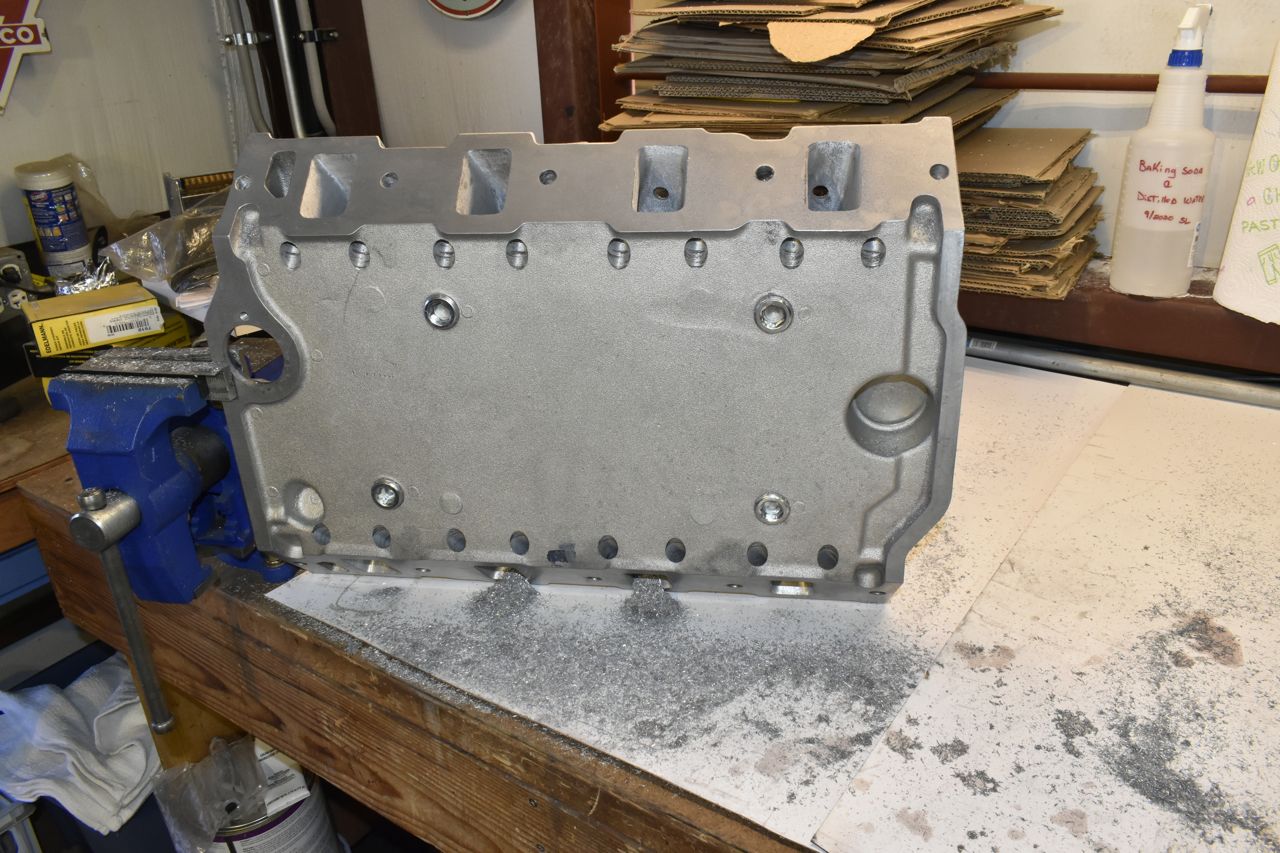
This is a fraction of the aluminum I took off. I mere fraction. I was in a Tyvek suit, gloves, eye protection, mask and a hat and I'm still removing splinters from myself.
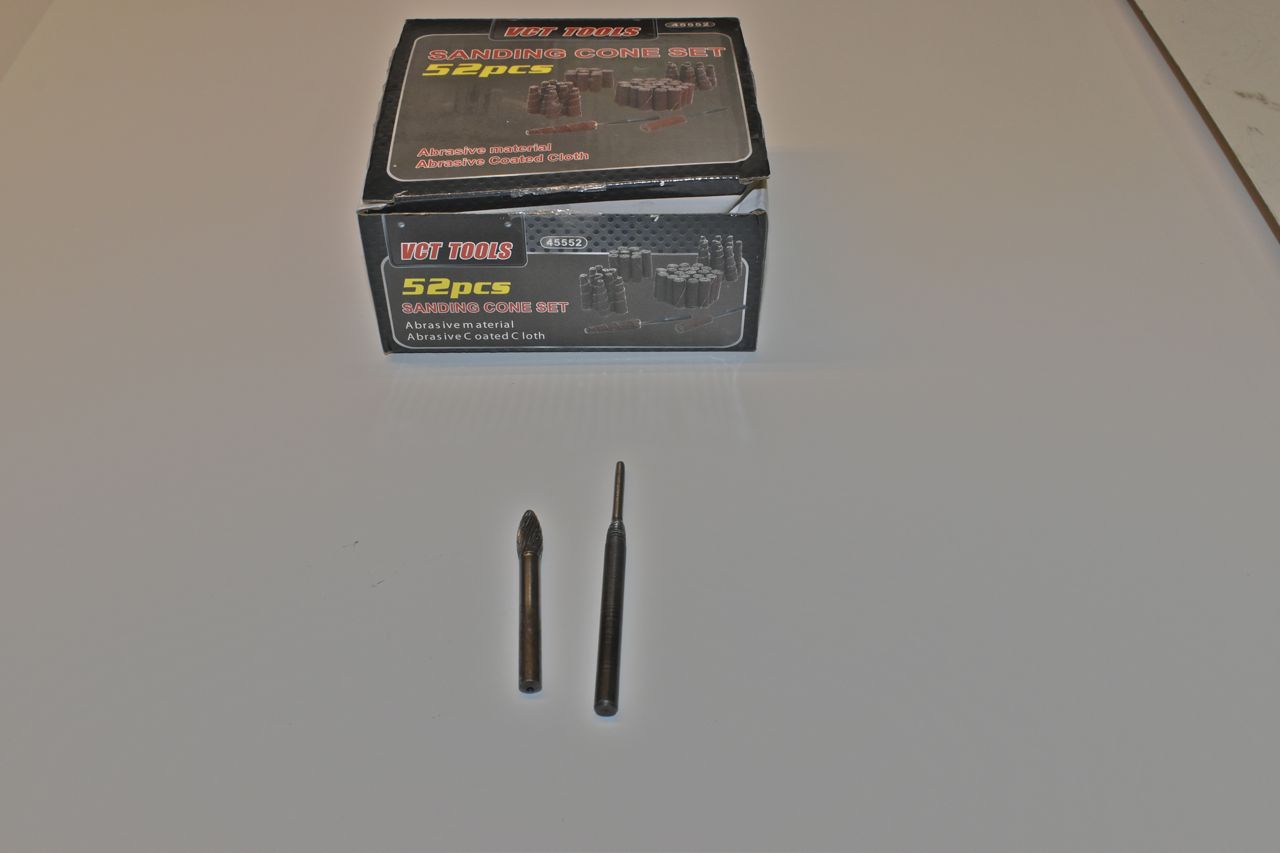
This what I used to port the intake and heads. The carbide bit on the left is worth every penny of 80 dollars. I've had this for years and it's still sharp as a razor. To keep the aluminum from binding to the carbide bit occasionally I coated the bit with light oil and did the shavings just fly off. Once opened up I used the cheap and chips sanding discs to smooth it out. I went through 3 and 1/2 boxes of the sanding cones doing the heads and intake.
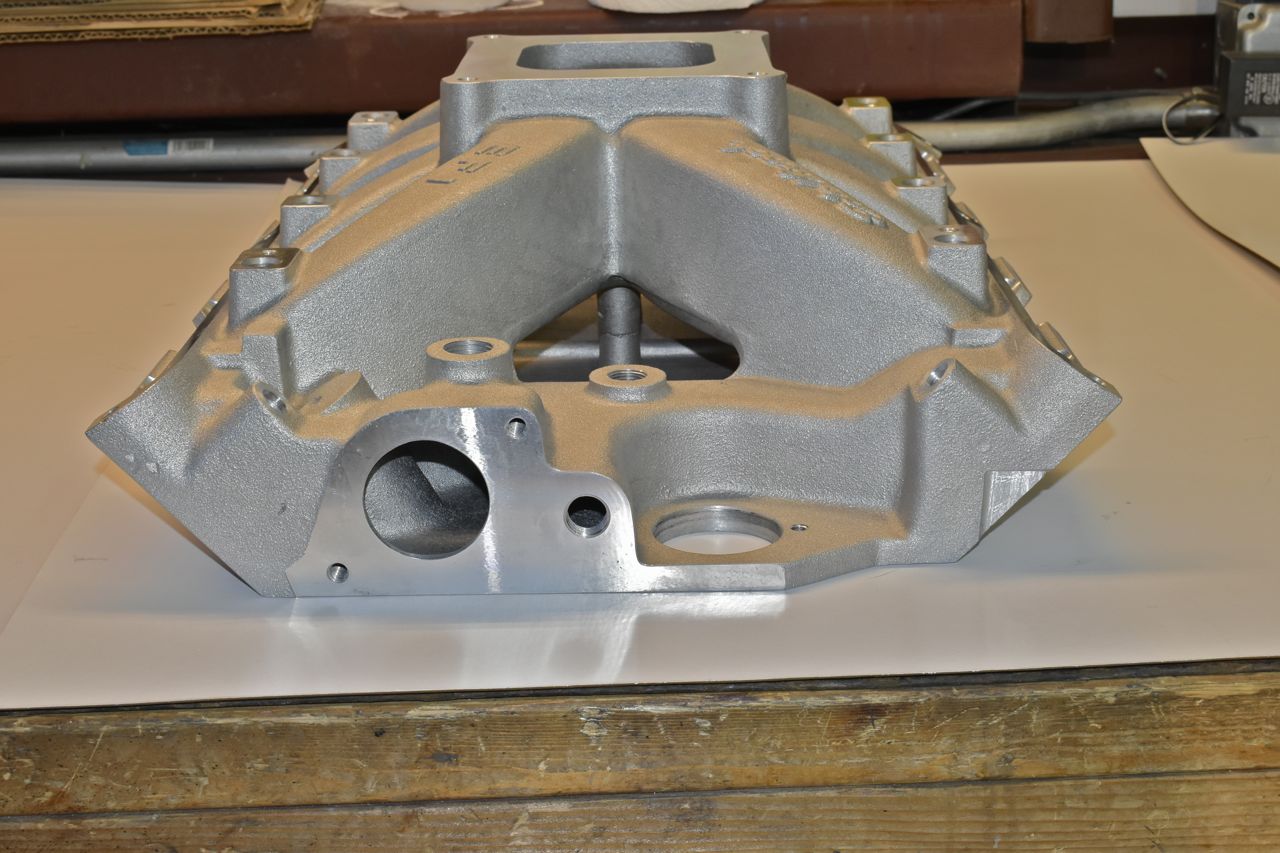
What a difference.

I machined off a bit in the front to clear the air con compressor (York 210) bracket.
other side
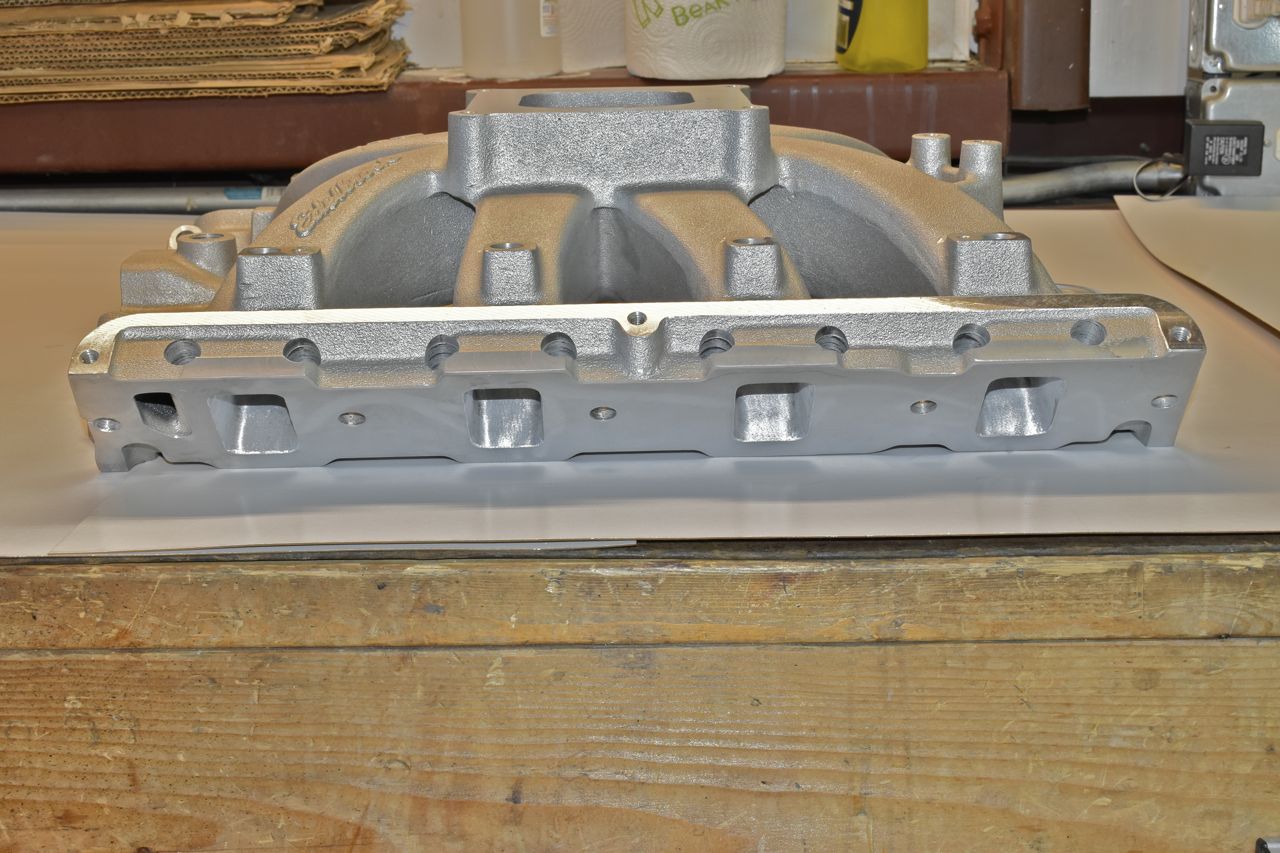
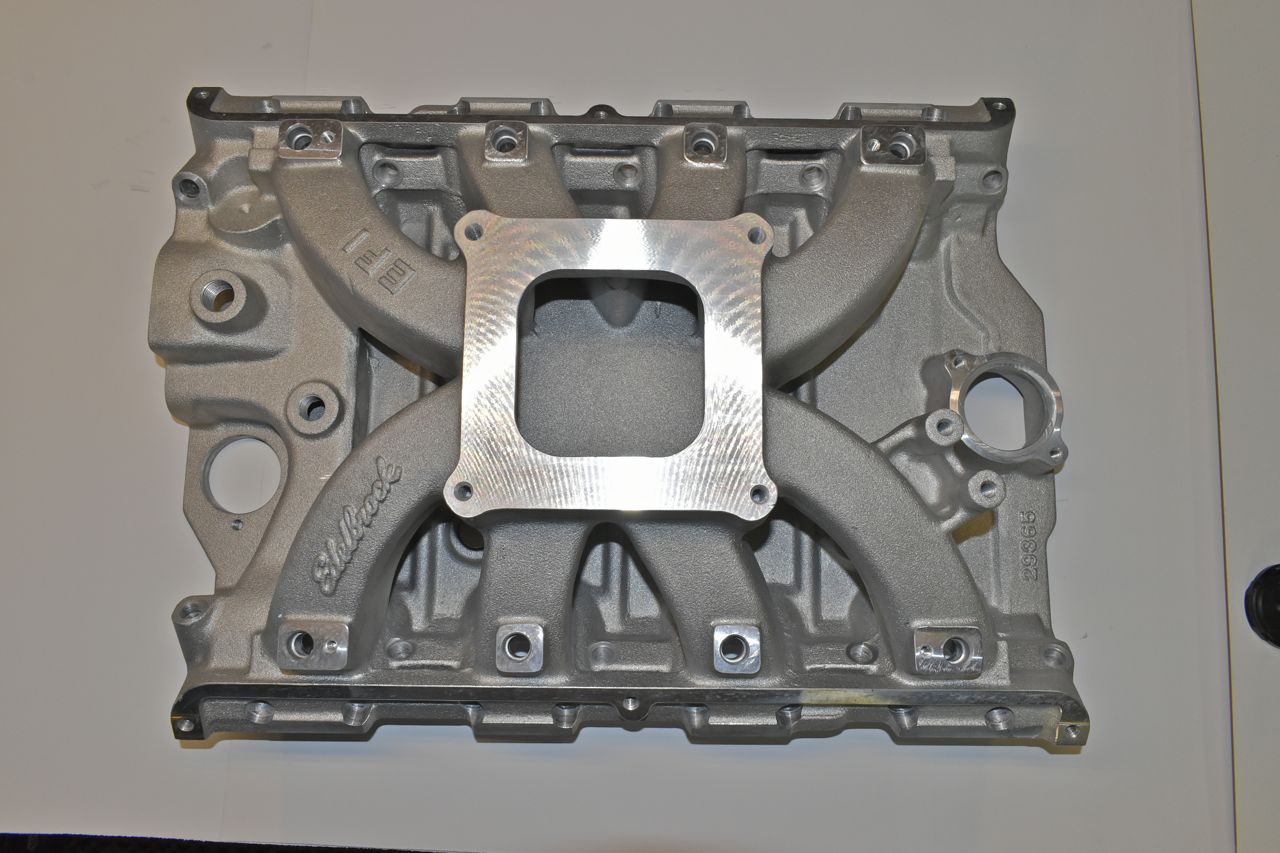
The shavings in the jar is 2/3's of just one side. It made a royal mess everywhere. But it's done. Now I did test the pushrods through the intake and adjusted them and turned the engine over to make sure the holes were big enough and no rod was going to hit. I'm happy to report Edelbrock was able to get that right as the holes were large enough.
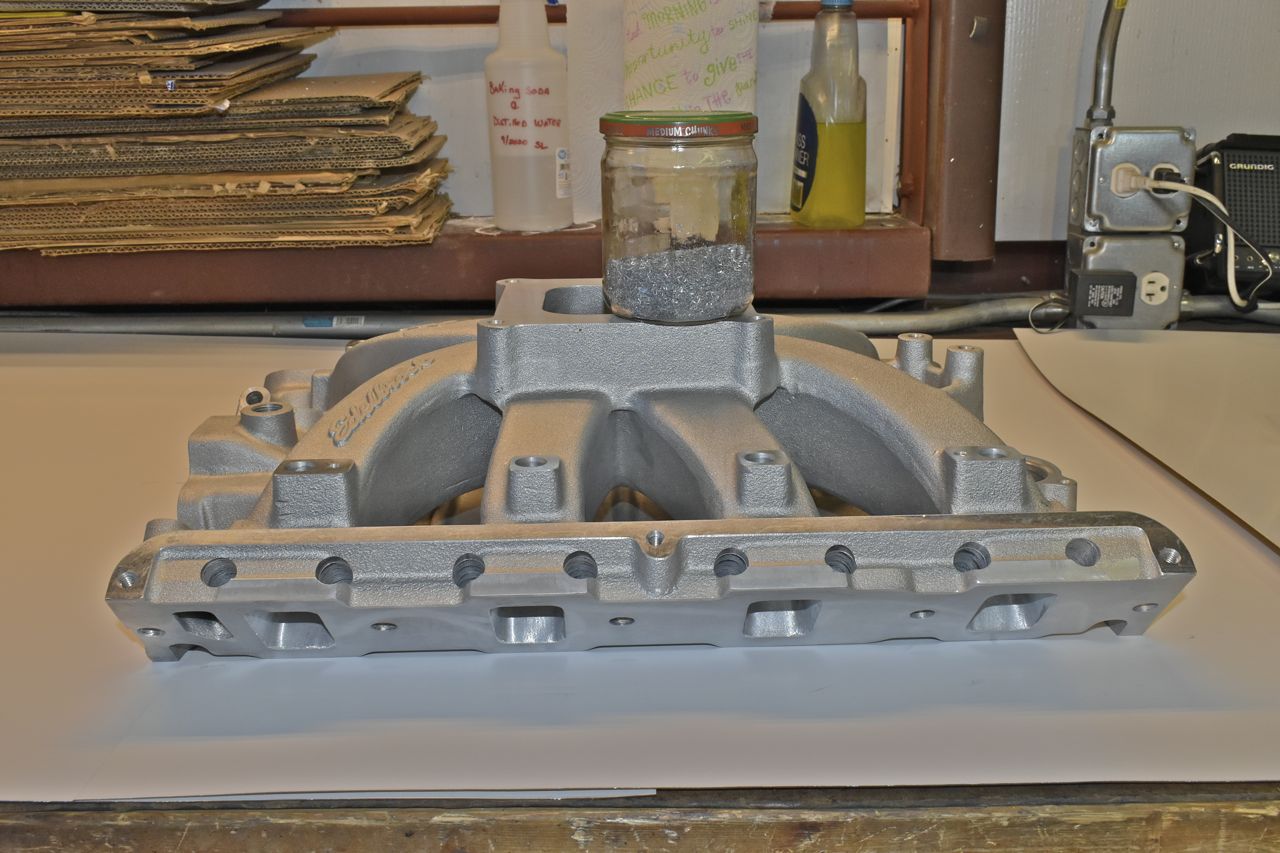
I can only imagine what a machine shop would charge for this. Edelbrock was on track for making a decent intake then screwed the pooch by only going 90% then calling it done.
I appreciate that Edelbrock even attempted to create something for the ancient FE and I do appreciate the amount of engineering and manufacturing that went into this. The man hours and R&D costs are quite high, but in reality this should be a 400 or so dollar intake and not 815. They could have easily finished it like I did on a CNC mill and even made a much better cutter and guide for the spot facing with an actual carbide bit.
I just wish Edelbrock would pay more attention to their products.
These are the pushrods for the 390, now 396.
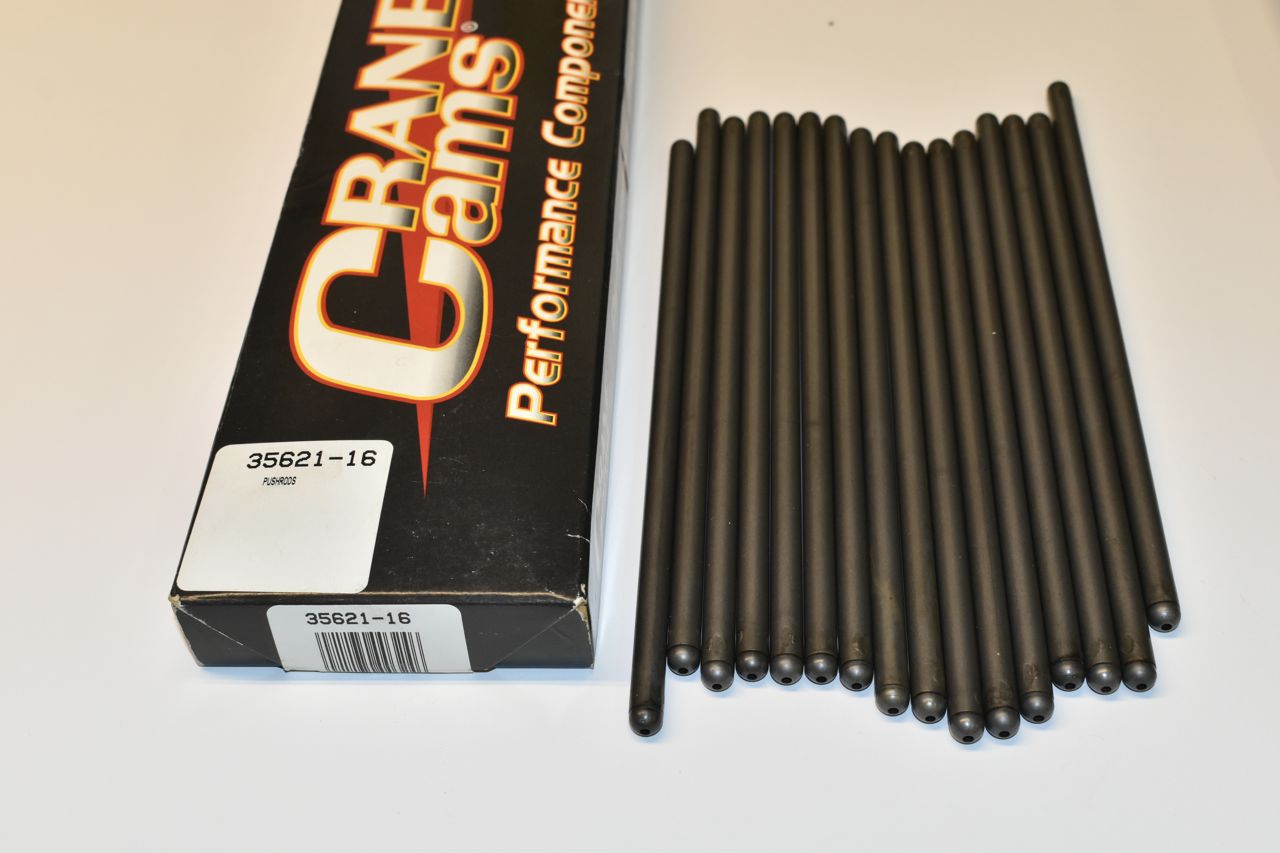
And of course I find several pushrods with this. So I had to use a very fine file and remove the high spots and smooth the ends.
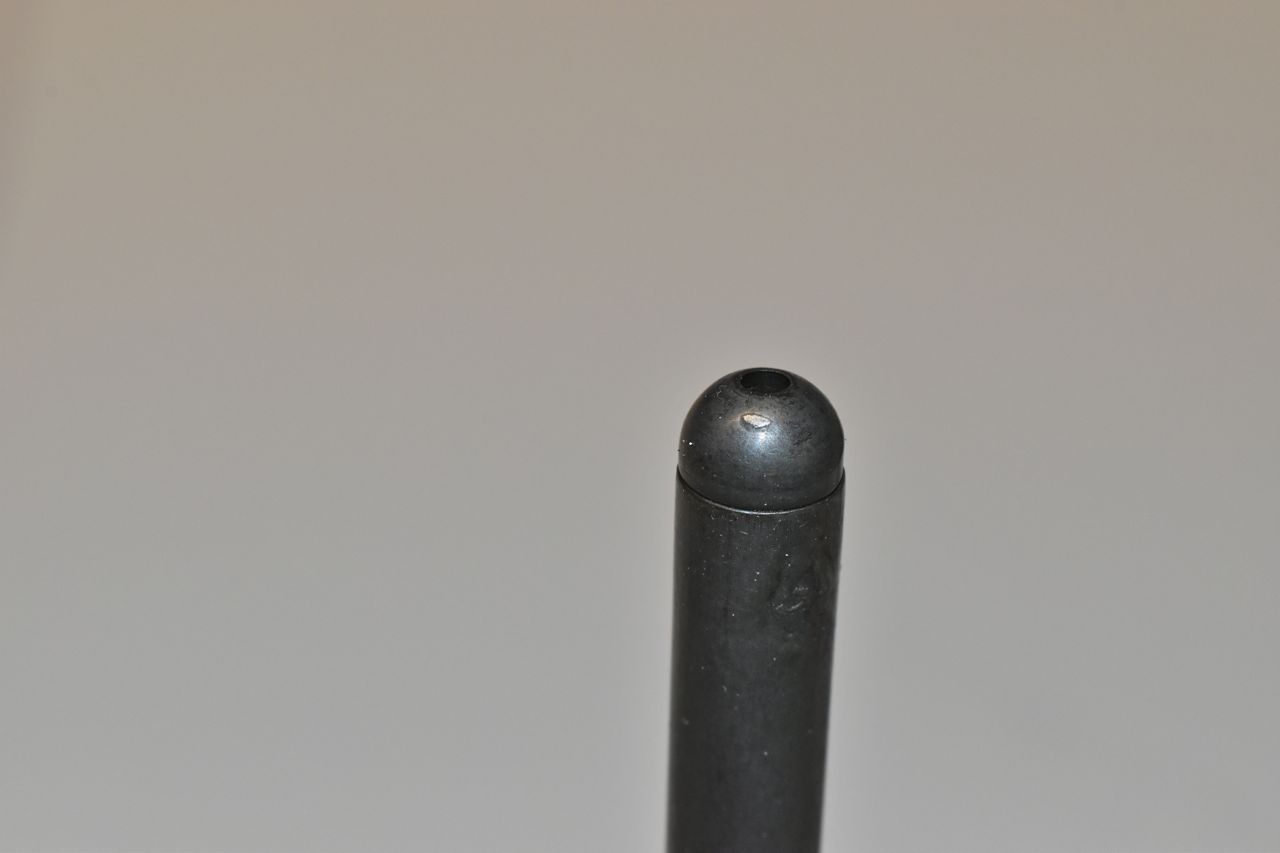
Why is nothing ever easy.
Click here to continue to part 45