1966 Ford Galaxie 500 XL Refurbishment : 017 Rear Axle Mod for Ford Explorer Disc Brakes, part 3
2023, November 14
1 - 2 - 3 - 4 - 5 - 6 - 7 - 8 - 9 - 10 - 11 - 12 - 13 - 14 - 15 - 16 - 17 - 18 - 19 - 20 - 21 - 22 - 23 - 24 - 25 - 26 - 27 - 28 - 29 - 30 - 31 - 32 - 33 - 34 - 35 - 36 - 37 - 38 - 39 - 40 - 41 - 42 - 43 - 44 - 45 - 46 - 47 - 48 - 49 - 50 - 51 - 52 - 53 - 54 - 55 - 56 - 57 - 58 - 59 - 60 - 61 - 62 - 63 - 64 - 65 - 66 - 67 - 68 - 69 - 70 - 71 - 72 - 73 - 74 - 75 - 76 - 77 - 78 - 79 - 80 - 81 - 82 - 83 - 84 - 85 - 86 - 87 - 88 - 89 - 90 - 91 - 92 - 93 - 94 - 95 - 96 - 97 - 98Rear Axle and Disc Brakes Continued
These are the required spacers for this brake adaption. Both were obtained from Moser Engineering.
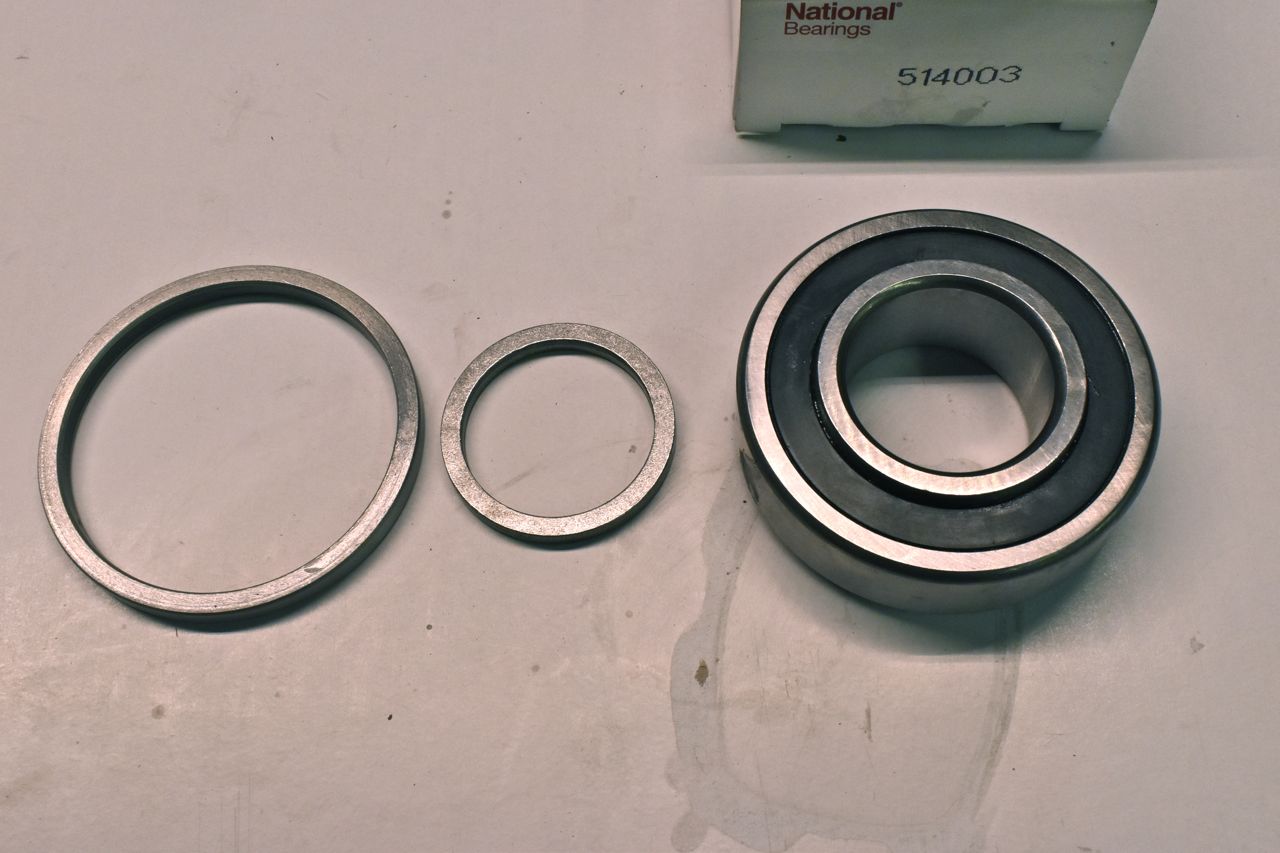
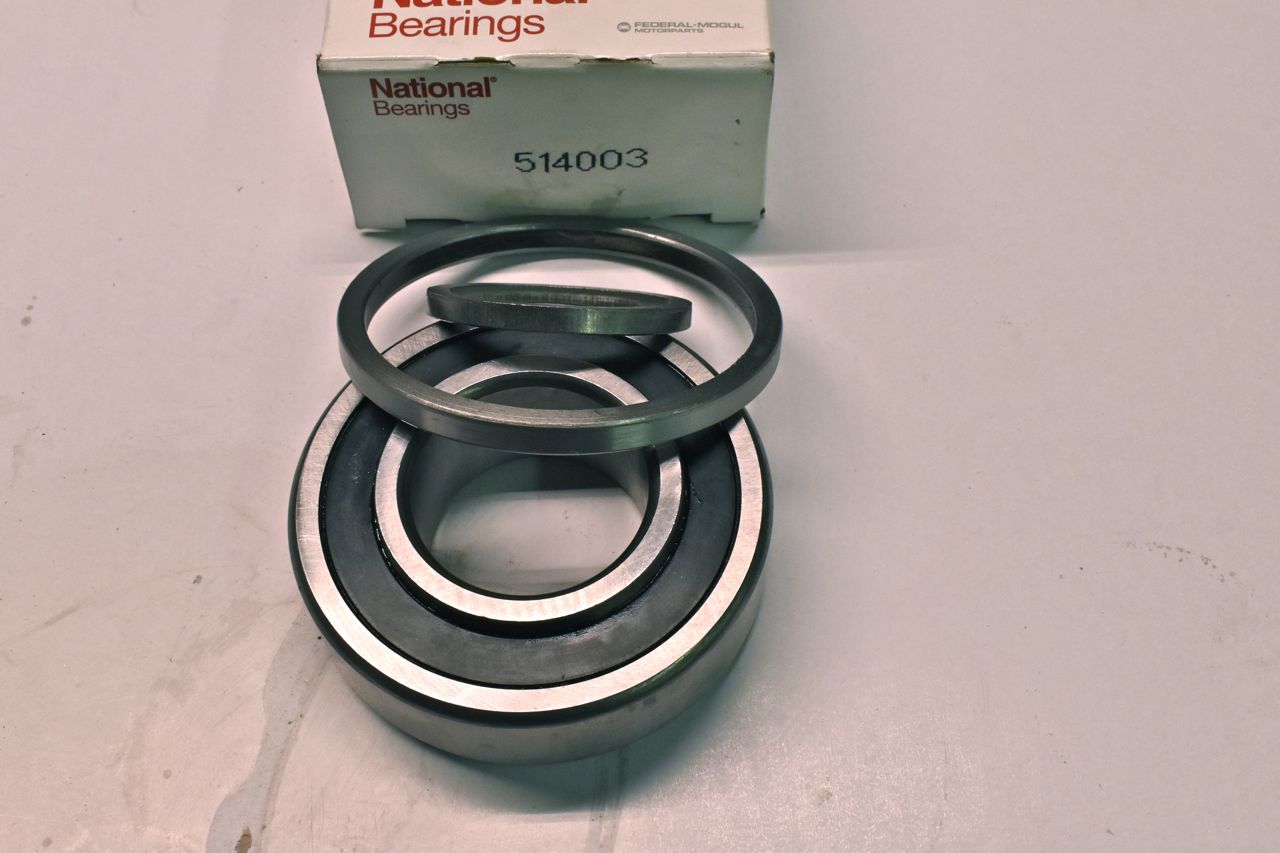
I just used my cheesy little Harbor Freight shop press and pressed the new bearings and retention collars on. Just make sure you have all the spacers and retainer plates in the right order before commencing otherwise it's going to be a long day.

Installed oil seals into axle and lubed up with grease.
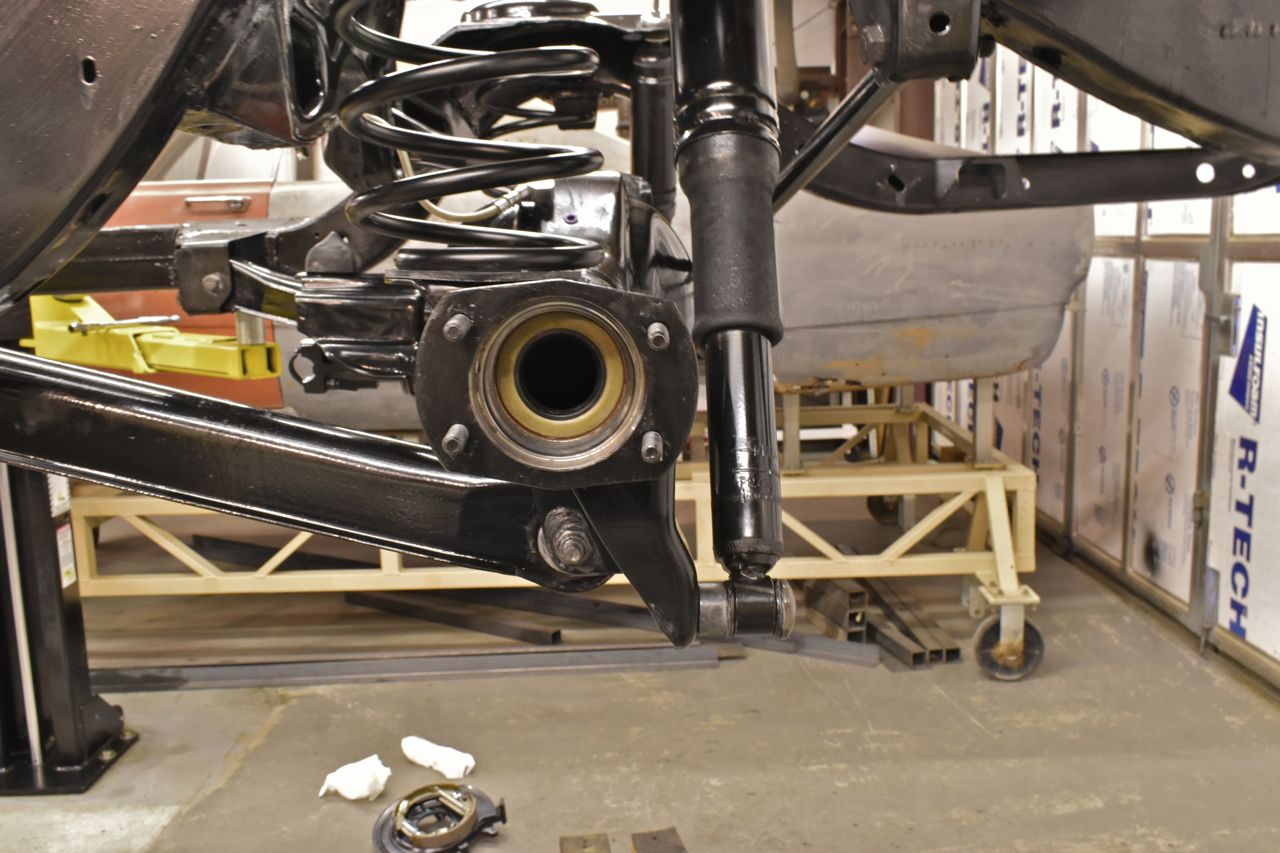
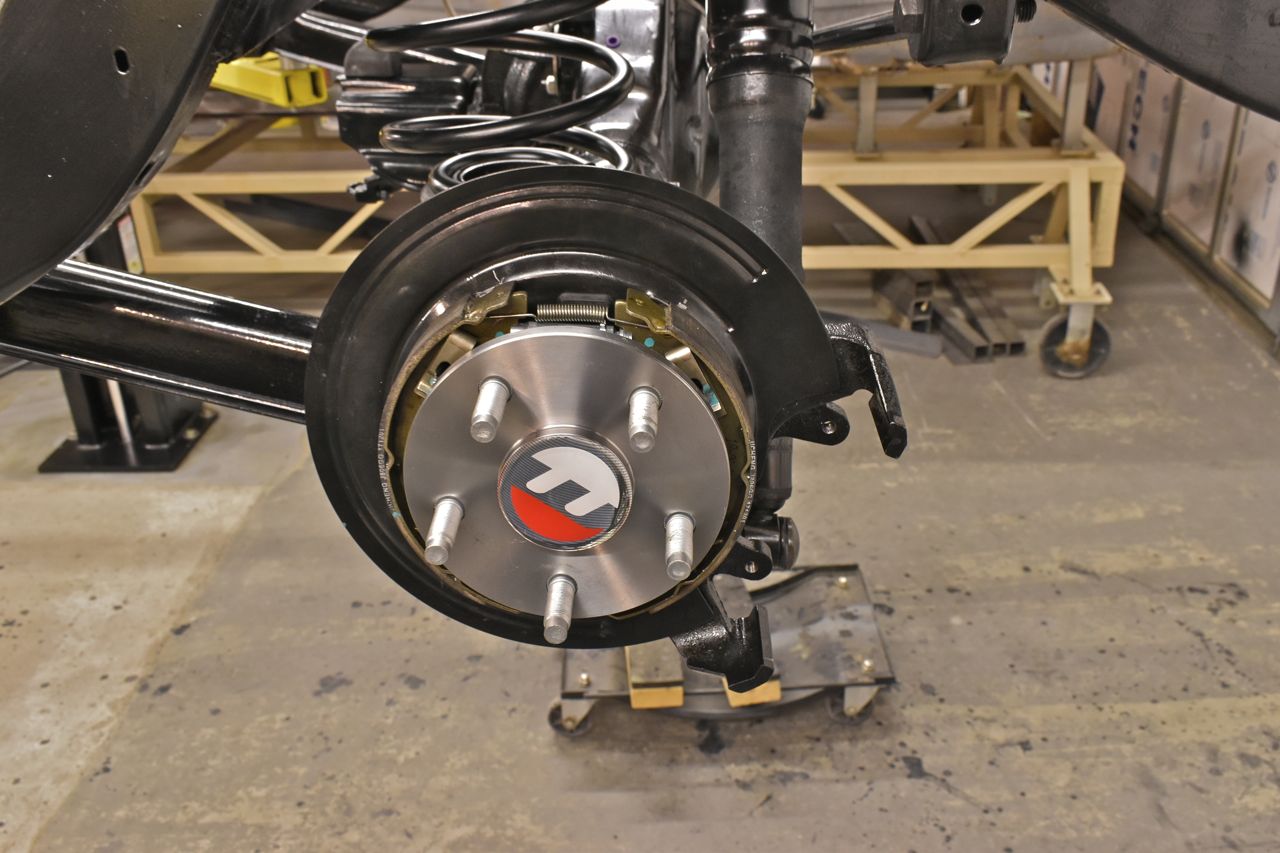
This is the tedious part. The only way to tighten the nuts for the retainer plate is to remove all the parking brake shoes and hardware, then in that tiny space, put it all back together.

It's not impossible, but it's no walk in the park. Those two lower springs are very stiff. It took me a while but I worked out a procedure on assembly that works fairly well to do so.
For those interested, you start with either shoe, in my case I start with the left shoe. I install the pin and clip to hold it onto the backing plate, then I fish up the inner lower spring and attach to the left shoe, then I stretch and attach to the right shoe. Next I unscrew the adjuster about 1/3 the way out and temporarily install (this holds the right shoe more or less in position over the hole for the retainer pin). Then I install the right pin and clip to hold the shoe in. Then I remove the adjuster altogether and fish in the outer lower spring and attach to both shoes, then adjust the adjuster all the way back in and install along with the upper spring.
Other side.
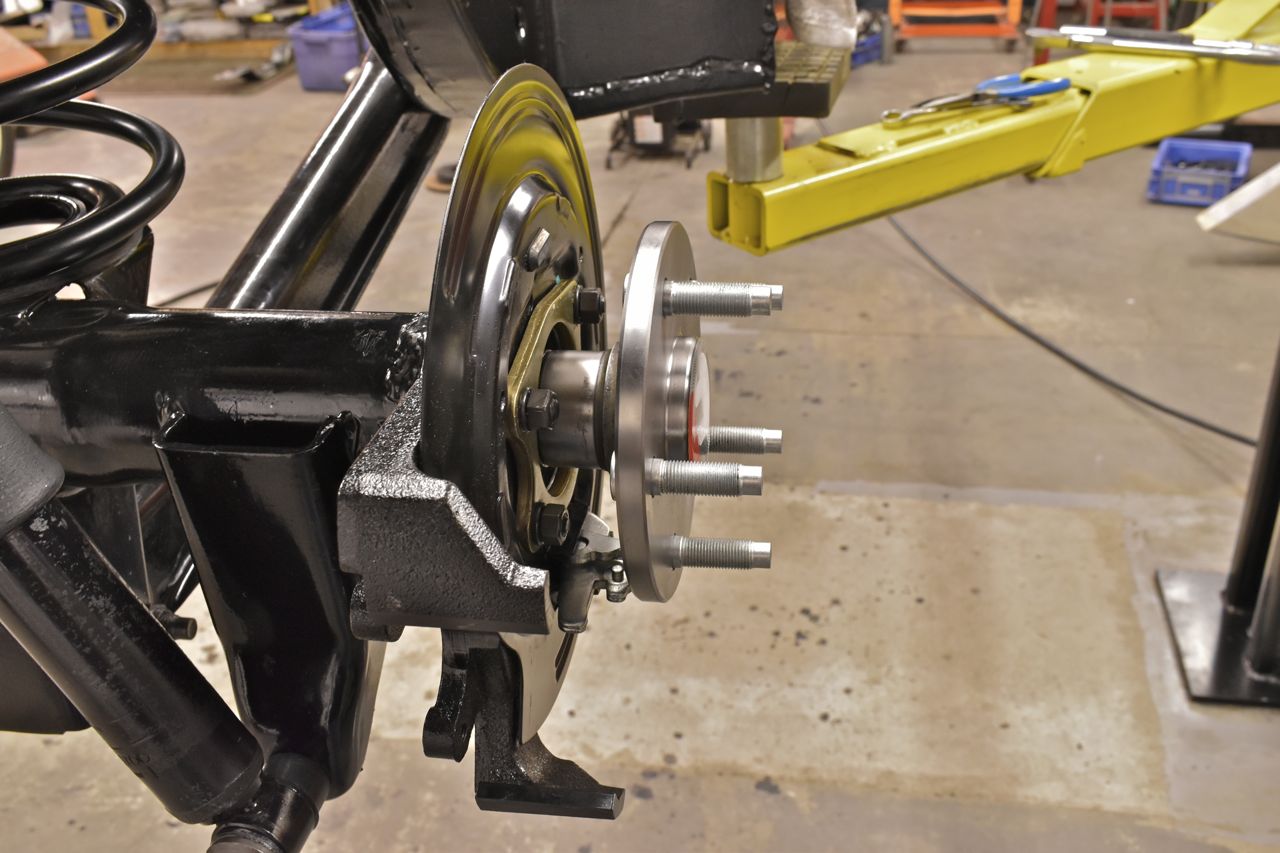
Done.
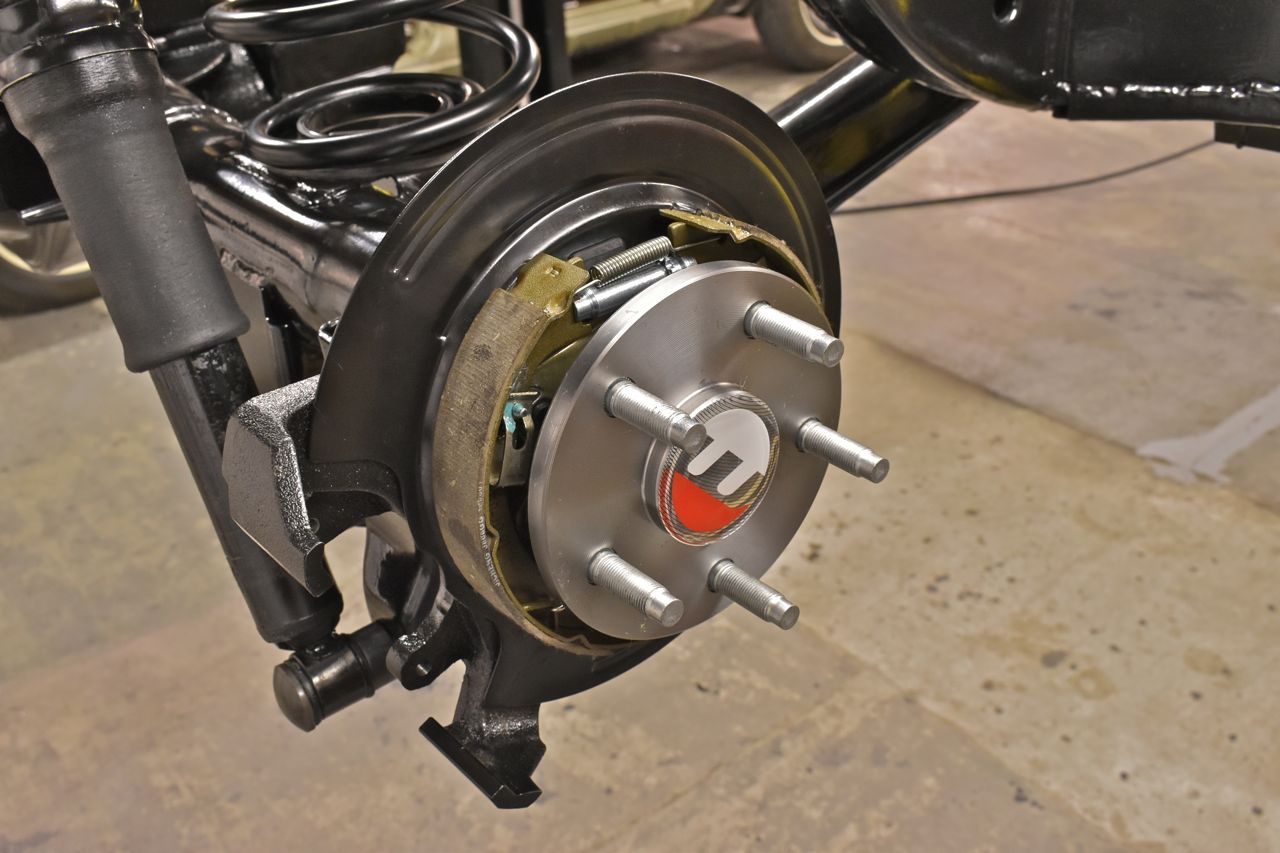
It's official, I crown thee a roller.
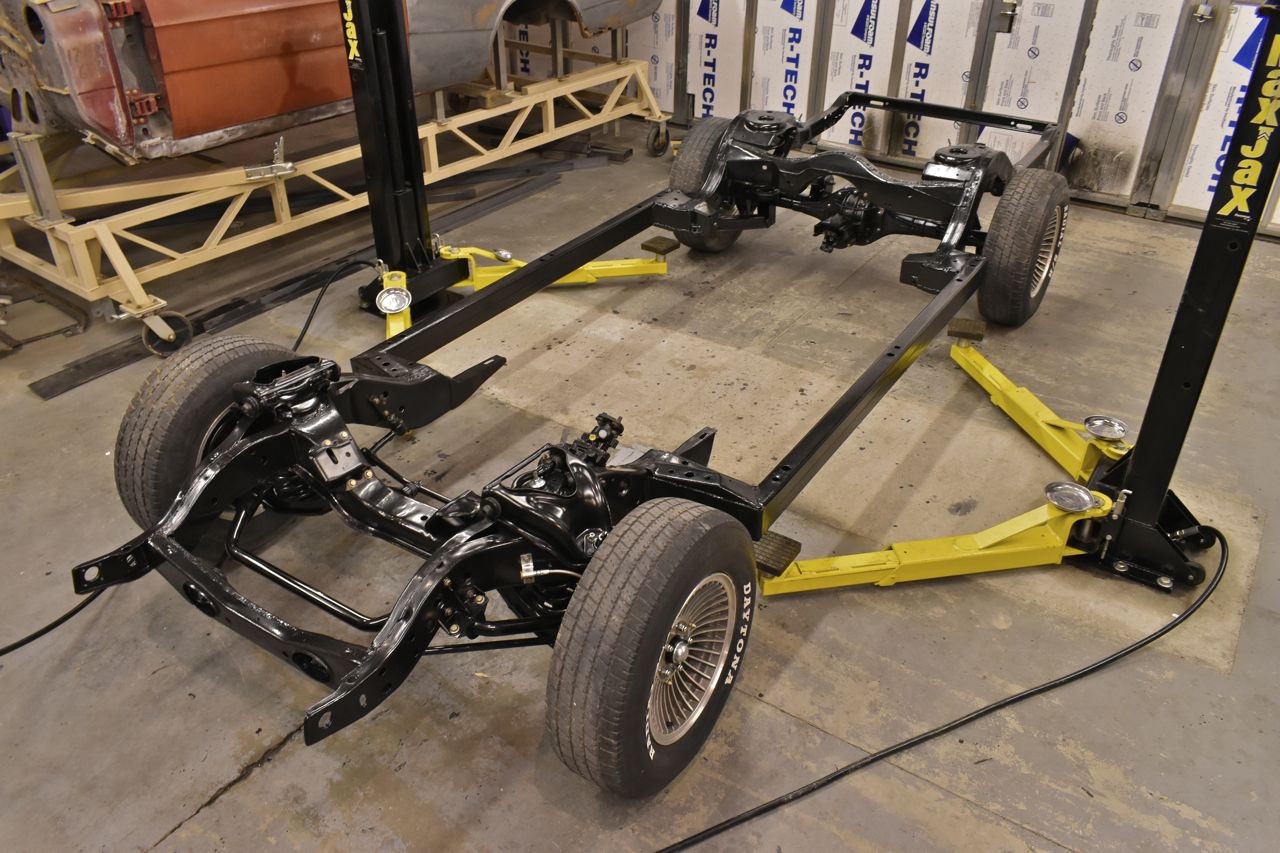
Now just waiting on parts to be delivered. I do want to say a few words on this milestone. This is for anyone wondering about costs and labour to do something like this.
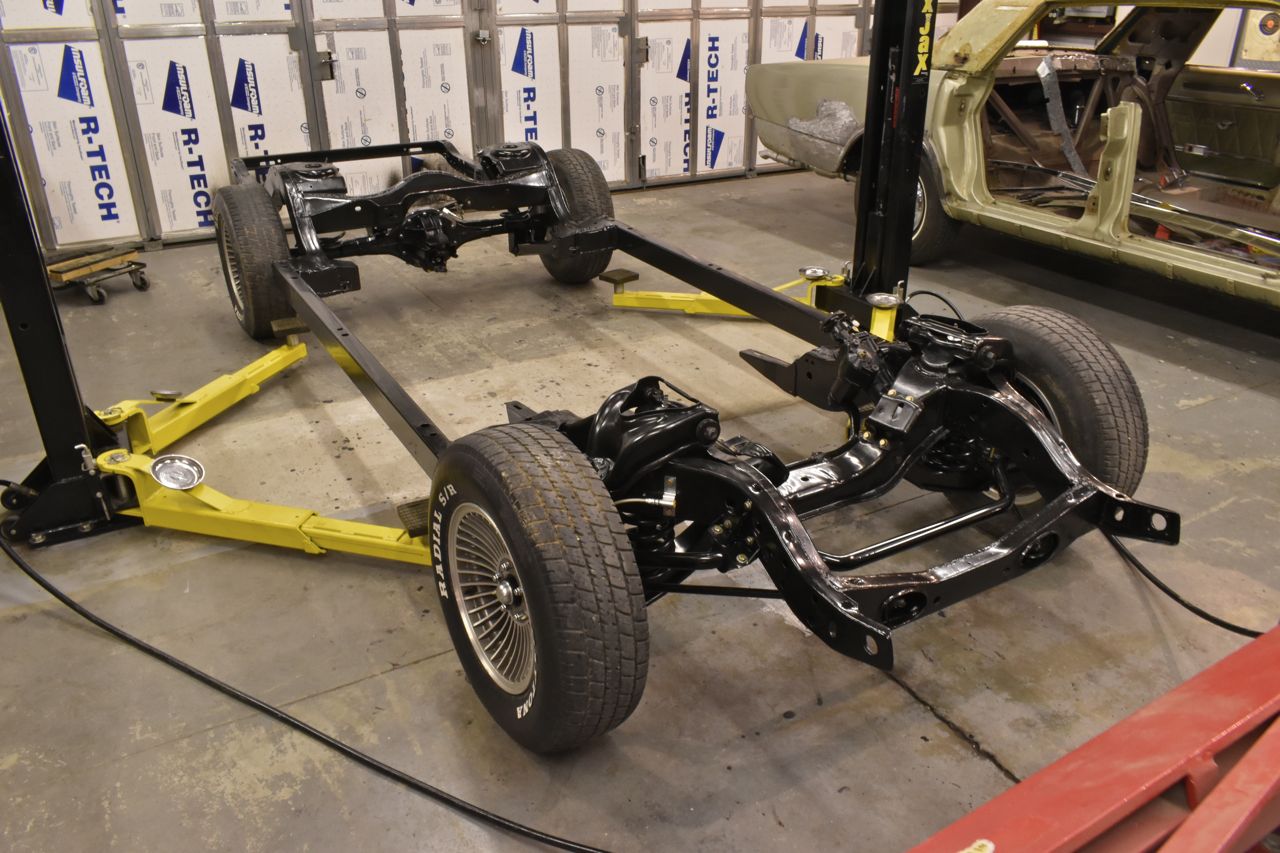
I did a rough tally on the parts and supplies just for what you see here and it came out to around 3500 dollars. That is not counting the rims and tyres. These are just junk rims and tyres I had lying around. The labour is about a solid 120 hours just on this (that's not including many hours of research). If you figure the low end of shop rate of 75 per hour you can see the replacement cost of this alone is quite expensive.
By the time the engine is done (about 10 grand) plus the transmission and installed into the chassis. The price alone on just the chassis will be more than you could ever sell the entire car for and we haven't even begun on the body yet. Hence to do something like this, you need to really love the car and intend on keeping it for darn near life and drive the tyres off it.
Anyone who thinks they can properly restore one of these cars then sell it for profit is sadly mistaken. You'd be better off lighting Havana Cigars with 1000 dollar bills. It would be easier on your savings account and you'd have more fun.
Note: A question was asked of me if "drilling a hole in the axle flange make it easier to work on the parking brake pieces?"
I had thought about that when I stood there staring at the Chinese puzzle box initially. It would help taking it apart but not sure about going together as it would be a tough battle with getting the spacer ring in place whilst getting the bearing retainer plate in place all the while fighting the backing plate and the dust shield all trying to get them in alignment. It would be a 6 of one half dozen of another sort of thing.
Cheers
Click here to continue to part 18