1966 Ford Galaxie 500 XL Refurbishment : 039 Engine - Crankshaft & Pistons
2023, November 14
1 - 2 - 3 - 4 - 5 - 6 - 7 - 8 - 9 - 10 - 11 - 12 - 13 - 14 - 15 - 16 - 17 - 18 - 19 - 20 - 21 - 22 - 23 - 24 - 25 - 26 - 27 - 28 - 29 - 30 - 31 - 32 - 33 - 34 - 35 - 36 - 37 - 38 - 39 - 40 - 41 - 42 - 43 - 44 - 45 - 46 - 47 - 48 - 49 - 50 - 51 - 52 - 53 - 54 - 55 - 56 - 57 - 58 - 59 - 60 - 61 - 62 - 63 - 64 - 65 - 66 - 67 - 68 - 69 - 70 - 71 - 72 - 73 - 74 - 75 - 76 - 77 - 78 - 79 - 80 - 81 - 82 - 83 - 84 - 85 - 86 - 87 - 88 - 89 - 90 - 91 - 92 - 93 - 94 - 95 - 96 - 97 - 98Engine Part II Continued
To fit the cam all I did was rotate it, remove and note the high burnished areas on the cam bearings and just scrub them with green Scotch-Brite pads. I repeated this several times till the cam rotated freely and smoothly. This is the first time I had done this so I was careful not to remove too much material.

I had to install the rear cam plug and the rear oil gallery plugs.
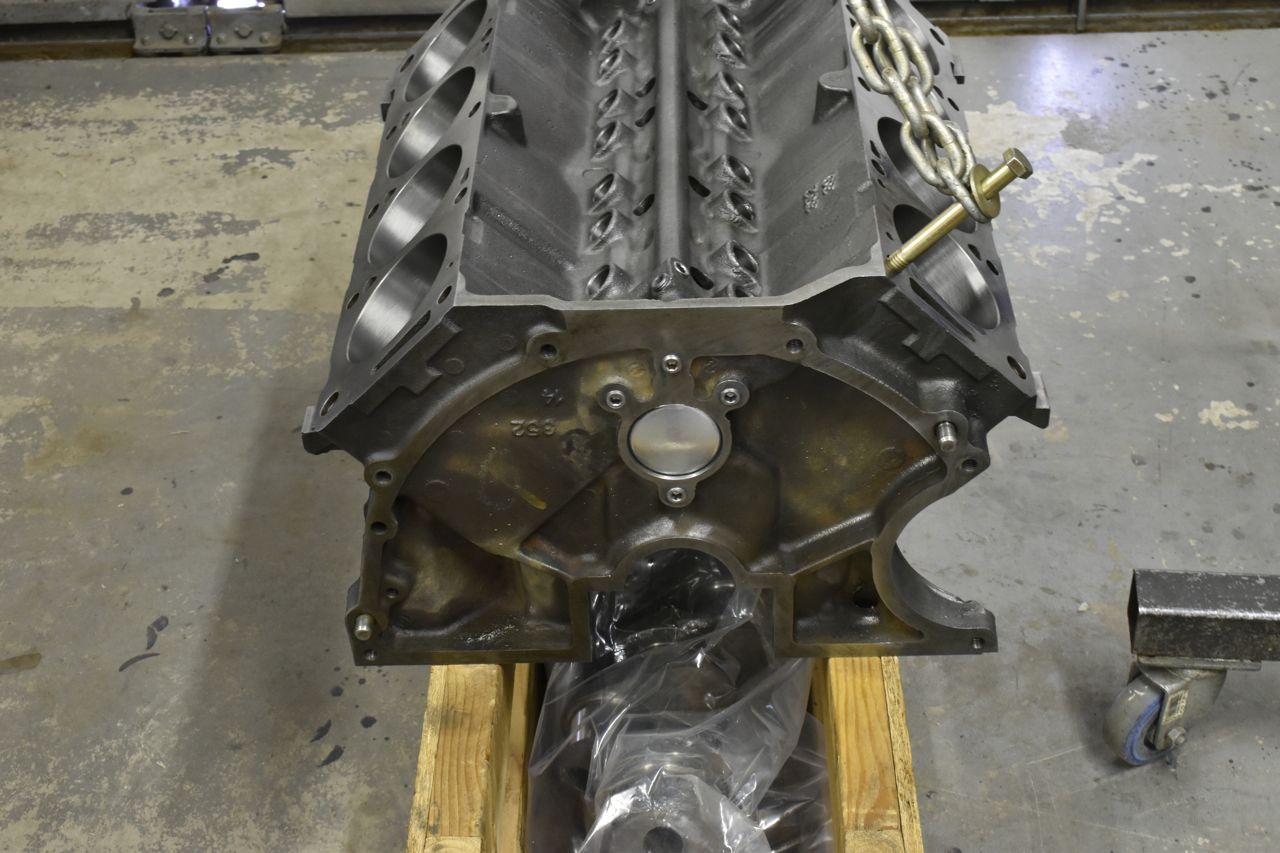
I had to get a little creative to fixture the block whilst tapping in the rear plug with sealant. I used an old suspension bushing housing and it was the right size.

Next up are the main bearings.
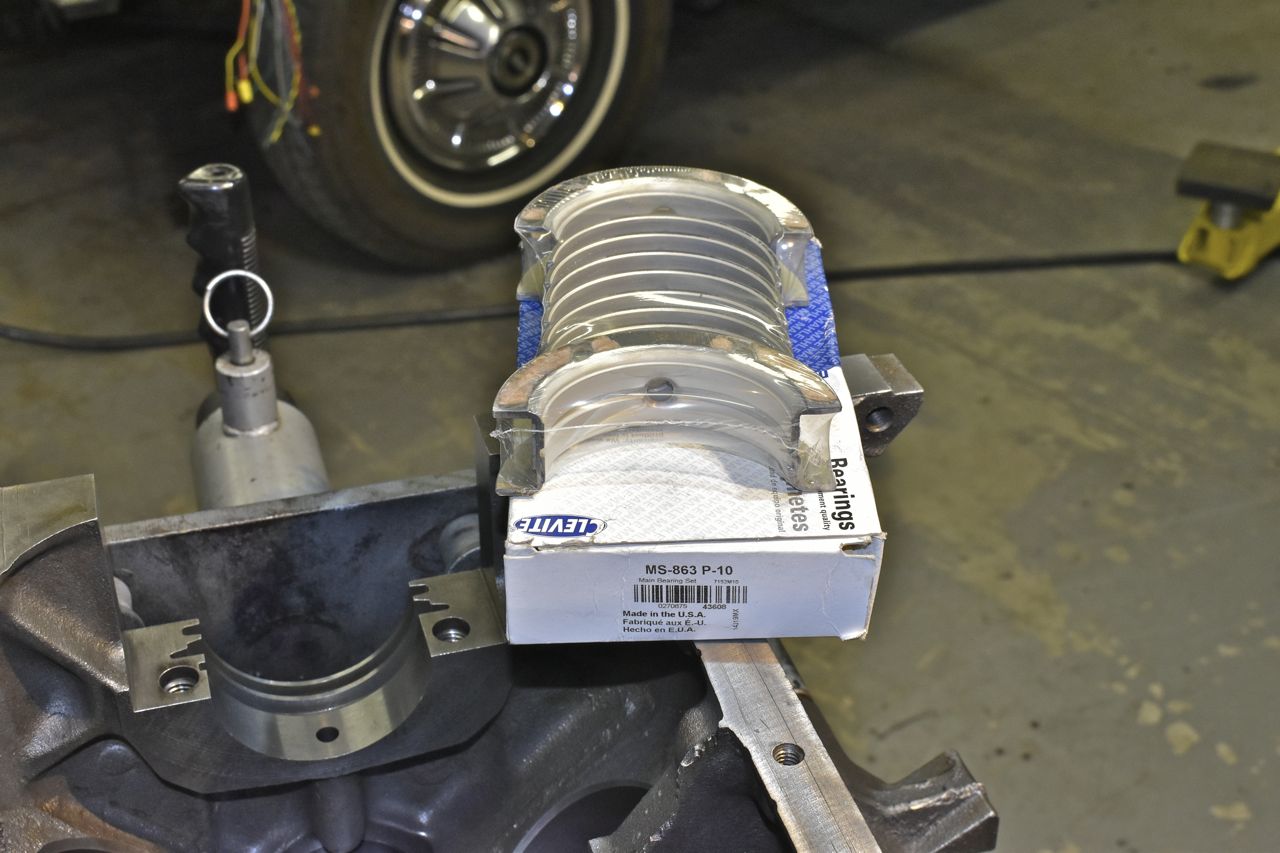

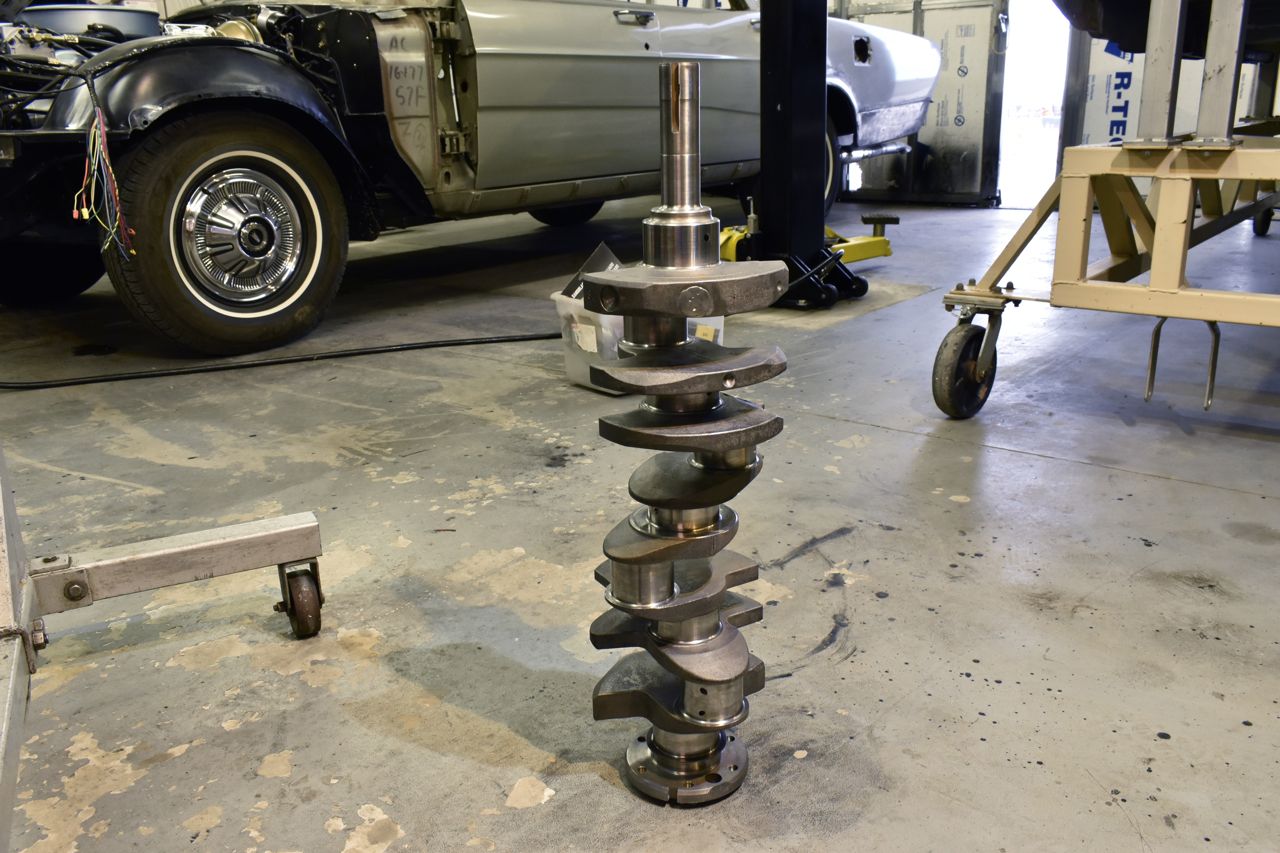
Time to see how good the cut and polish is on the crankshaft.
I have my Plastigauge laid in dry bearings ready for the crush.
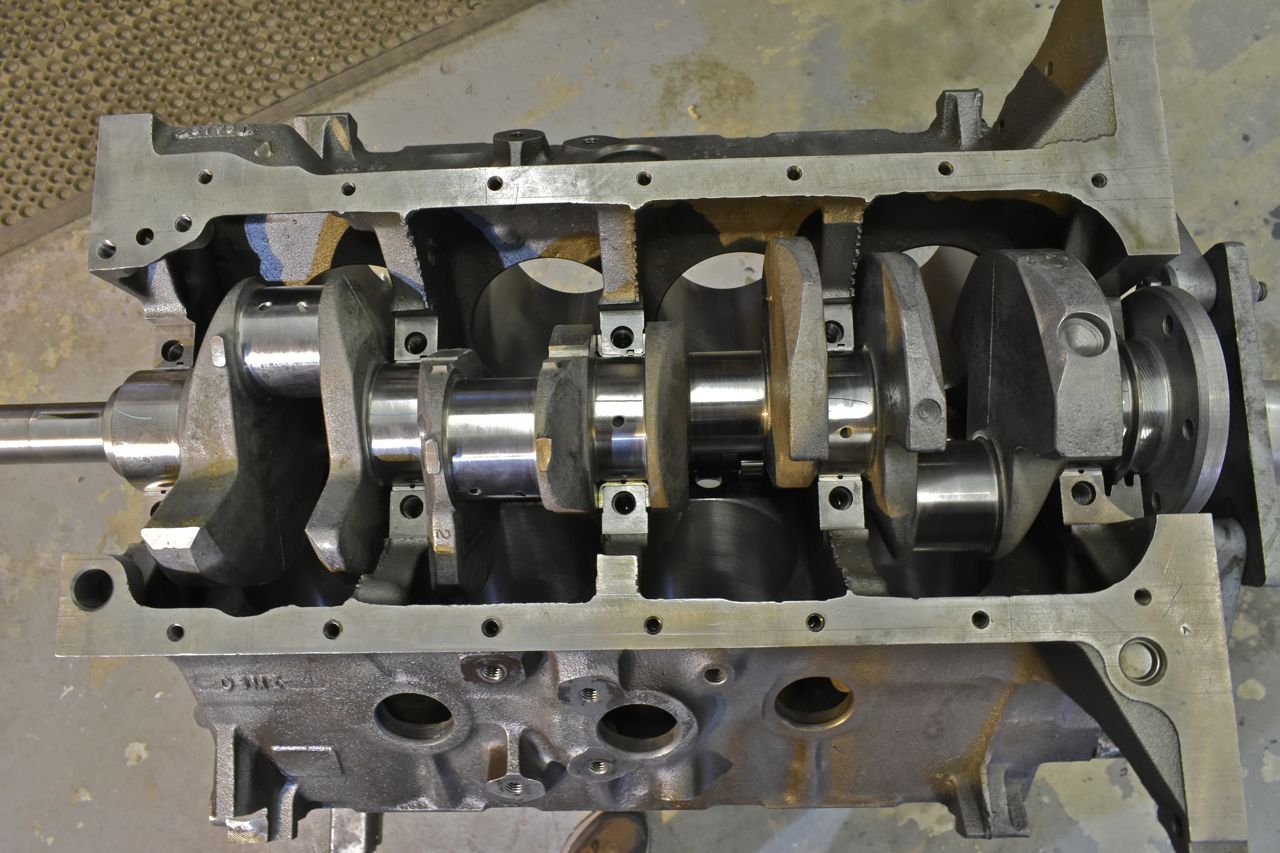
Credit where credit is due, nice even pattern at just under 0.002" clearance. All bearings were the same. Credit where credits due, well done on the crank mains machining.
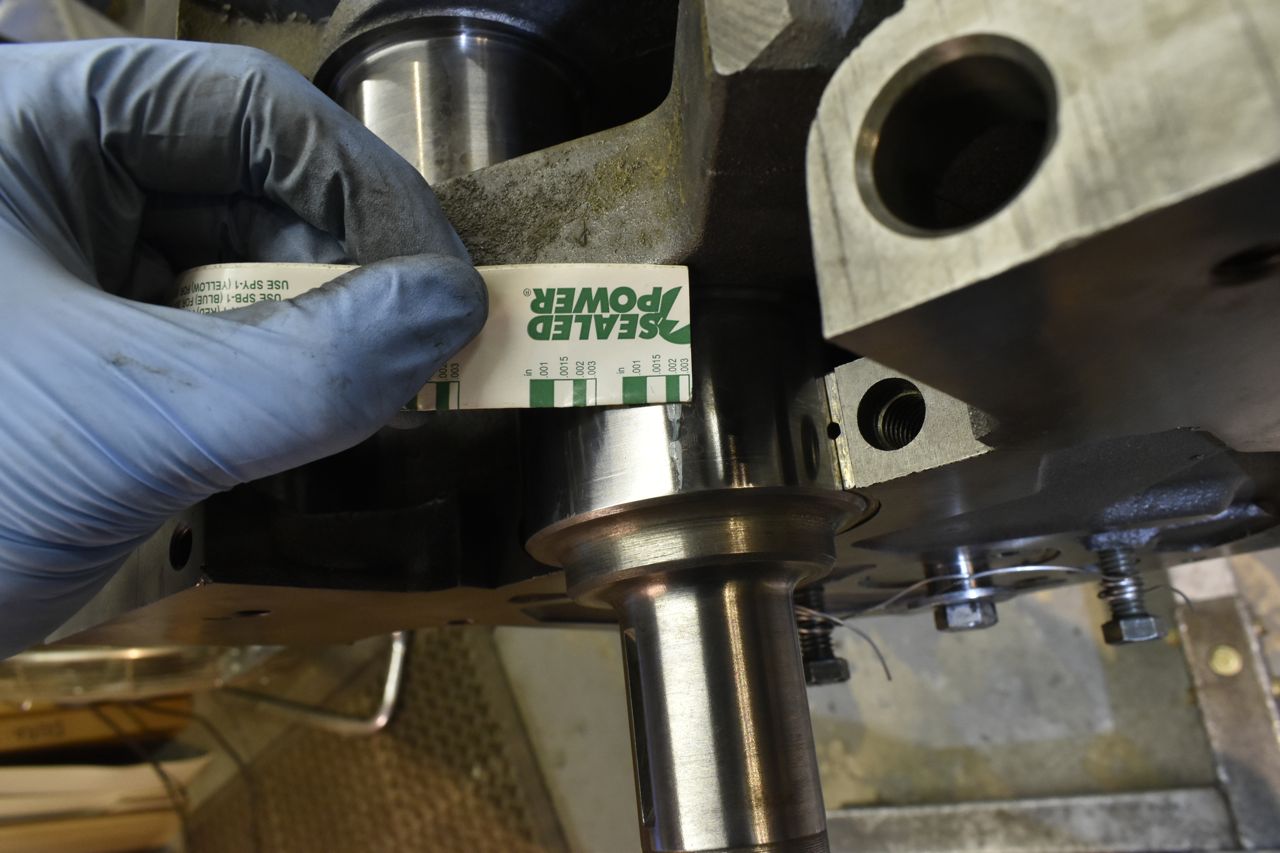
It may be hard to tell from the picture but they are all the same width.

With that, the crank was removed, cleaned one last time, lubed the bearings and with a new rear main seal kit, the crankshaft was torqued down. It spins by hand smoothly. The camshaft is also lubed and installed.
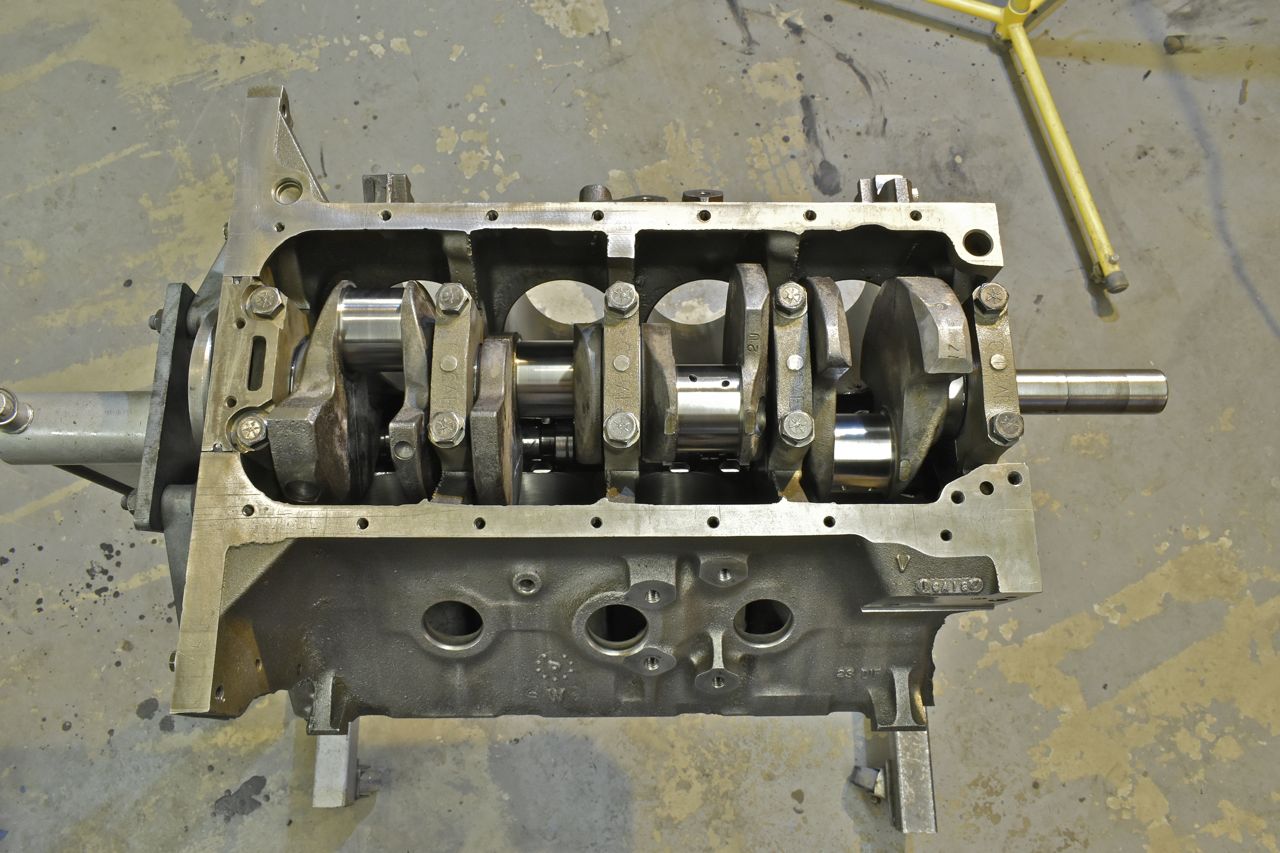
OK at this point I was feeling pretty good. I had thought to myself things are looking up and I'm on a roll.....

And that my friends is where the progress ended because.............
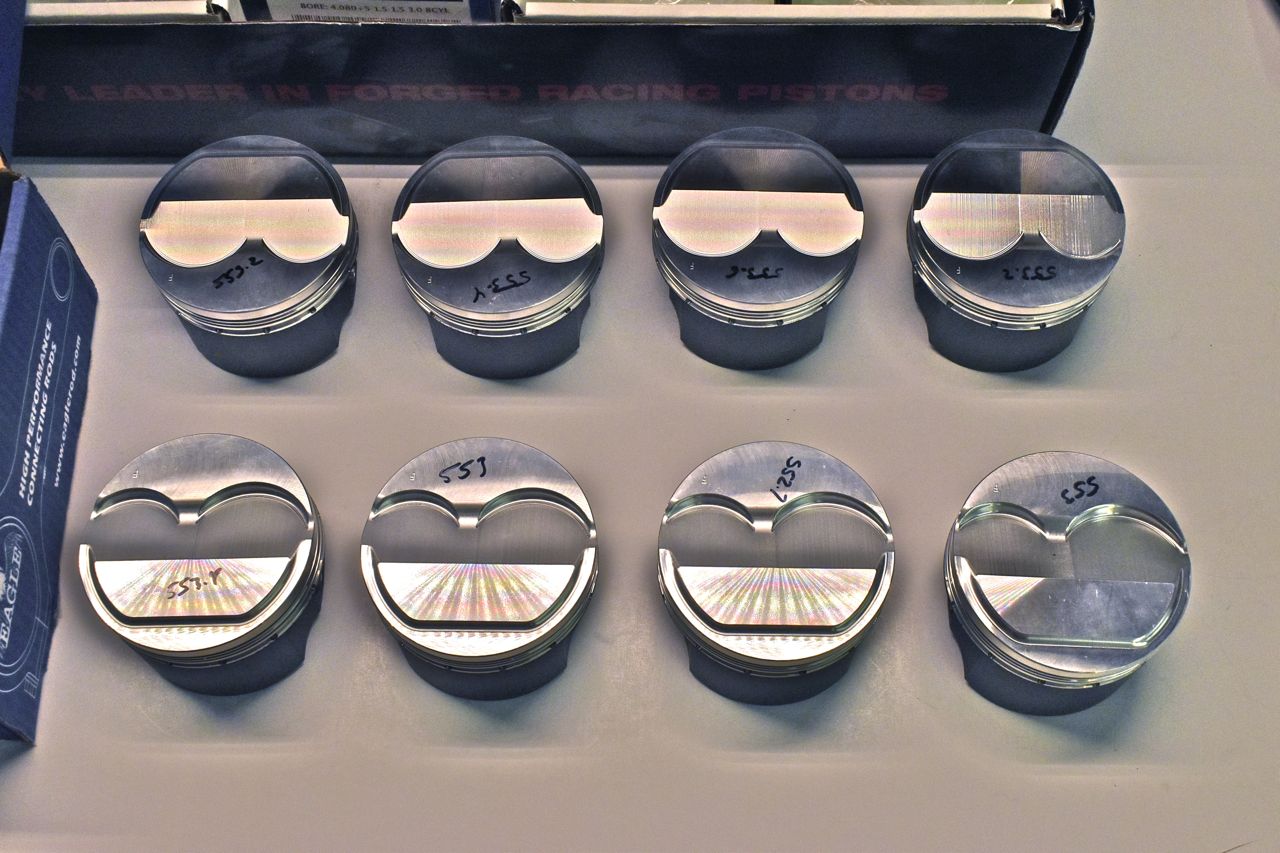
As I was laying out the brand new pistons from Diamond to assemble onto the brand new rods I had this funny feeling something wasn't quite right. But I just couldn't put my finger on it at this point. Can you?

Sorry for the bad lighting, but here's a closeup. All the little "F's" are to the left as that is the front of the engine. It's funny I couldn't put my finger on it but my subconscious was screaming go look at the cylinder heads.
Here's the mock up engine on the chassis.
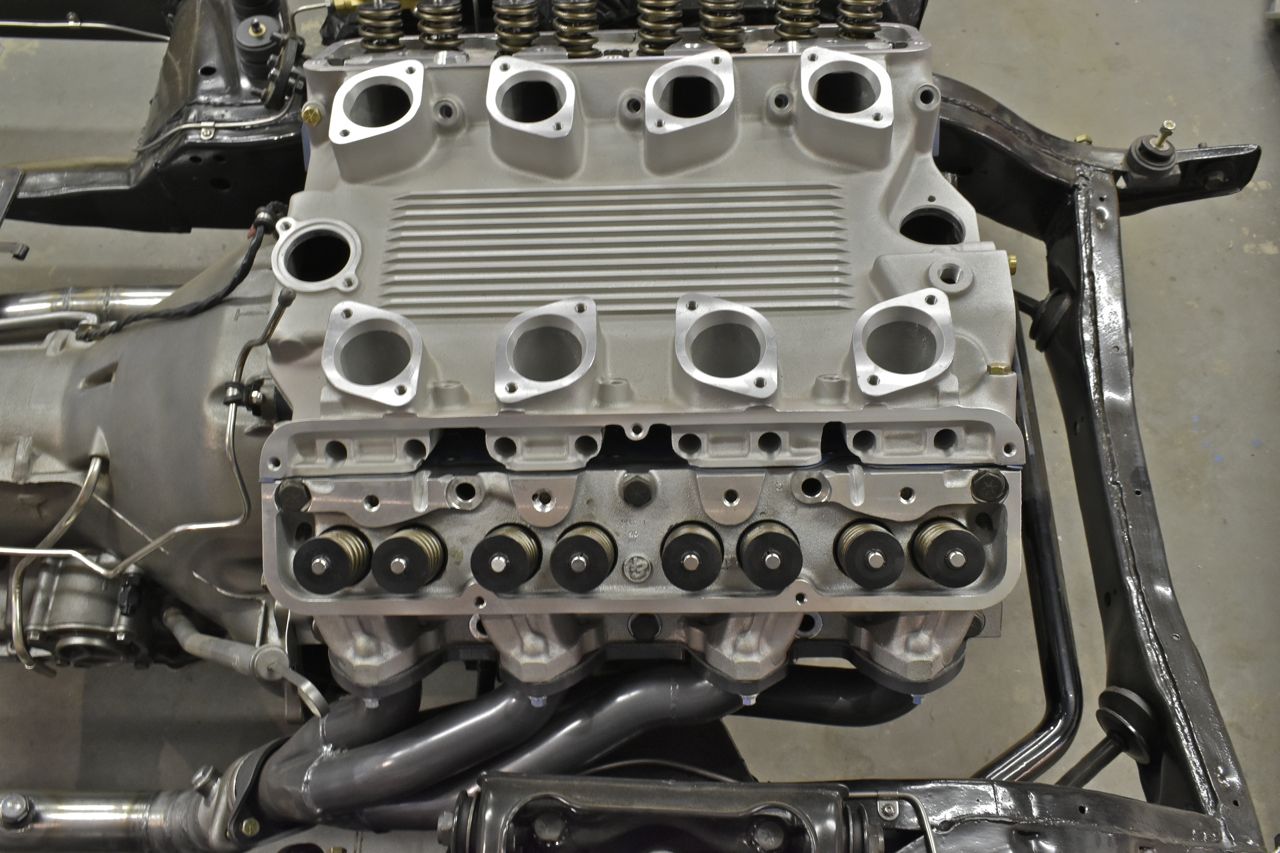
Oh crap they didn't.
They did.
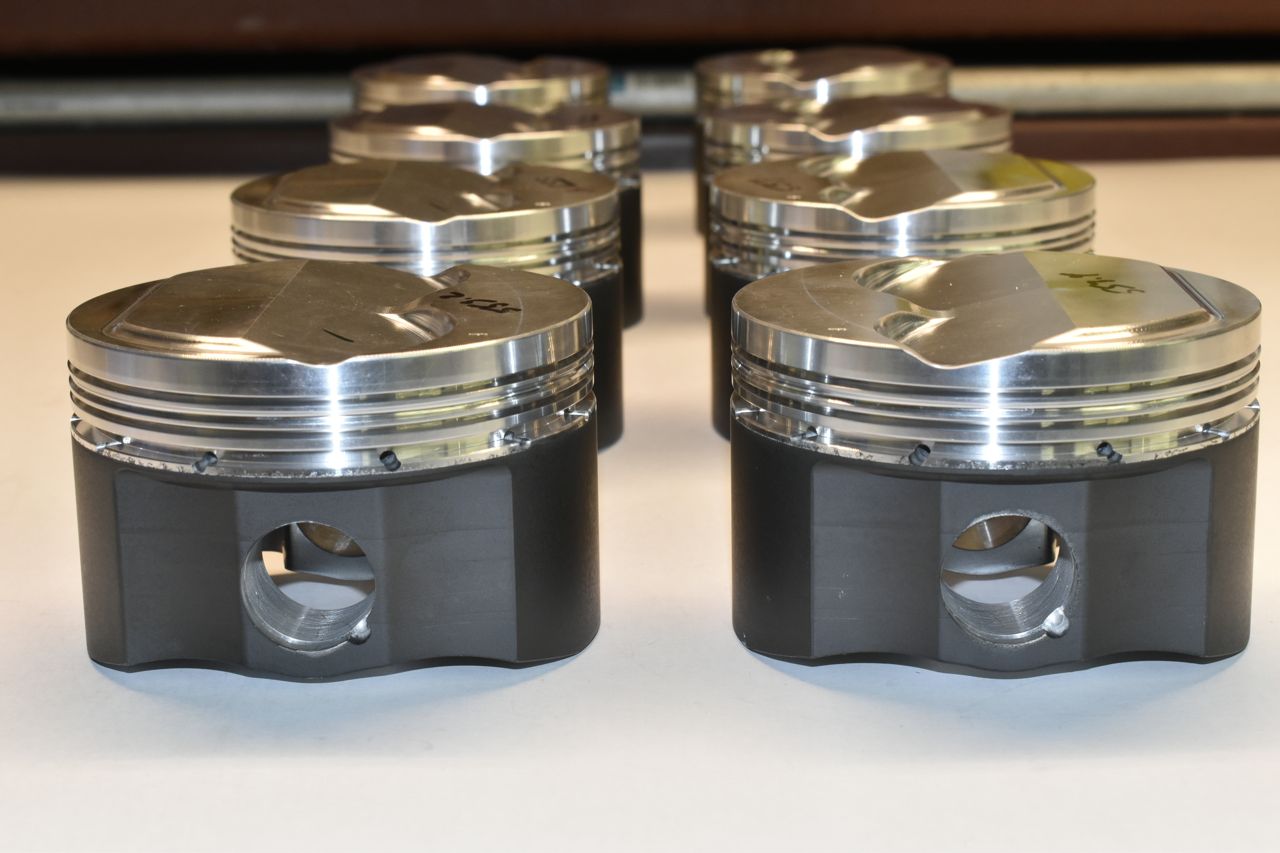
They flipped the exhaust and intake reliefs on two pistons on each side (4 wrong pistons).
This is the 3rd consecutive mistake from Diamond Pistons. These are not cheap either. I can't fathom why people can't do their job properly. As the guy from Vice Grip Garage would say, "somebody help me understand"......
So this portion of the car is dead in the water till Diamond makes and ships me 4 correct replacement pistons. For now the engine will get a bag over it with a dunce cap on and sit in the corner.
Well at least they put the offsets for the pins on the correct side of the pistons....
(sigh)
Regarding the cam bearing, it seems it was more the bearing manufacturer causing problems as when I was there at the machine shop they were commenting on how they have had nothing but problems lately with Durabond cam bearings. They also said the Clevite's I originally brought them fit really well. It just irritated me that they didn't use Clevite's the second time around or even call me to order them a set.
Thought I would update with a little more progress. I received round two of Diamond Pistons from the courier. They look correct, I even weighed them to double check. They are within a gram.
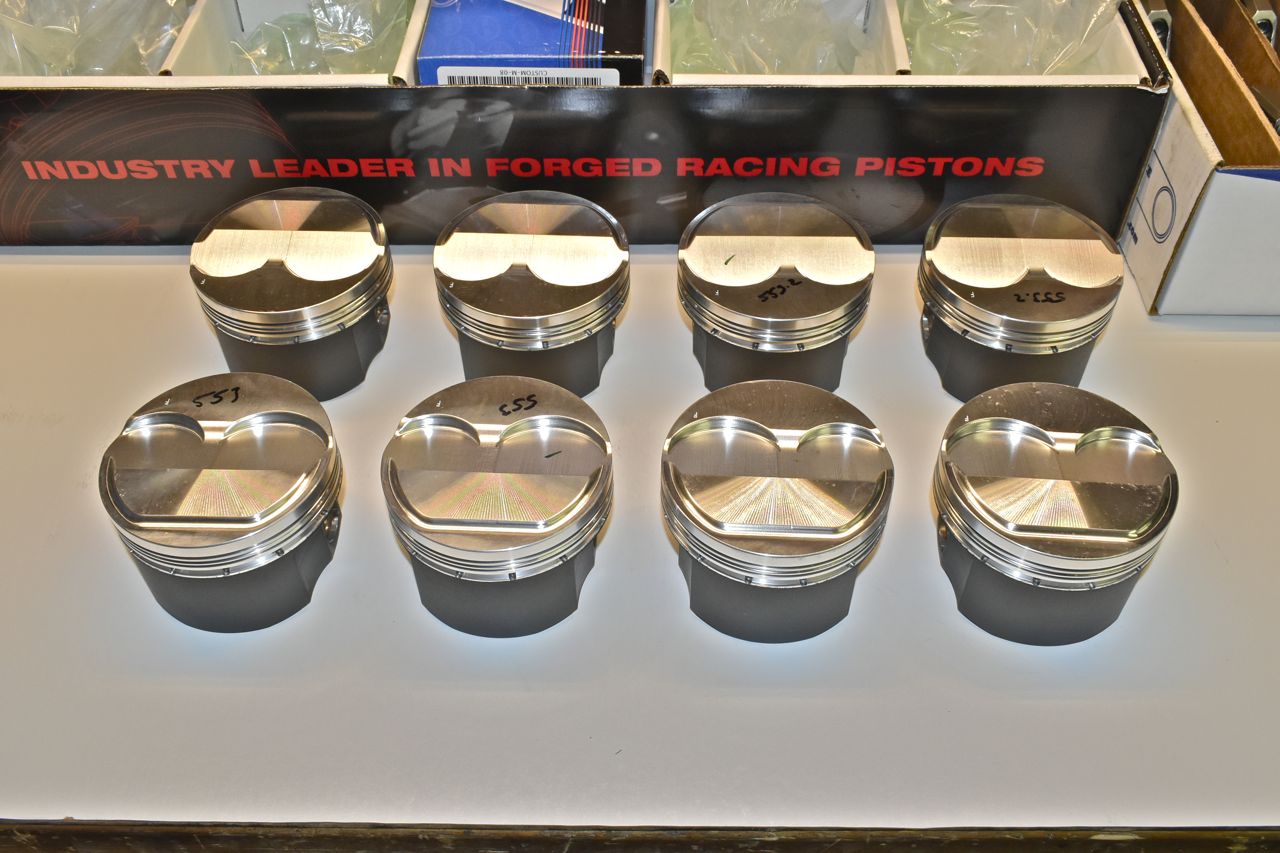
The offsets are on the correct size as well. Looks like I am good to go on installing these.

Well it wasn't all smooth sailing as I thought. I had this overwhelming urge to check the ring gap the machinist was supposed to grind the gaps to according to the Total Seal chart I provided.
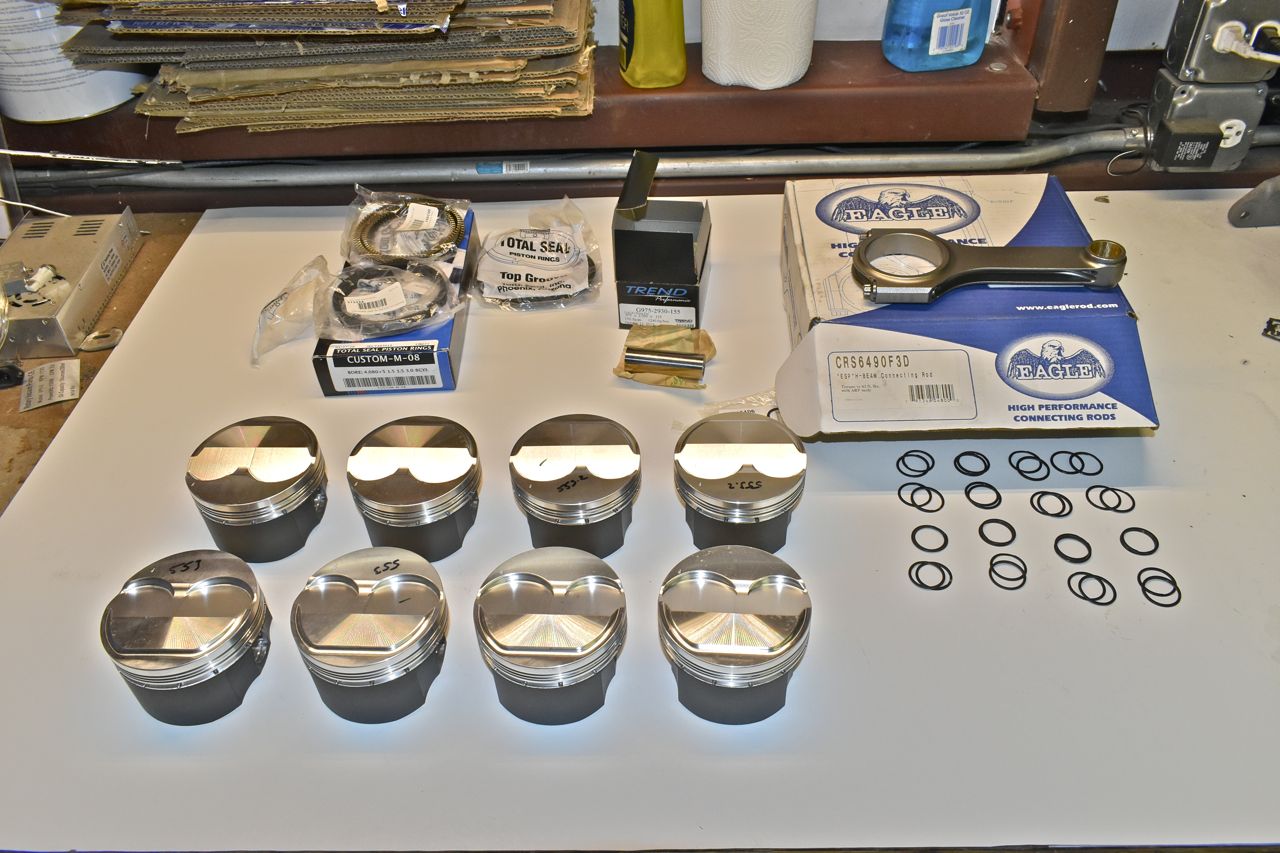
Good grief, am I glad I checked. The top rails on the top gapless ring were not ground at all. Add to that the main upper and second were cut wide enough or consistent. I found 1, that's one second ring that had the proper gap. Most were 7 to 15 thousandths too small gap.
Crap, this could have ended badly under high load.

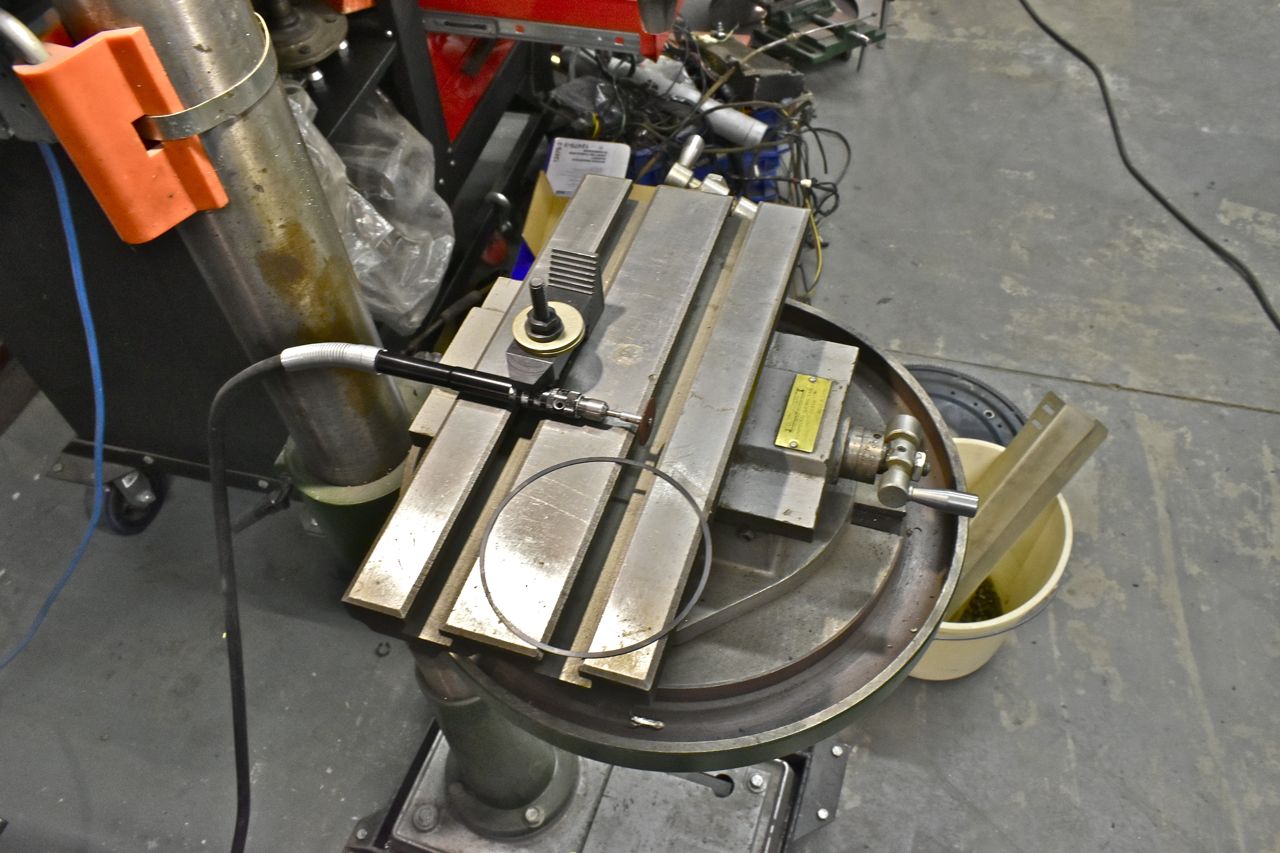
Here we go again, I've never ground rings myself so I did some research and looked at the grinders they had and thought, why buy another specific tool I'll rarely or never use again. So I had a brain drizzle and came up with this. All I needed to do was shave the ends parallel to one another. I've done enough hand machining on the fly I felt confident doing this.
It's just the Dremel extension wand on low with the cut off disc clamped down to the X-Y table on the drill press with the direction rotating inwards on the ring. I used the lighting to judge the edge whilst grinding.
This worked surprisingly well.
Just used the piston upside down and to the flare to set the distance of the ring in the bore when checking gaps. Once the gaps were set I assembled the rod, pin, locks and rings onto the piston and checked rod bearing clearances.


Clearances look good and consistent across the face.
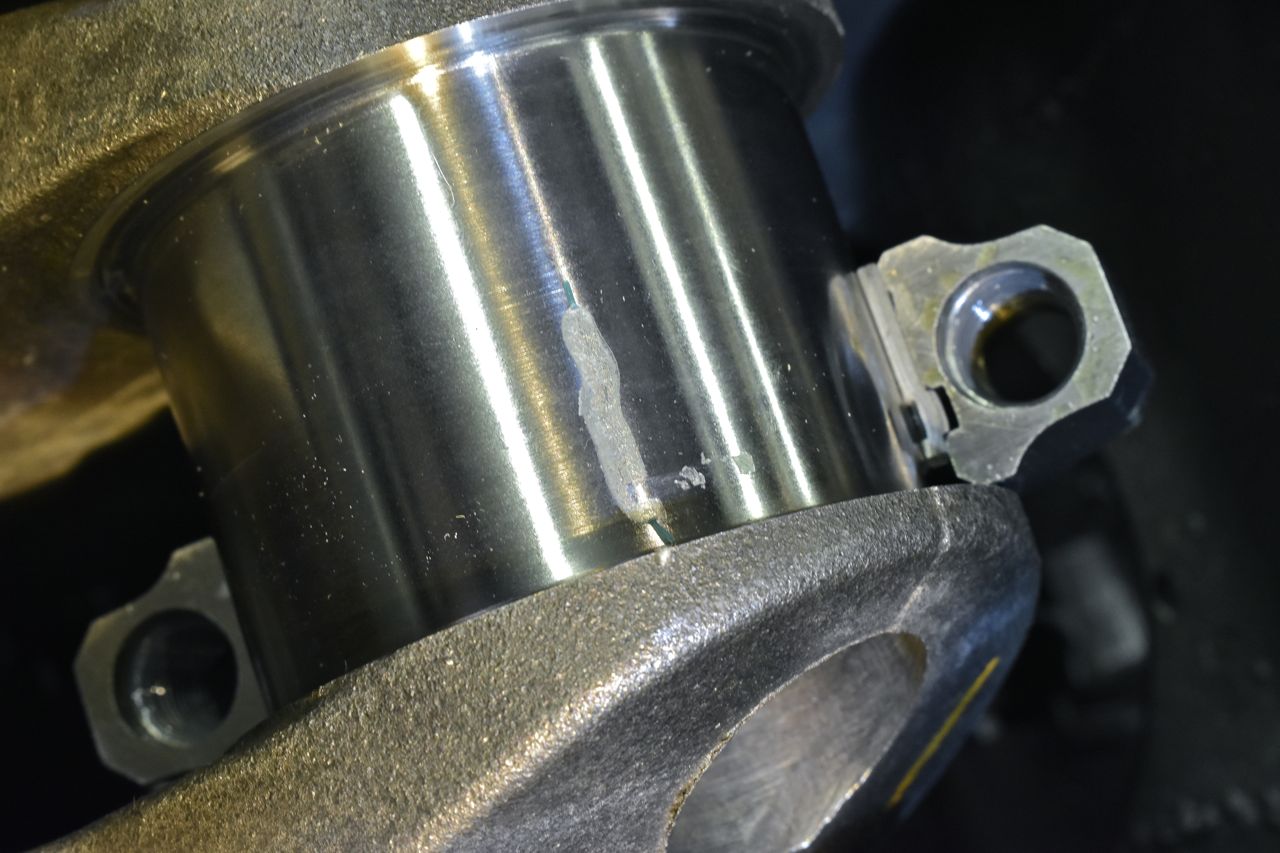
Finally the short block is going together. This shouldn't this frustrating. Next time I'll plan to do rings and cam bearings at home along with de-cruding the engine and I can't be disappointed when it's not done or done properly, plus I'll save loads of money as well.

This is the second ring, it's a moly coated napier ring. After grinding the gaps I deburred the grind edge on the ring.
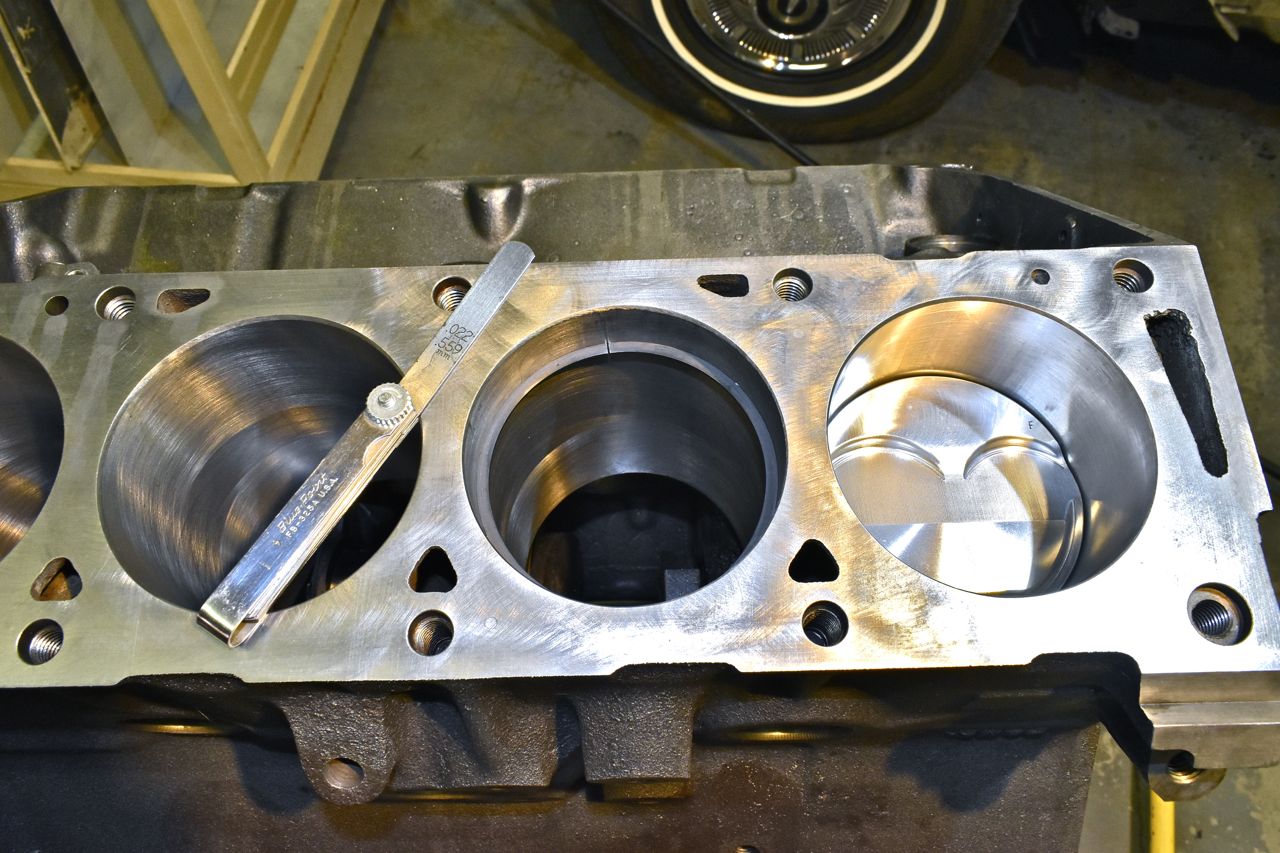
To do the top rail on the gapless ring I had to think of someway to properly check as it's designed to compress inwards, unlike the rails on the oil control rings which are designed to expand outwards.

What I did was grind the main top ring first then flip it up-side-down in the bore with the proper feeler gauge inserted in its gap then putting the rail gap into the feeler gauge and laying down the rail atop the main ring flipped over. If it laid flat the gap was cut enough. If it didn't then I needed to grind a little more off. This was the only way I could think of measuring the top rail gap. Total Seal does say it's ok to take a little more off the rail than the gap on the main ring.
Finally...
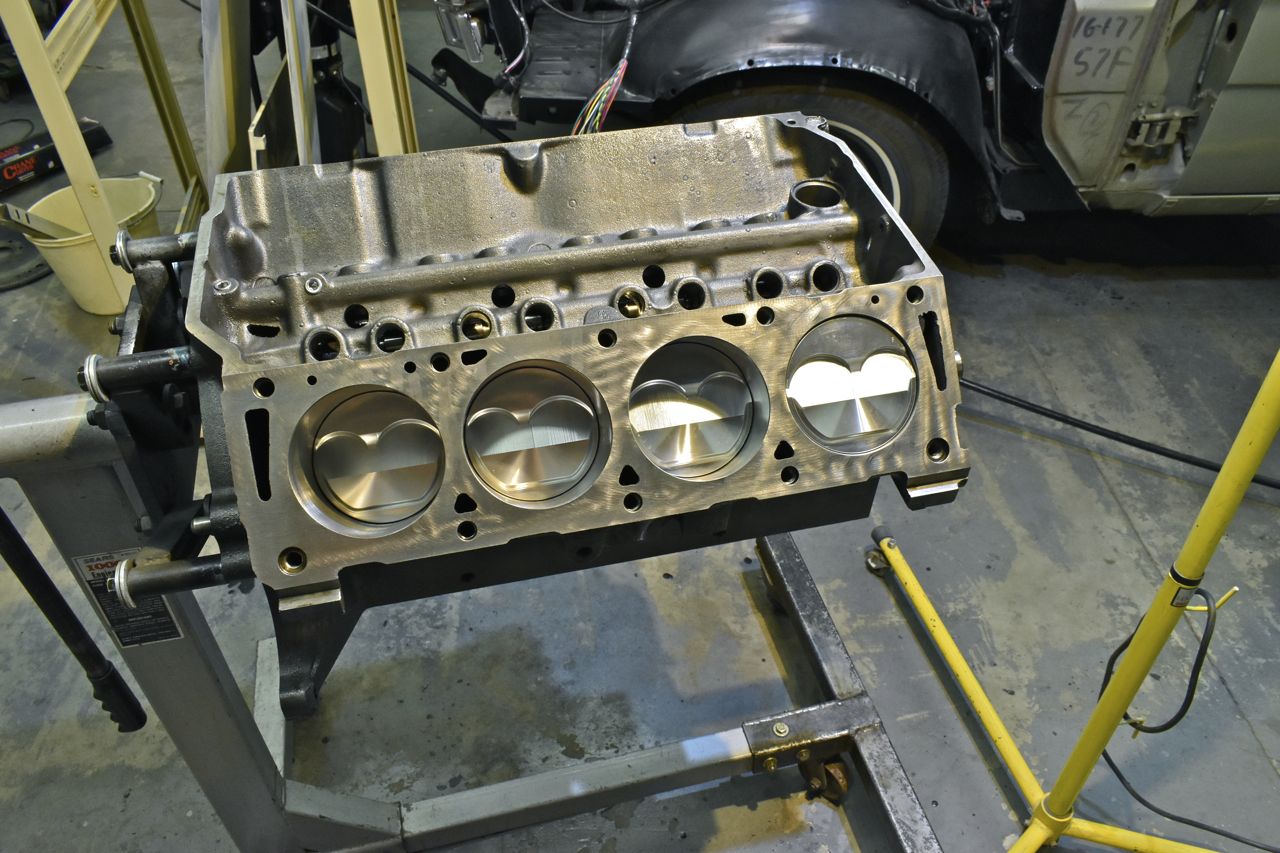
I swear this shouldn't be this tedious. Took about 8 hours worth of time to grind the gaps, clean, check the rod bearings and finally install all 8 pistons.
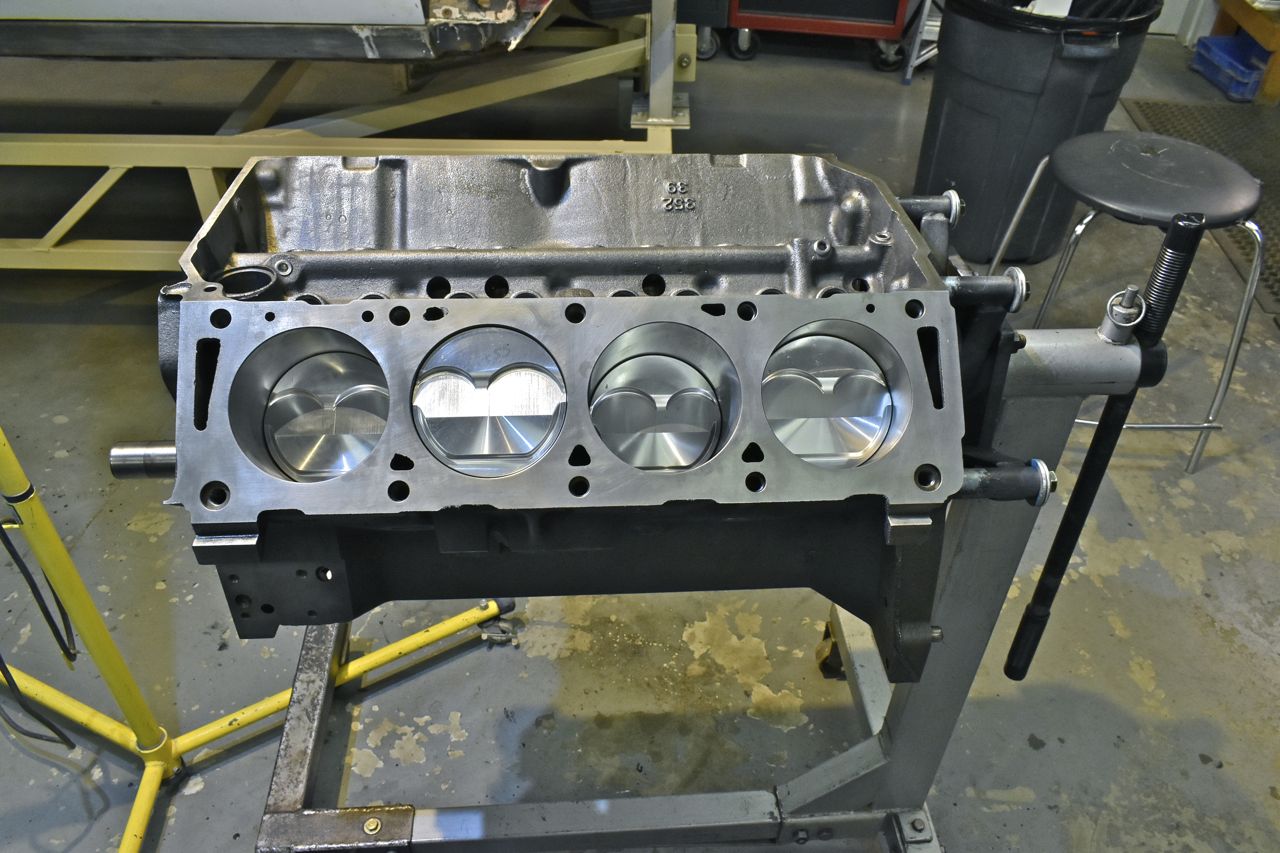
The crank rotates nice and smooth with all 8 pistons installed.

I didn't want to order any more parts until this was sorted out and everything was seemingly ok. With that I did order a Melling double roller timing chain, Melling HV oil pump and screen, Morel roller lifters and a complete Precision Oil Pumps roller adjustable rockers and assemblies including hardened rocker shafts. Also I ordered their cam bearing plate bolts and oil pump drive rod.
For the timing chain I was going to use the Cloyes true double roller I used on the LTD's 390 but that part is discontinued and when I looked at the reviews on the superseded part number many people said the timing marks on the cam sprocket are 180˚ out.
Well if a company can't be bothered to put the bloody timing marks on the right part, it makes me wonder what else they can't be bothered with to get right. With that I opted for the Melling timing set.
The reason I went with the Morel lifters is because Ford machining on the lifter bores was terrible plunge wise and the roller lifters from Competition Cams would actually lift the top land out of some of the lifter bores on high lift cams. The Morels have nice low top lands that alleviate this problem.
Now just waiting for those parts to arrive before I continue on.
Cheers
Click here to continue to part 40