1966 Ford Galaxie 500 XL Refurbishment : 061 Cowl and Firewall - Inspection
2023, November 14
1 - 2 - 3 - 4 - 5 - 6 - 7 - 8 - 9 - 10 - 11 - 12 - 13 - 14 - 15 - 16 - 17 - 18 - 19 - 20 - 21 - 22 - 23 - 24 - 25 - 26 - 27 - 28 - 29 - 30 - 31 - 32 - 33 - 34 - 35 - 36 - 37 - 38 - 39 - 40 - 41 - 42 - 43 - 44 - 45 - 46 - 47 - 48 - 49 - 50 - 51 - 52 - 53 - 54 - 55 - 56 - 57 - 58 - 59 - 60 - 61 - 62 - 63 - 64 - 65 - 66 - 67 - 68 - 69 - 70 - 71 - 72 - 73 - 74 - 75 - 76 - 77 - 78 - 79 - 80 - 81 - 82 - 83 - 84 - 85 - 86 - 87 - 88 - 89 - 90 - 91 - 92 - 93 - 94 - 95 - 96 - 97 - 98Cowl and Firewall
The next bit of attention this body shell needs is firewall and cowl work. 3rd gens are notorious for leaking inside the cabin either via cowl or from the old butyl around the windscreen and back window (some 3rd gens use 'H' gasket for the rear glass).
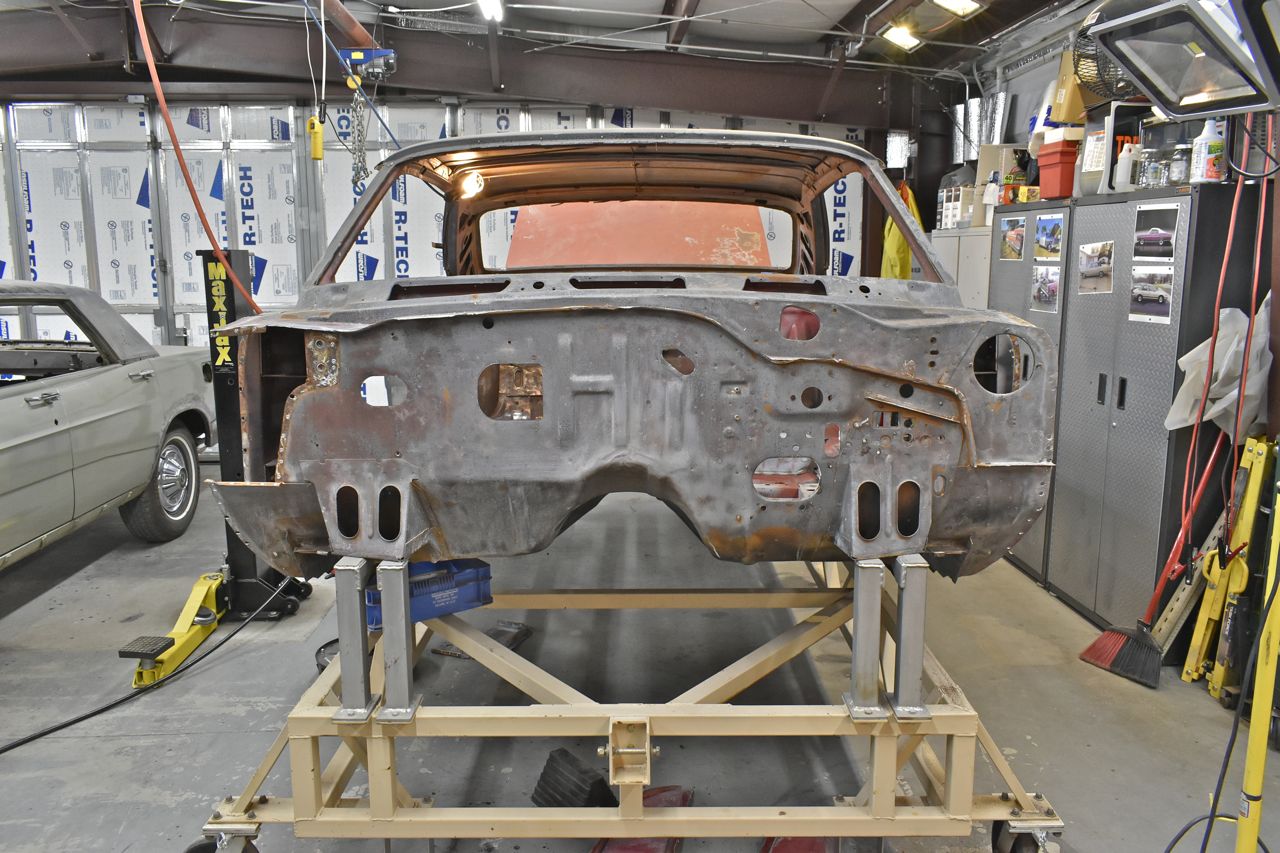
Also this body shell is a heat only car and it needs to be converted to factory air con so quite a bit of firewall needs to be changed.
Not less forgetting this was tagged at some point in the past, so the side cowls are going to come off for easy access to the cowl area that leaks and then some of the firewall needs to be replaced for integral (factory) A/C.
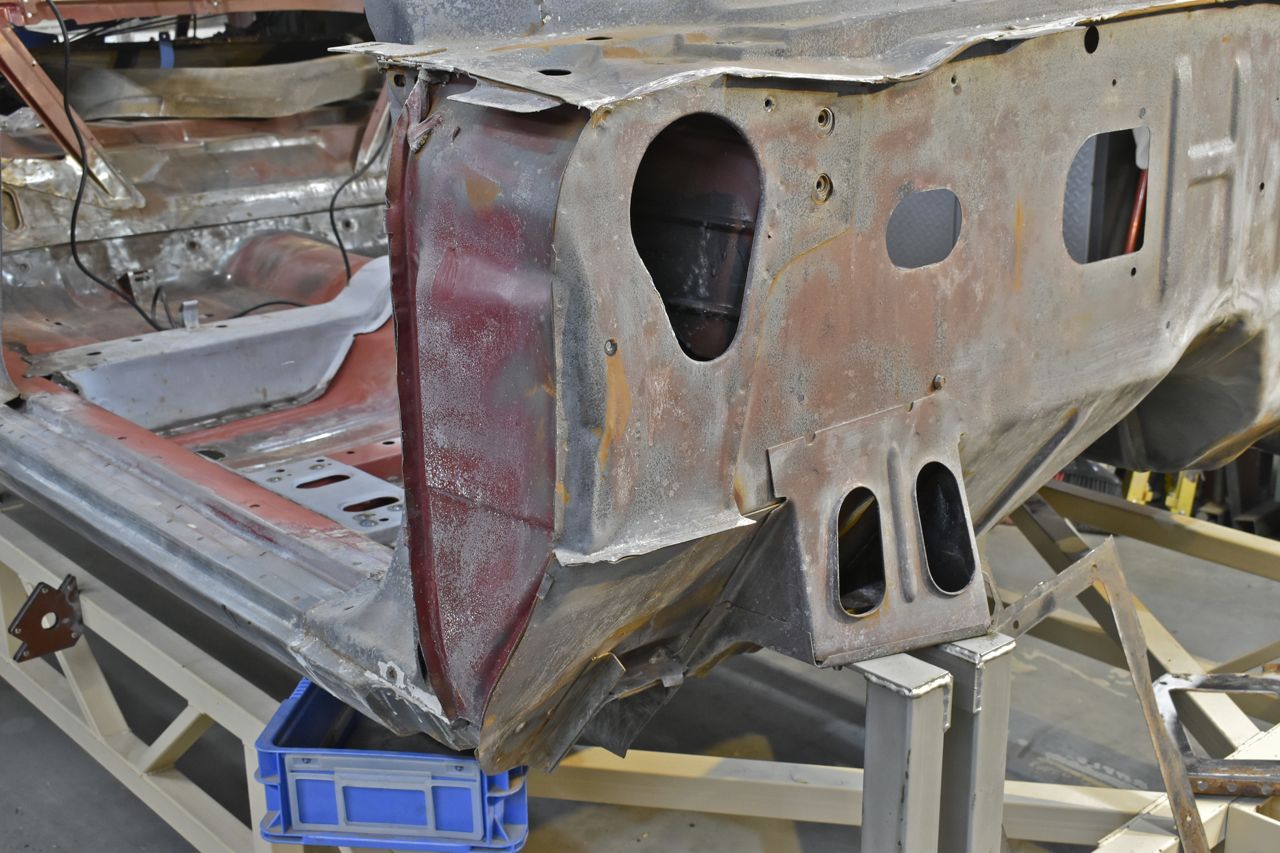
Just to recap this is a heater only body shell.
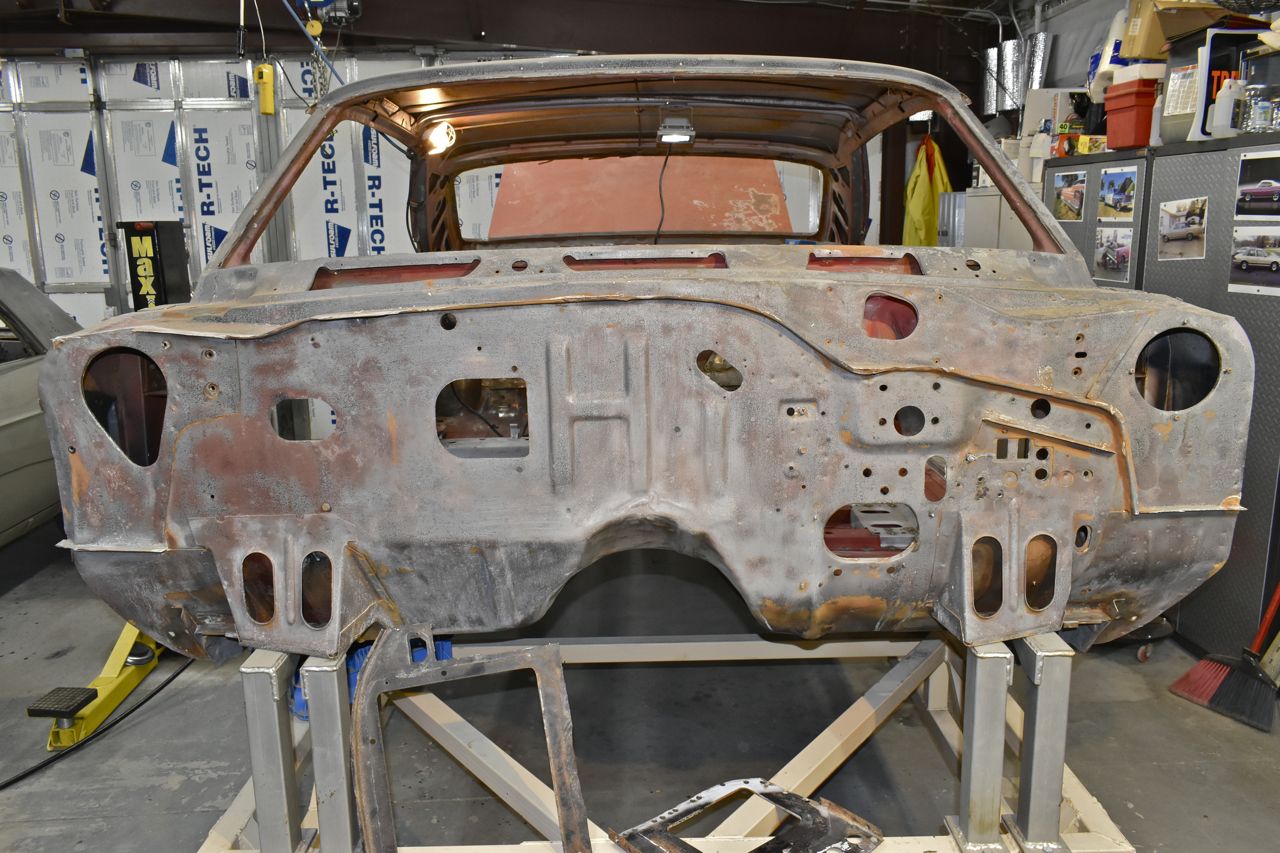
This side cowl will also be removed for easier access to the seam in the cowl.
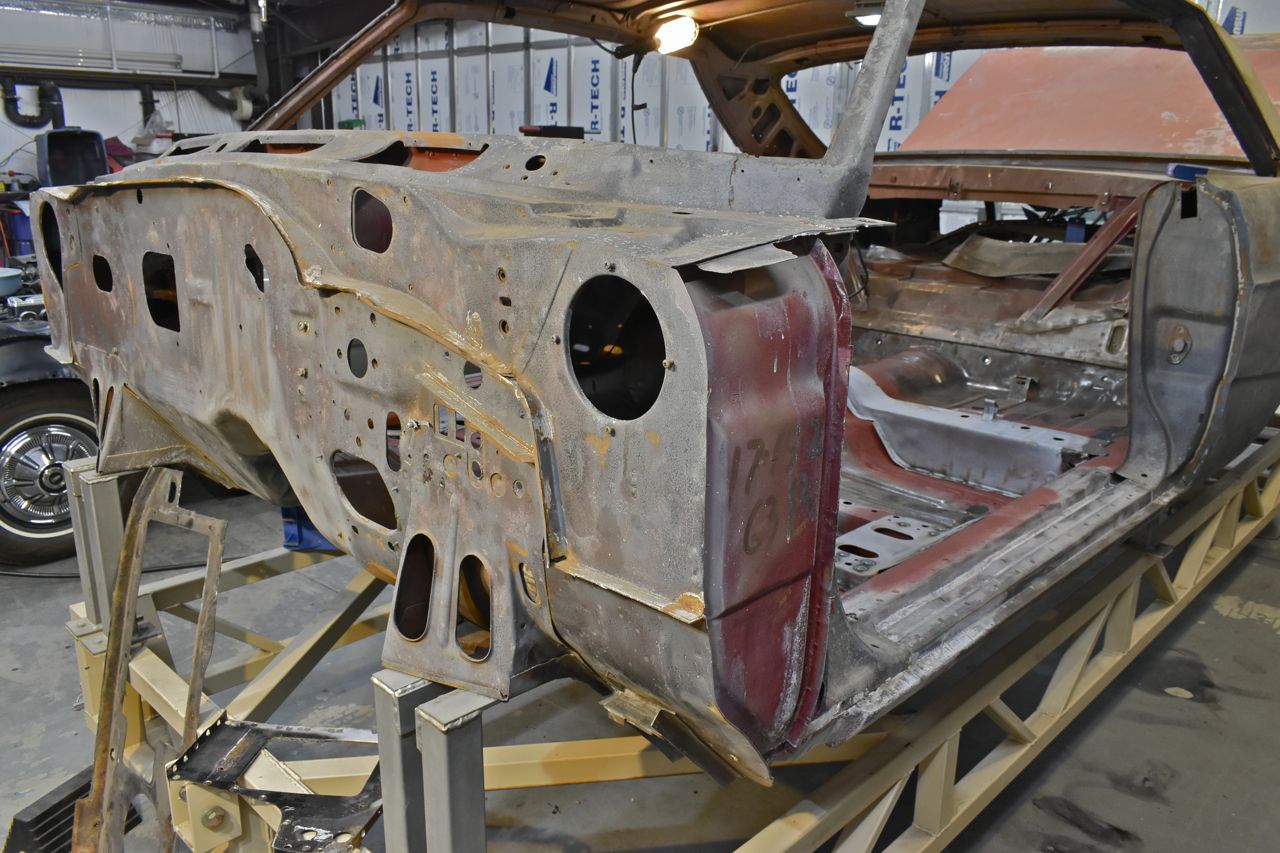
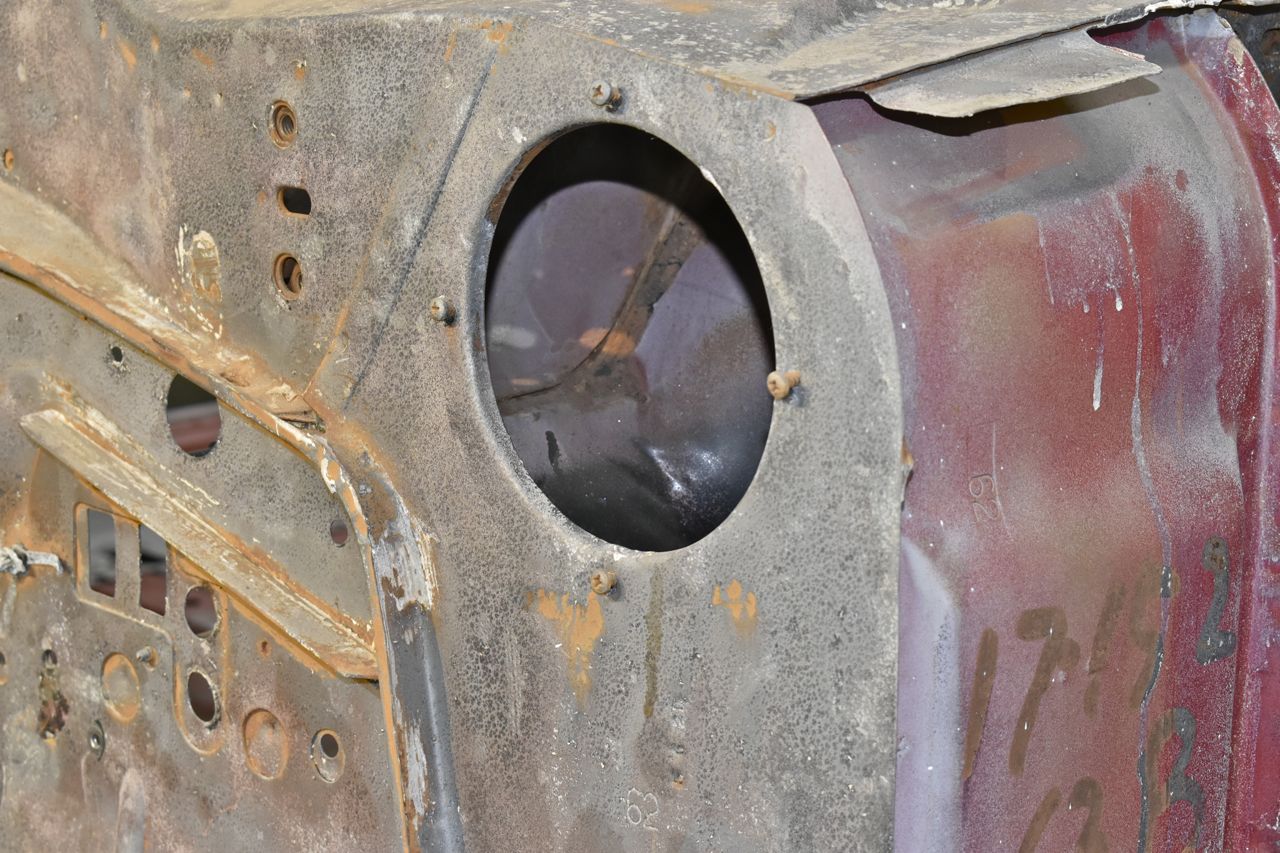
You can see the seam through the what I imagine is some kind of inspection access.
This is the overlay of the A/C firewall that needs to be installed. It's quite a difference.
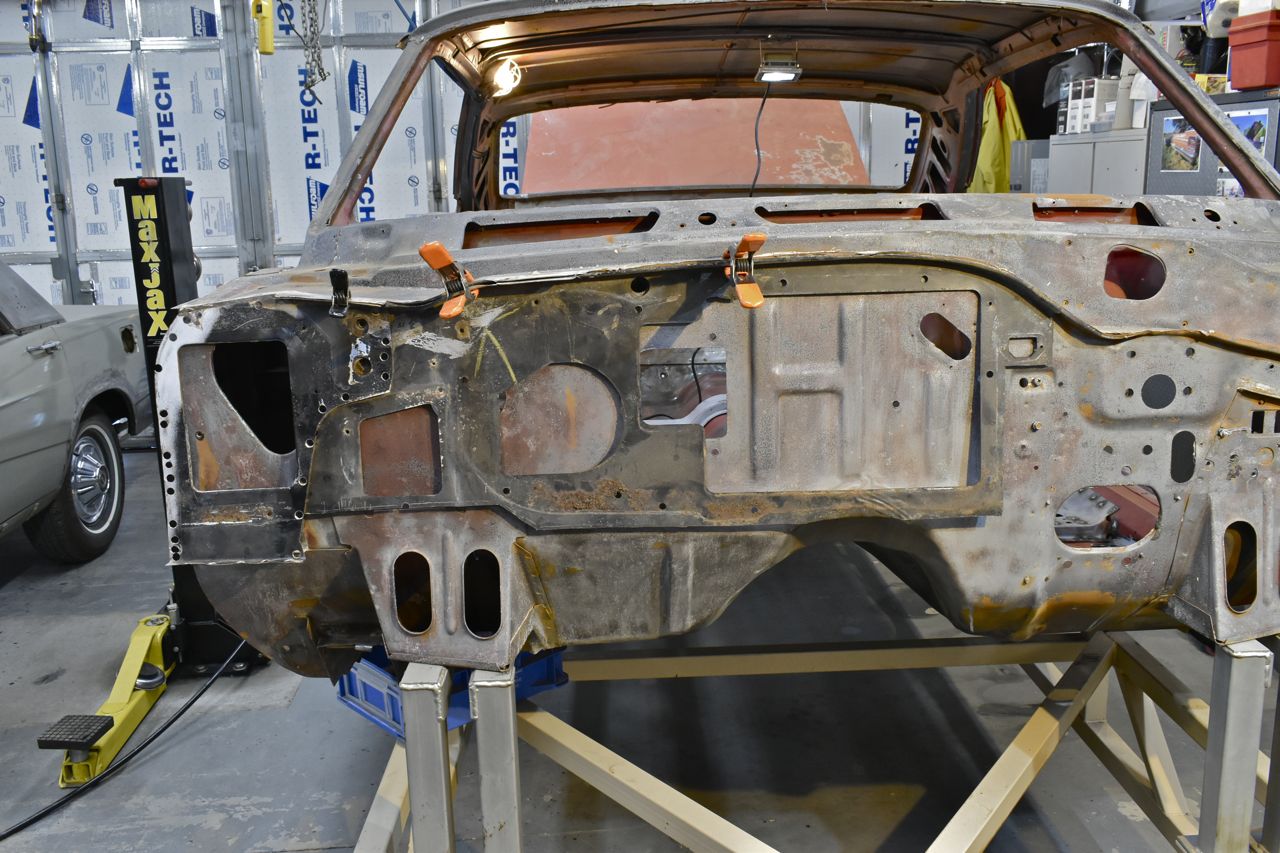
This is the kind of damage you can expect from a leaking cowl (again very common). The worst part is, usually it's a small leak and not even noticeable. What happens then is the moisture works its way behind the factory seam sealer (rubber and asbestos) and corrodes the steel away. This one is caught in time, also being a Southwest car saved its butt
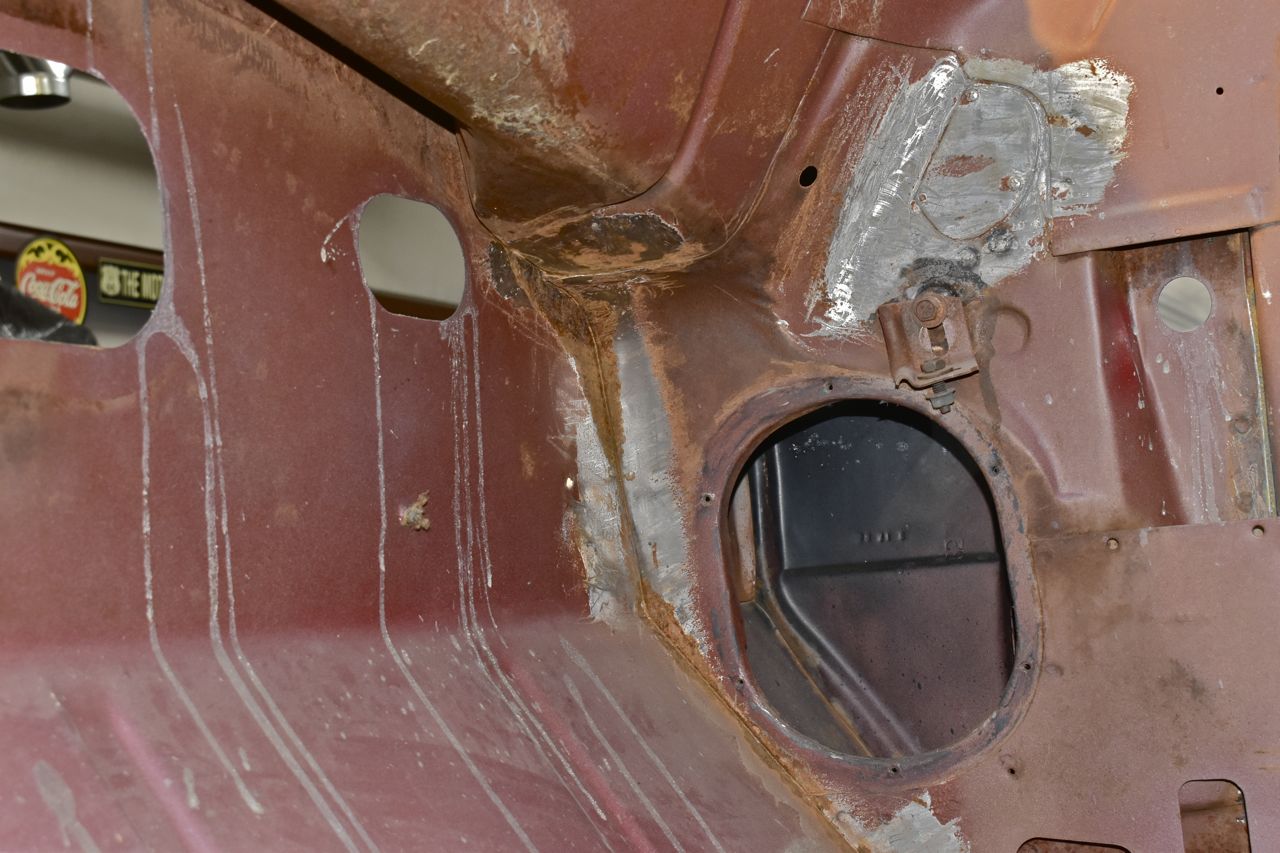
The ironic part of this leak is it ran underneath the seam sealer and into another hole and out the car. See what I mean about not even knowing there is a leak and wreaking damage on the sheet metal shell.
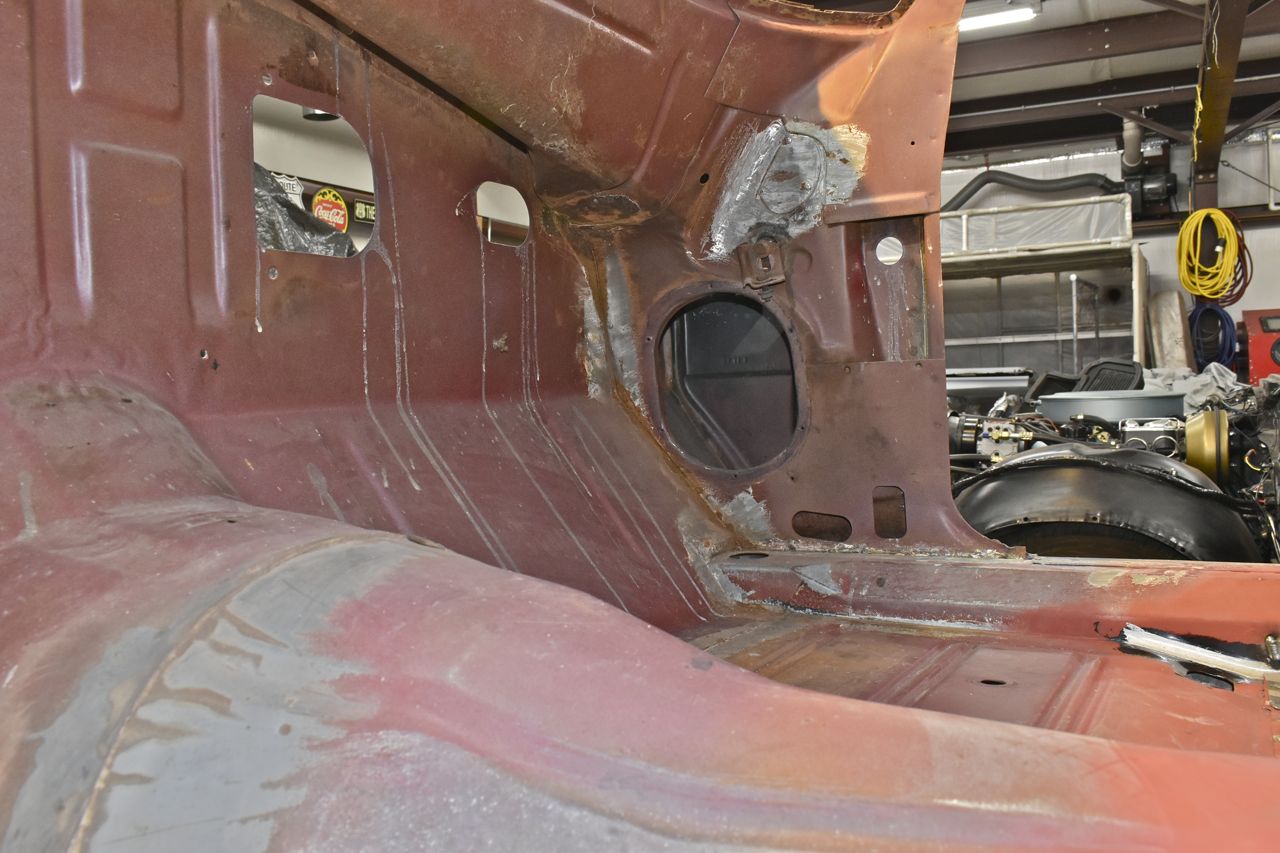
The other side had a smaller problem.
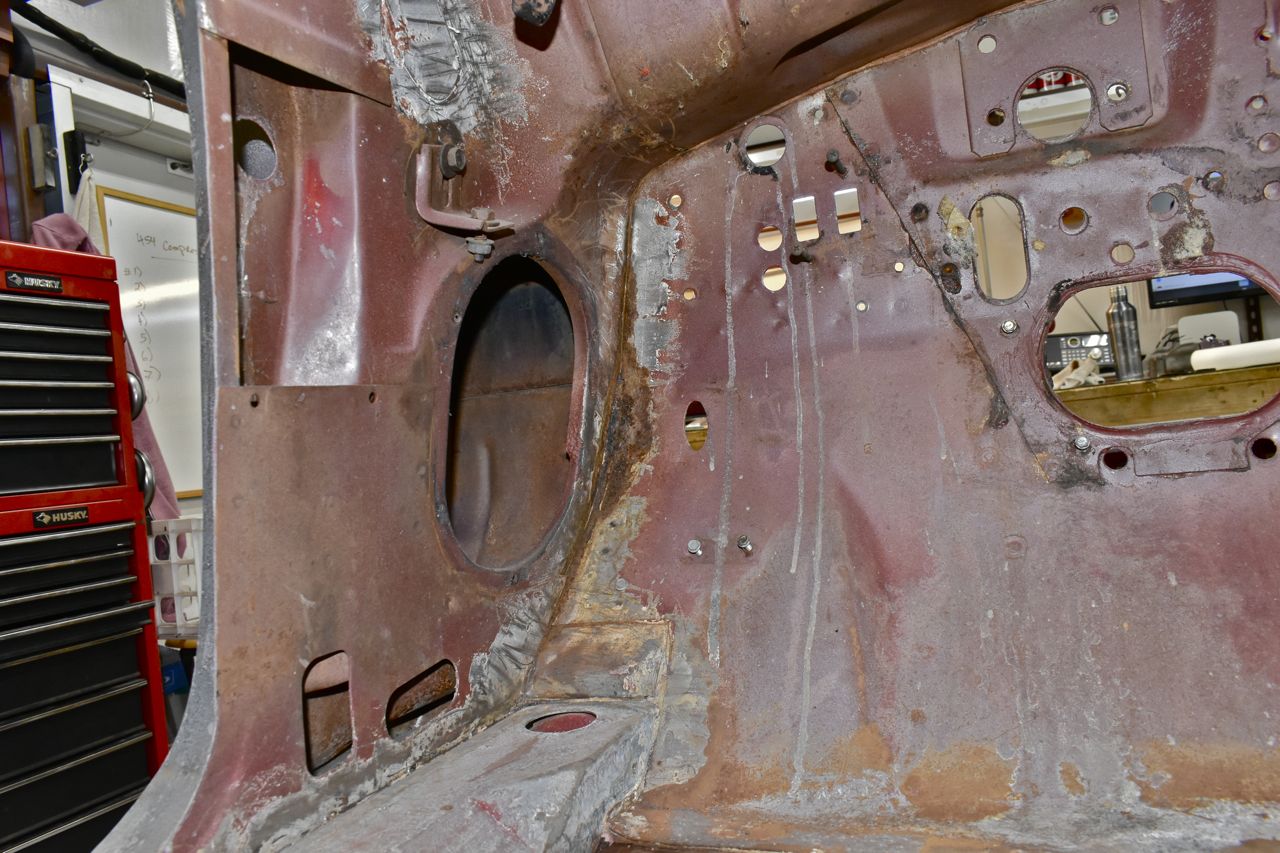
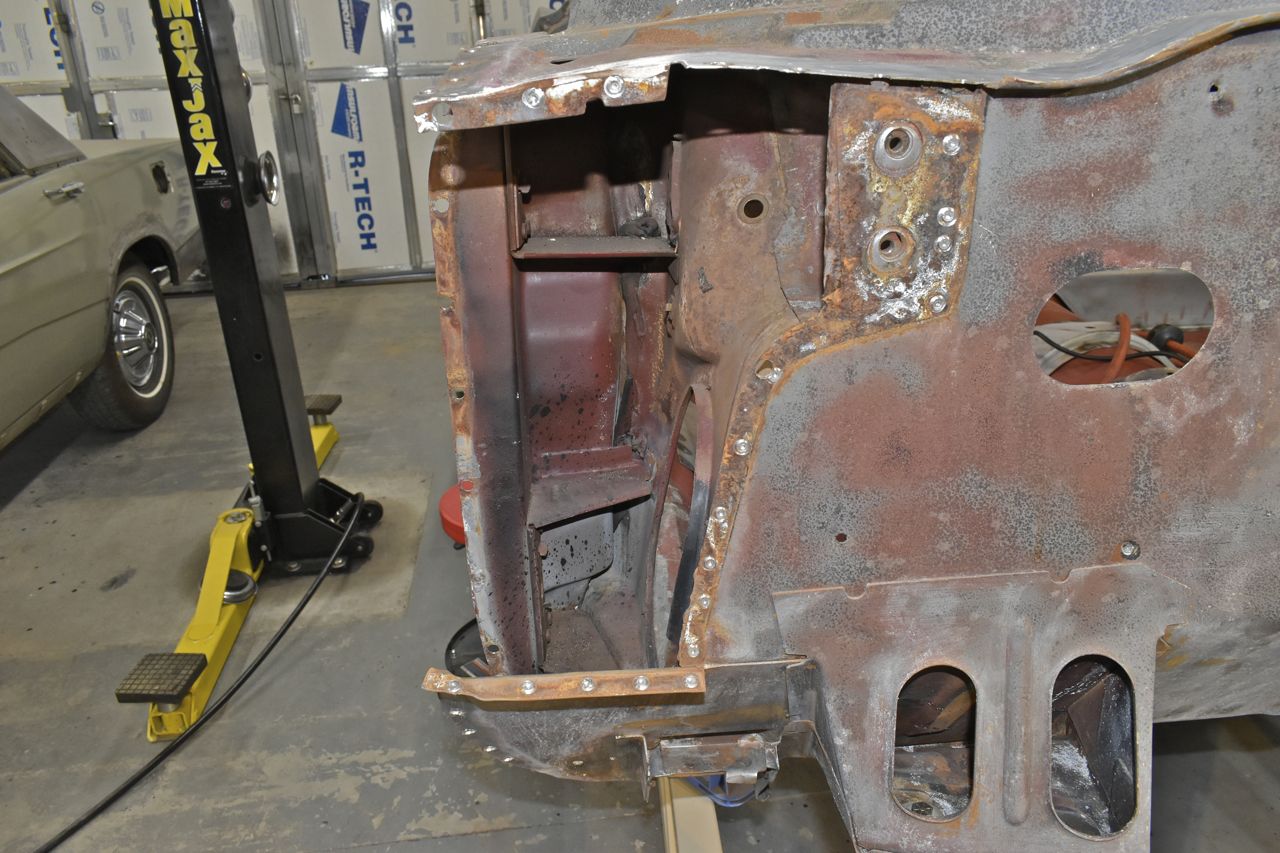
Once the side cowl is removed we can better see the problem.
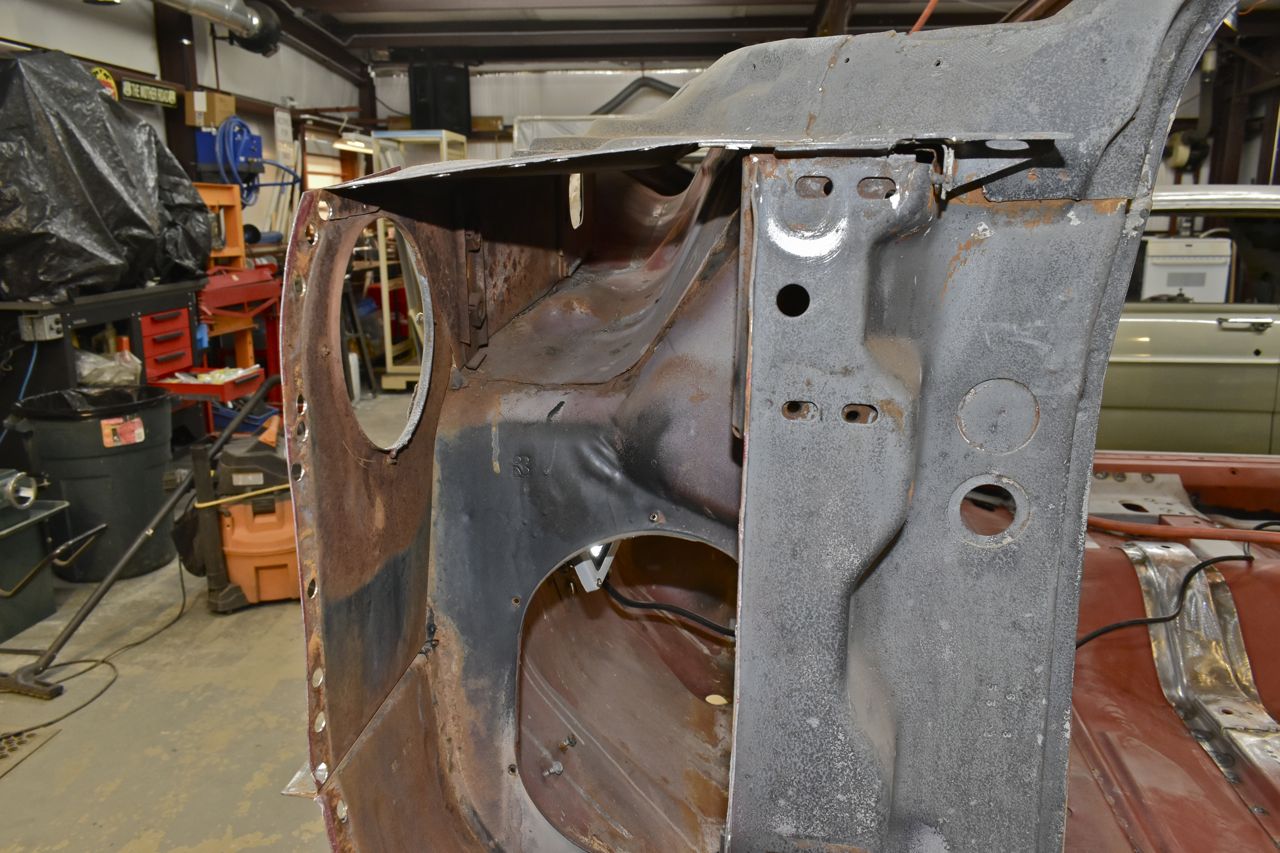
That's a tear in the metal, most likely caused at the factory and seam sealer sealed it, well till the seam sealer turned hard and crumbled off.
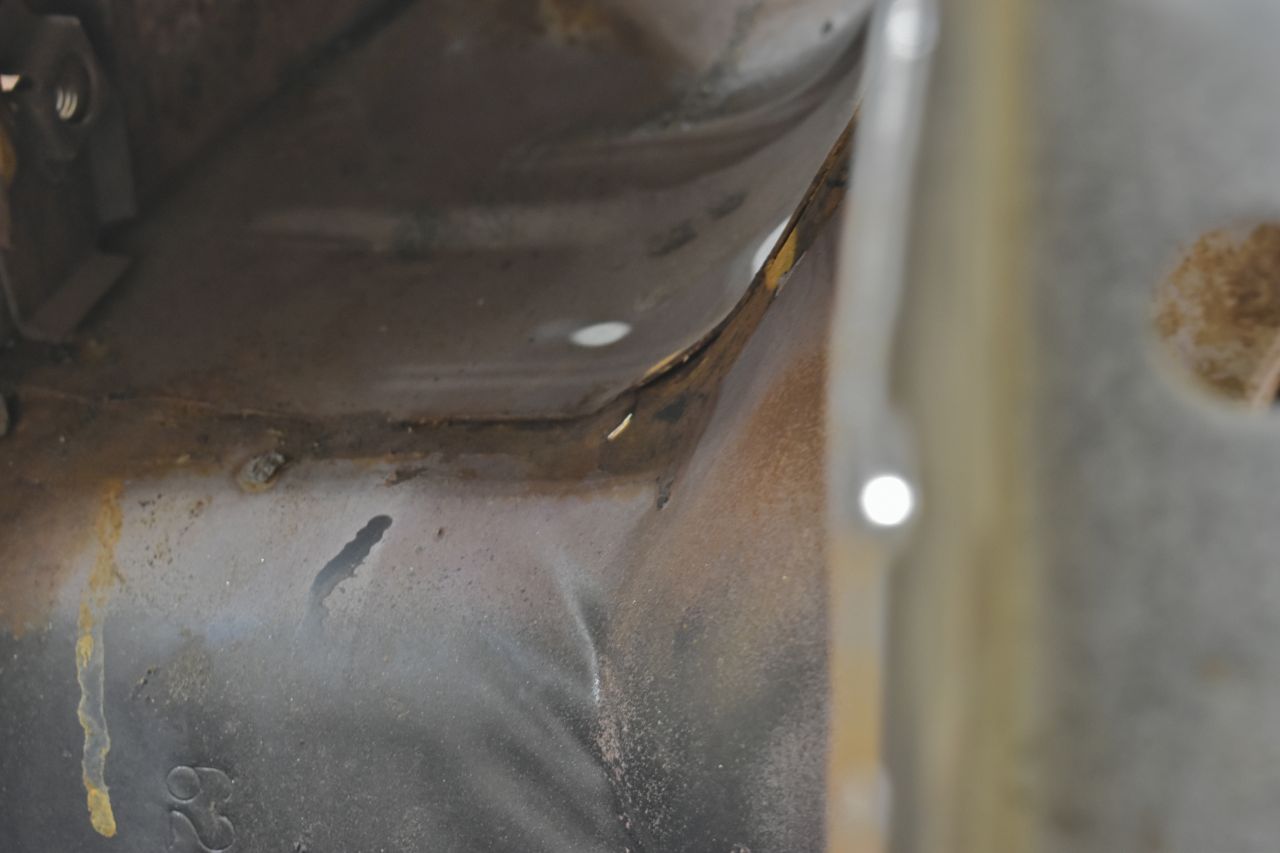
Here's the other side with side cowl and front heater only panel removed. All the seam sealer is gone, crumbled away, hence the leaks.
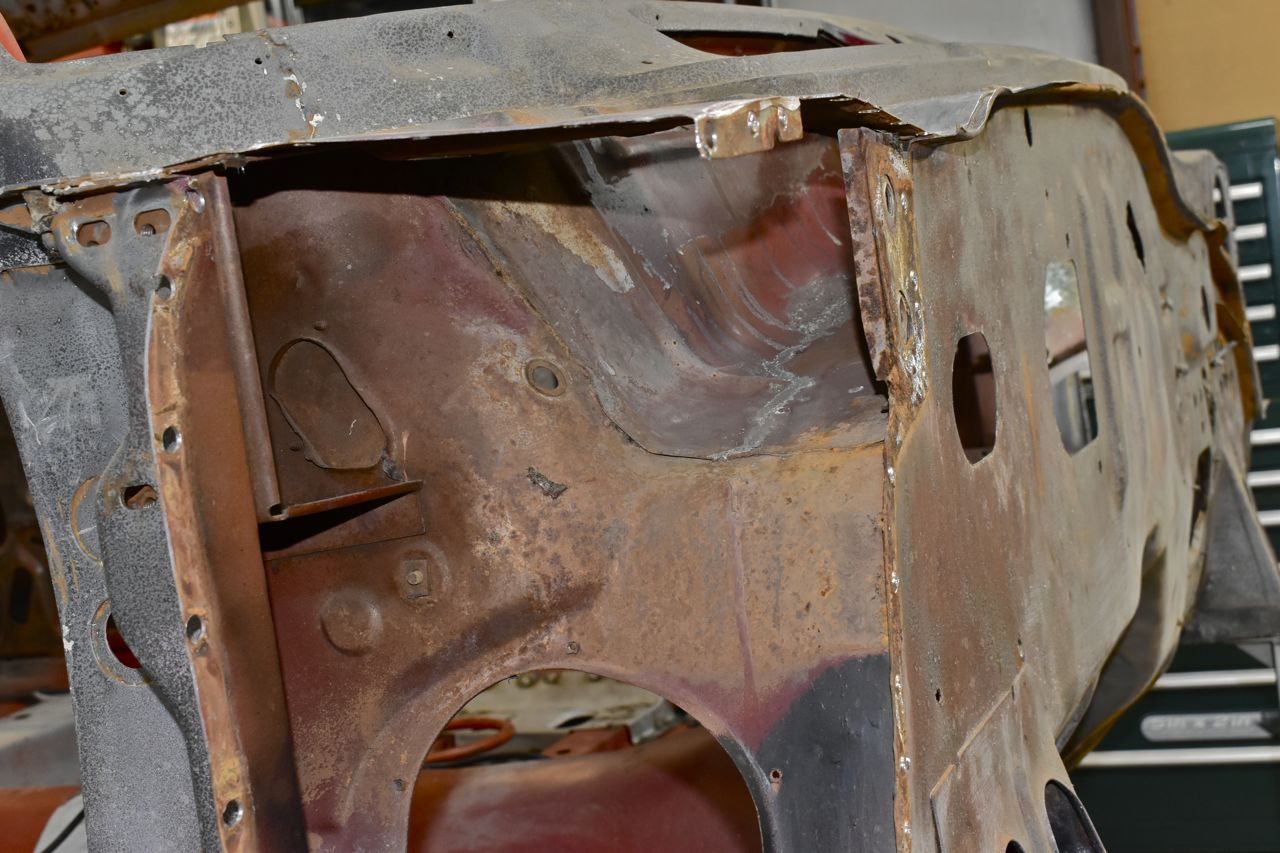
There is a splash baffle here that I also removed to gain access. This baffle keeps water from the cowl entering the blower wheel (heater only) or heater core (integral A/C).
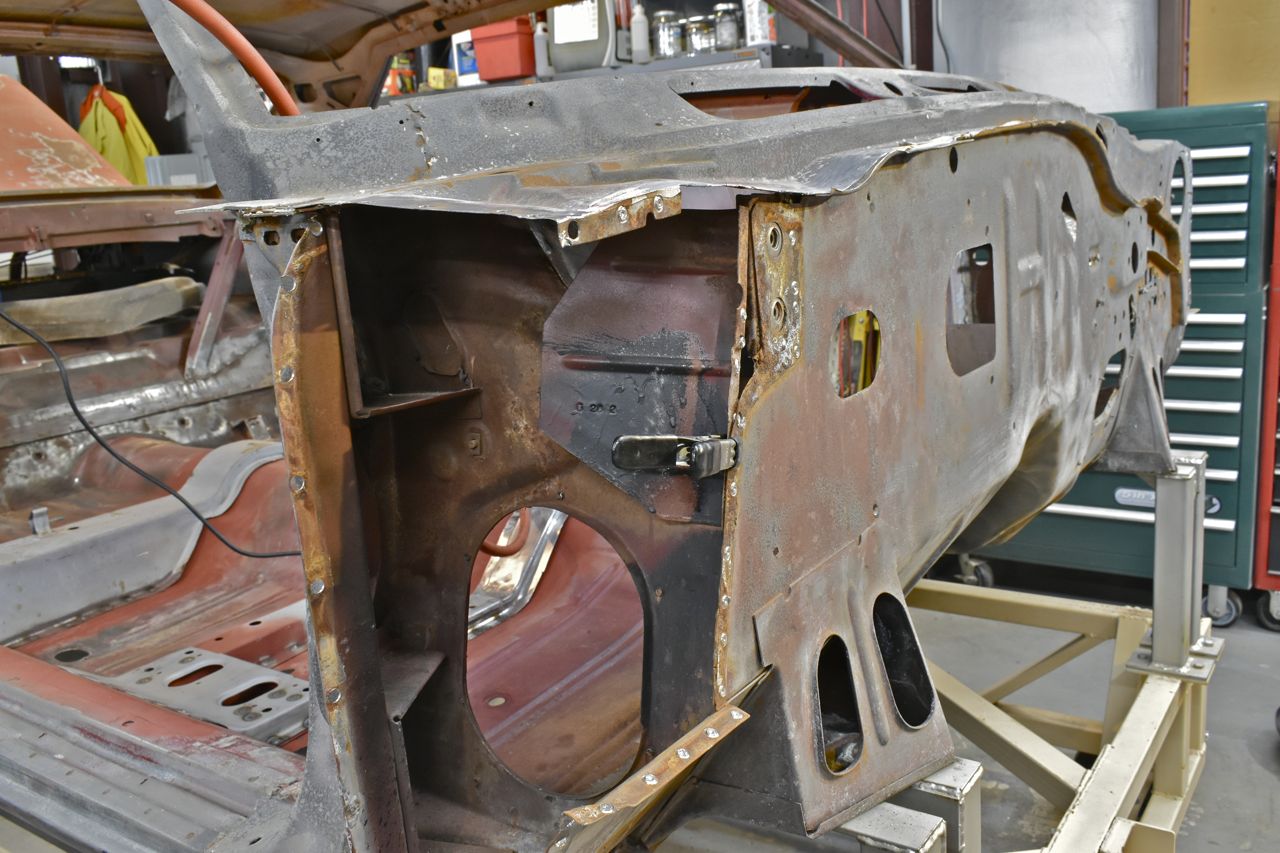
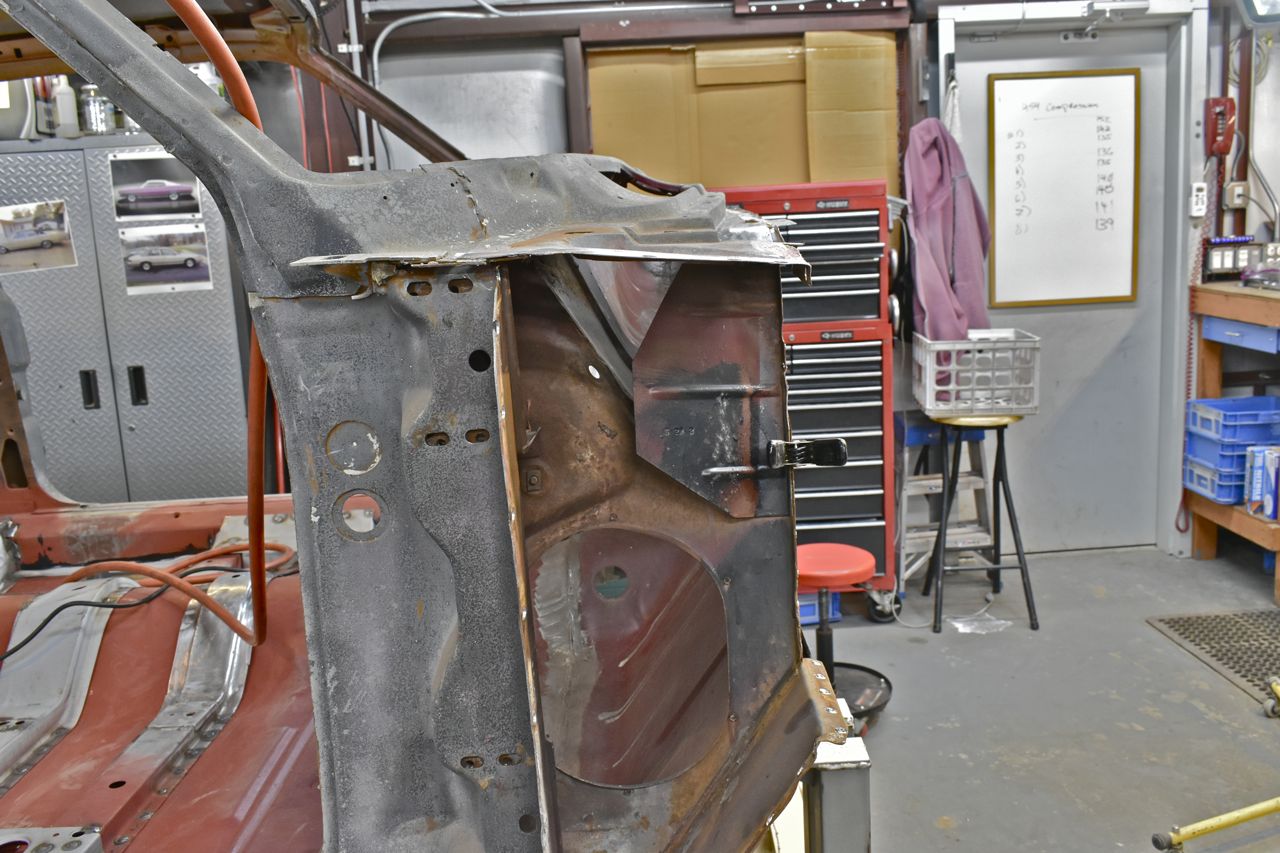
Some might argue that well this is a Southwest car baking all its life in the intense heat and other cars shouldn't have this problem. Well, no. They do.
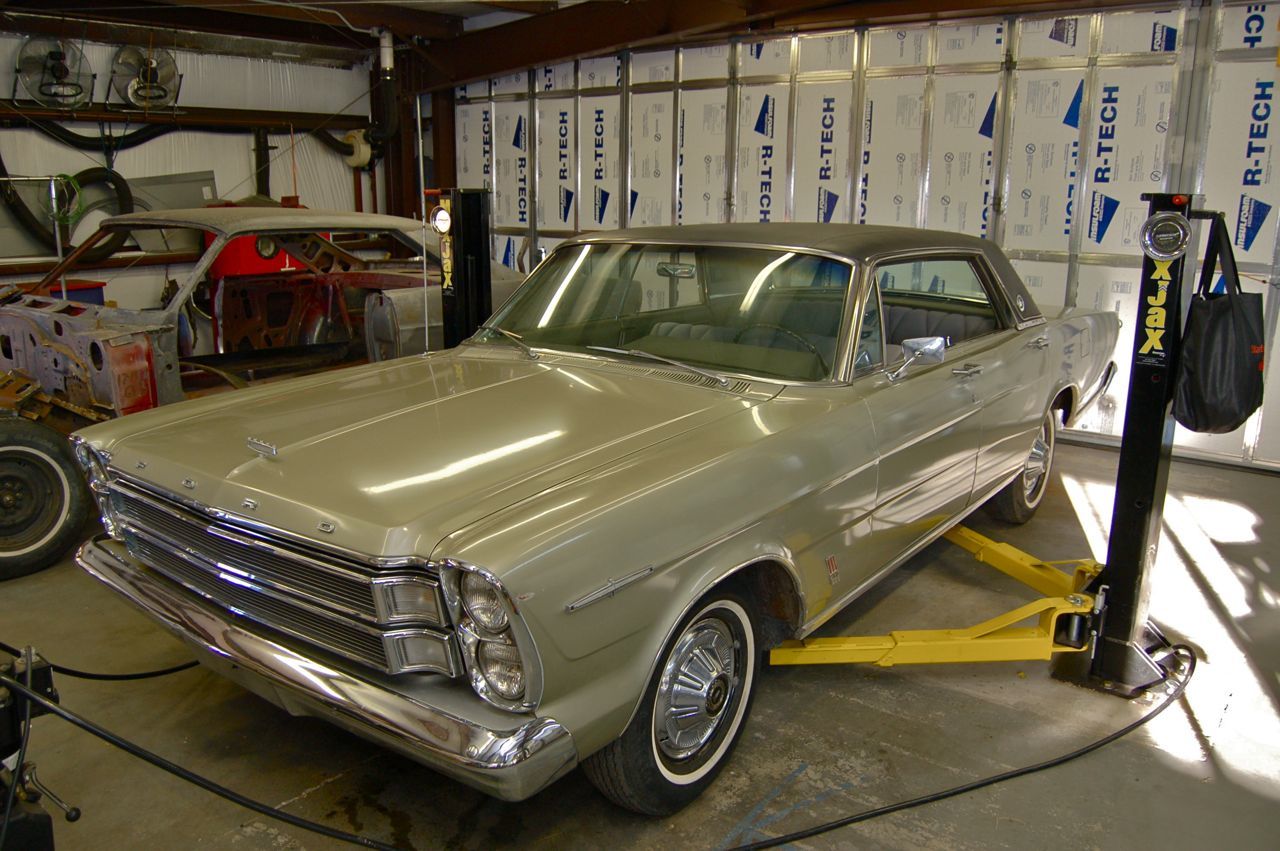
Some might remember this car (green car always just visible in these pictures).
This was garage kept in the Midwest.
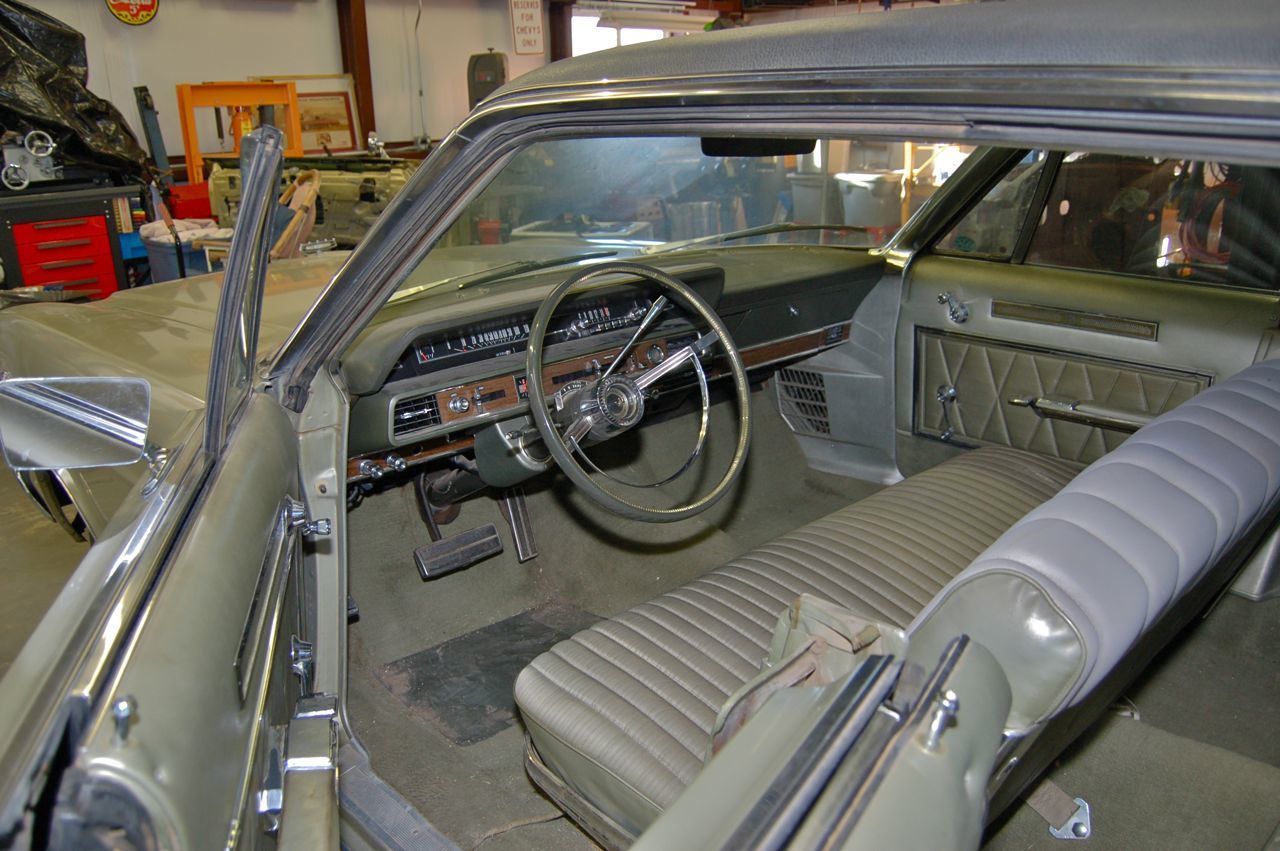
All original interior and not baked. But yet sadly all the seam sealer in the cowl just crumbled on this as well.
Now it wasn't as rusty so it was easier to treat, but I thought I could not take the side cowls off and still treat and seam seal and save time. Well I was really wrong. What a pain the butt.
Now I know how a proctologist feels using the available holes in the firewall for access. This was wasn't too bad, but the other side was a bear and I had to use inspection mirrors and a borescope to make sure I sealed the entire seam. It was a messy extremely time consuming job. I would have been better removing the side cowls.
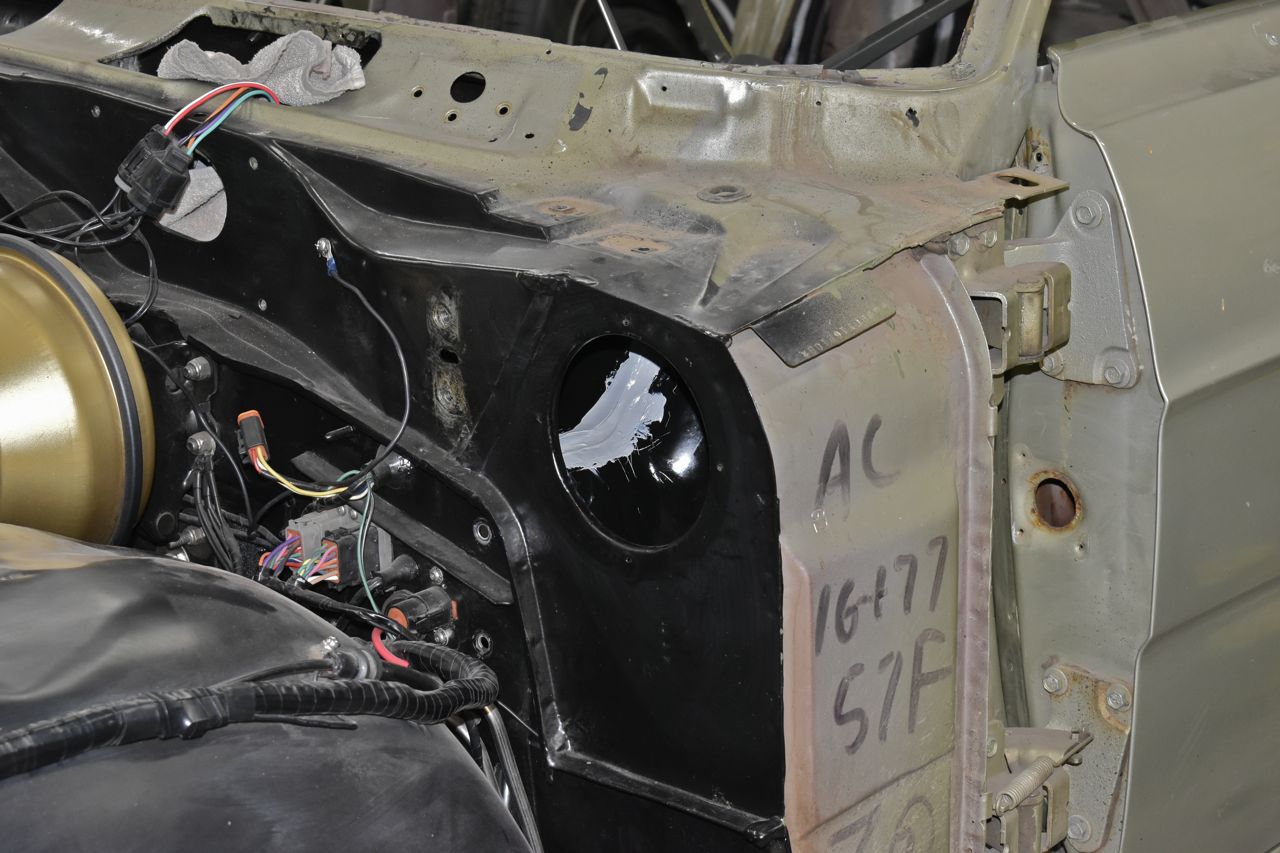
I do not want to cut out the firewall section until the side cowls are reinstalled. I guess nervous about cutting too much structure out of the car at once. So I will cleaning out the sides and main cowl, painting and seam sealing first.
Until next time.
Cheers
Click here to continue to part 62