1966 Ford Galaxie 500 XL Refurbishment : 085 Door Hinges, Sorted and Painted
2023, November 14
1 - 2 - 3 - 4 - 5 - 6 - 7 - 8 - 9 - 10 - 11 - 12 - 13 - 14 - 15 - 16 - 17 - 18 - 19 - 20 - 21 - 22 - 23 - 24 - 25 - 26 - 27 - 28 - 29 - 30 - 31 - 32 - 33 - 34 - 35 - 36 - 37 - 38 - 39 - 40 - 41 - 42 - 43 - 44 - 45 - 46 - 47 - 48 - 49 - 50 - 51 - 52 - 53 - 54 - 55 - 56 - 57 - 58 - 59 - 60 - 61 - 62 - 63 - 64 - 65 - 66 - 67 - 68 - 69 - 70 - 71 - 72 - 73 - 74 - 75 - 76 - 77 - 78 - 79 - 80 - 81 - 82 - 83 - 84 - 85 - 86 - 87 - 88 - 89 - 90 - 91 - 92 - 93 - 94 - 95 - 96 - 97 - 98Door Hinges n Stuff Part 1
Once more unto the breach, or in other words here we go again with something that should be simple to do turned into a 4 day project.
It's getting close to test fitting doors on the body shell and so hinges need to be addressed first. Most of these derelict cars are so trashed and the hinges weren't immune. I started digging through the pile to find good candidates for restoration. I went through quite a bit before I found pieces to make a good set.
Next was trying to find a hinge kit for the full size cars. I looked around and found a couple but the pins were quite clearly too short.
I ended up settling on two Mustang door kits as it looked like it had the most potential. Potential yes, direct fit --> no. Hell no.
The start of the project of going through trying to find parts and pieces to make 1 good set of 4 hinges.
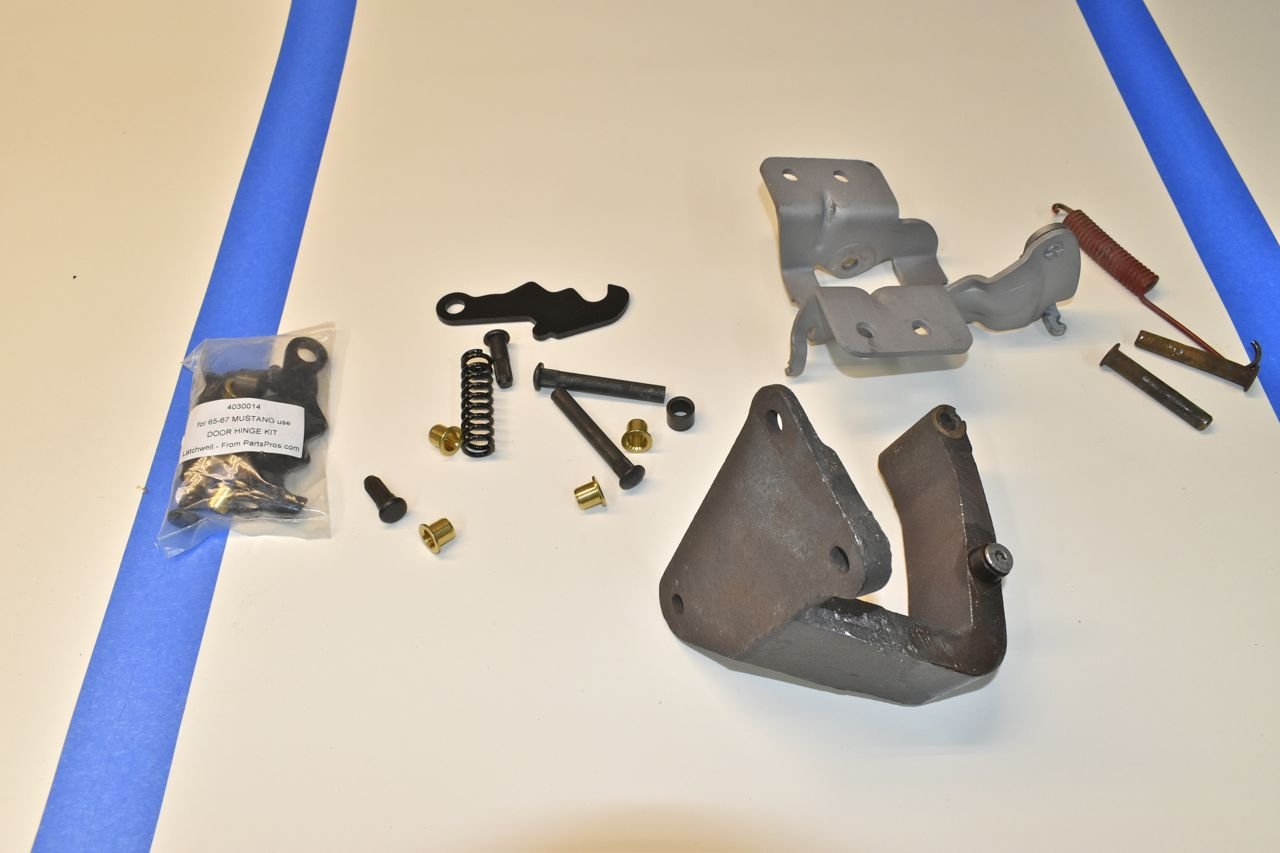
These were the kits and they were not cheap, hopefully they fit the Mustang well for that price.

This was the best roller as it barely turned.
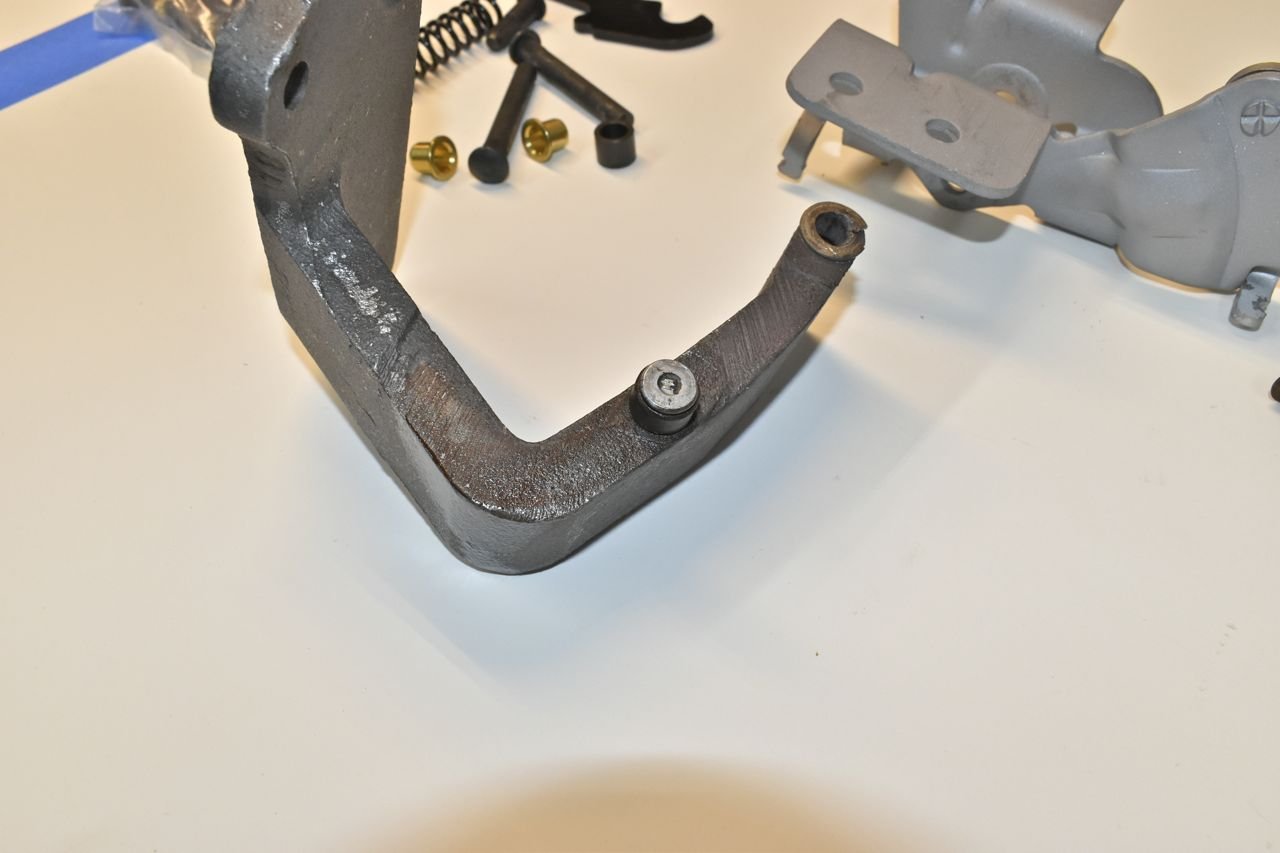
Problem is there is rust between the pin and the wheel. Unless it comes out and cleaned or replaced it will just be problematic.
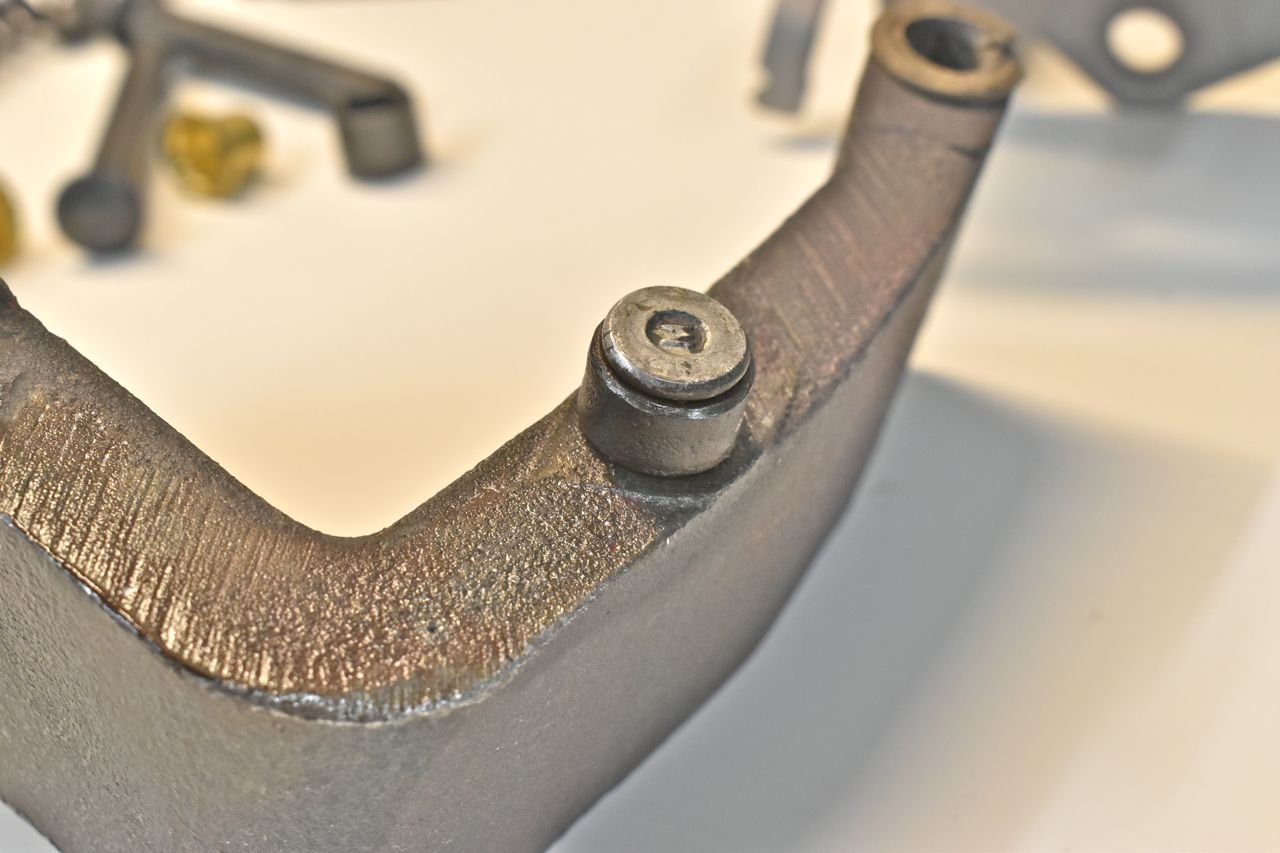
This one was obviously seized and about half way worn through the pin! Good grief.
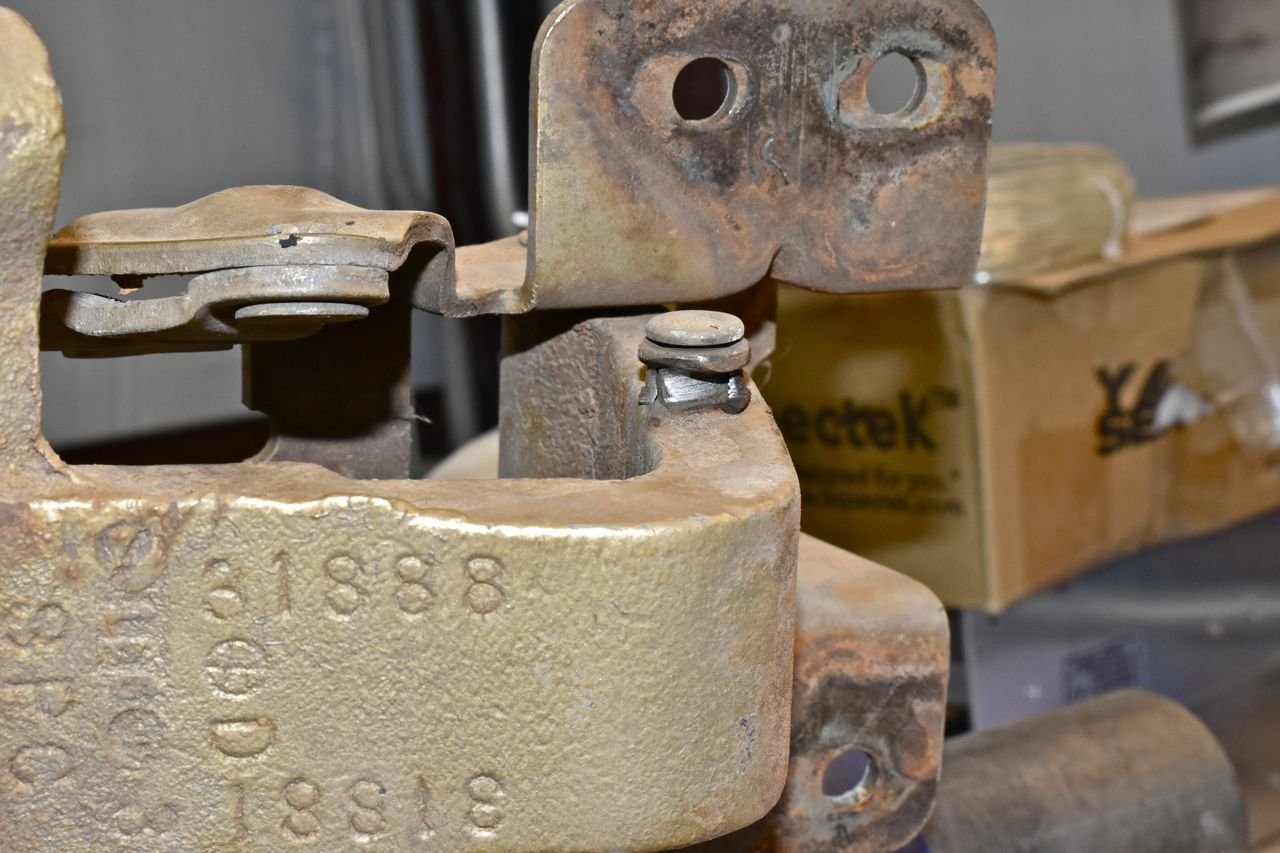
Here's another problem I found from lack of lube. The detent lever on the left is really worn away. The one on the right is nearly virgin.
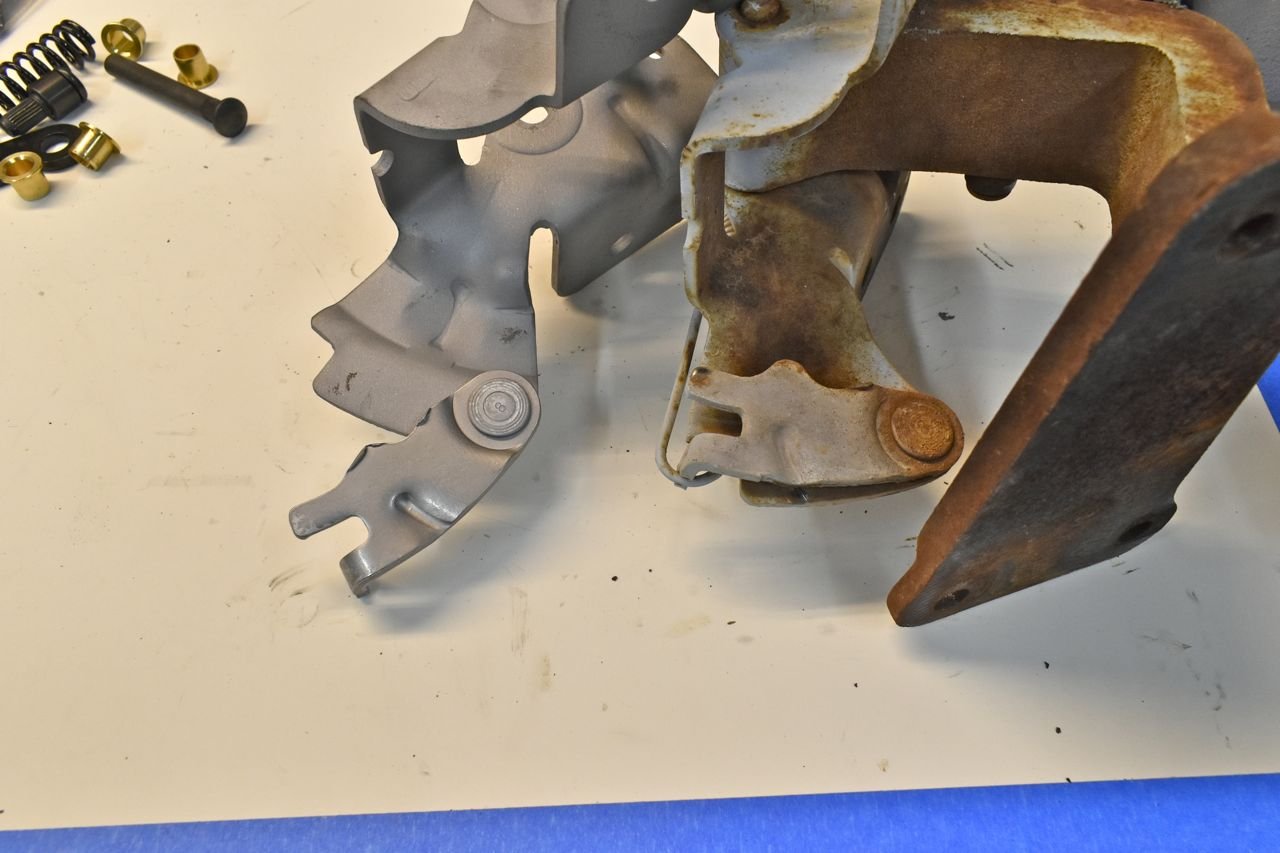
It was nearly virgin because the plate was bent... for some reason... and it never made much contact. Easy enough to rectify.

Then come to find out after stripping the arm, one bushing was magically oversized. I guess Ford had over sized bushings in case of machining mishaps. However this does me no good so this is scrap and dig out another one.
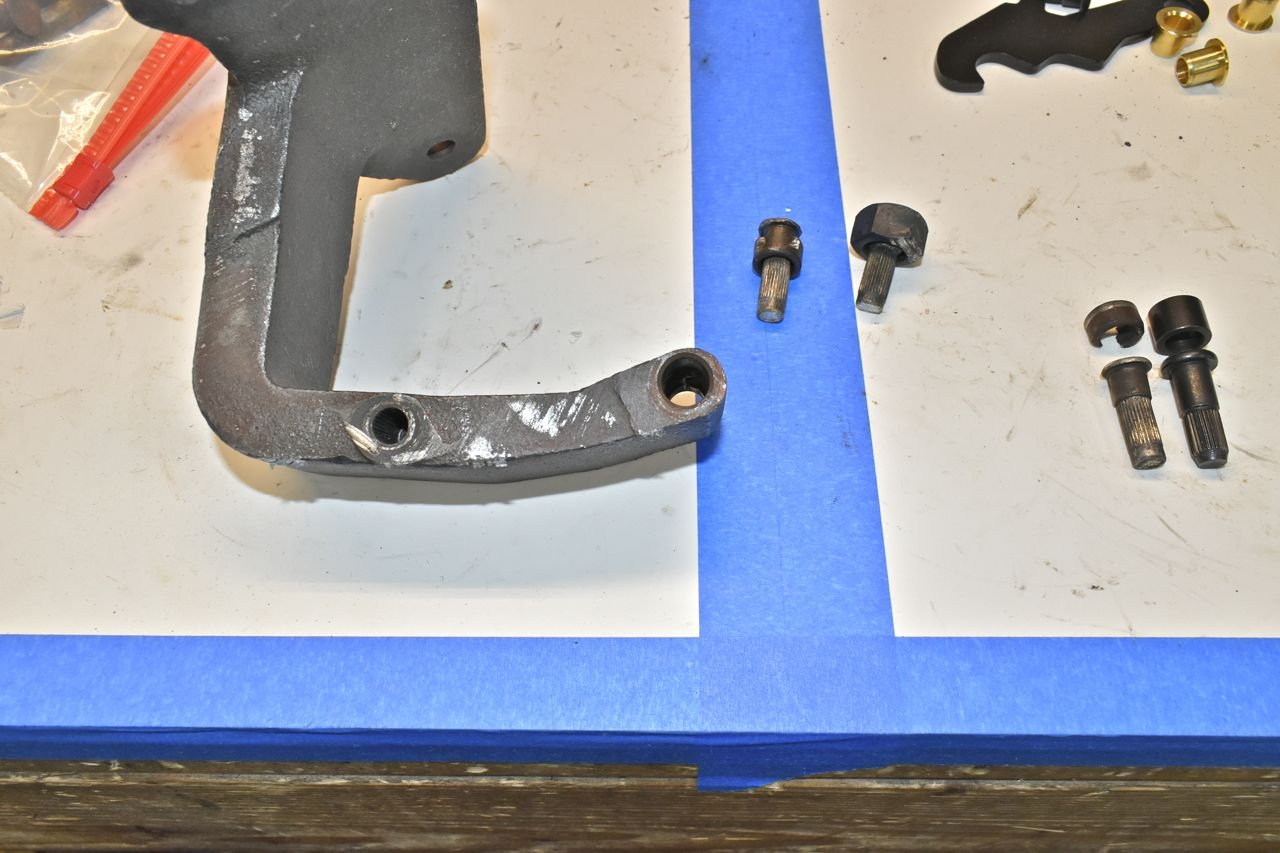
To remove the roller pins I cut a notch into the wheel and simply was able to get the air hammer under it and drive it up. These things are in there and it takes some doing to get them out.
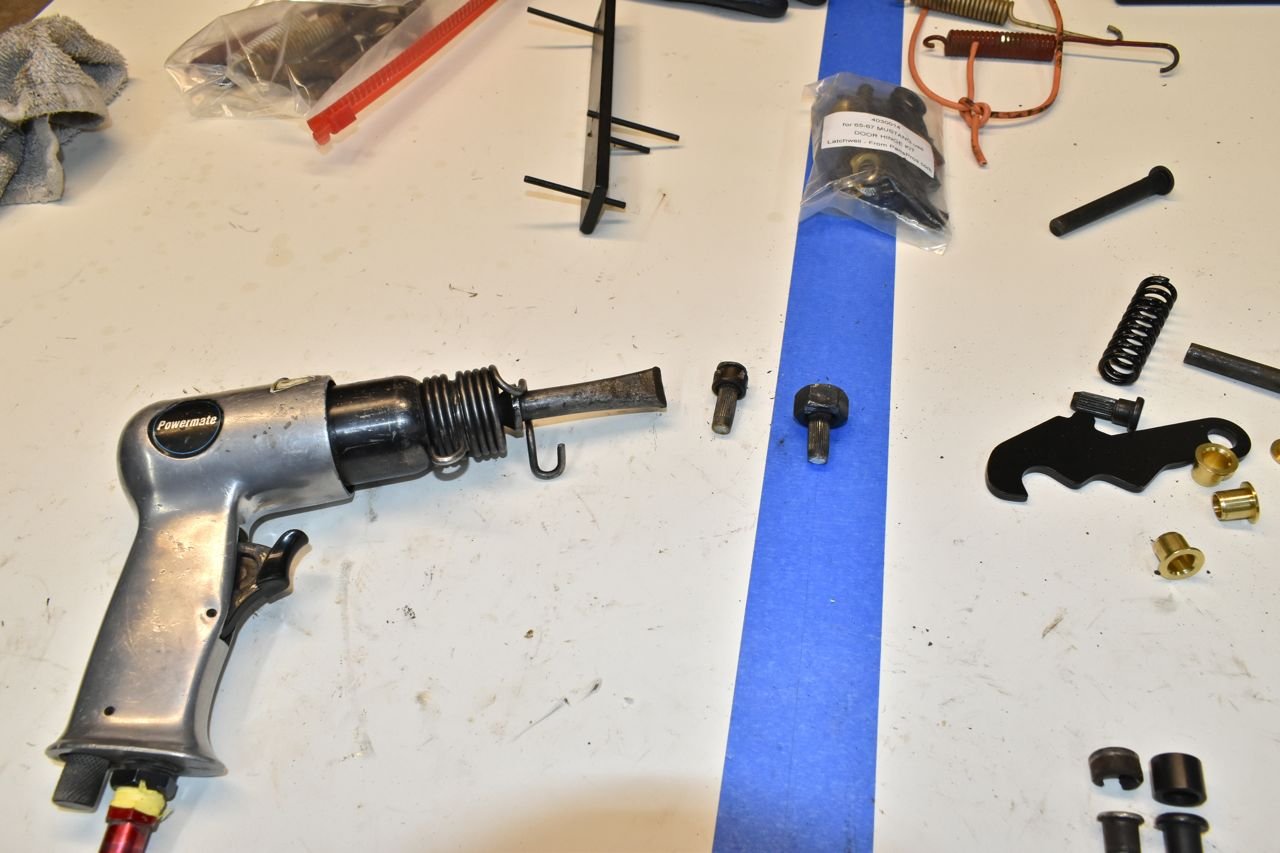
1 of 2 piles of spare hinges to dig through and find good cores. It really pays to have spare parts/parts cars.

After finding 8 good pieces to make a set of hinges I blasted them.

Install the new bushings. The only part of this that went to plan.

Easy enough. Now for actual body colour to go on them.
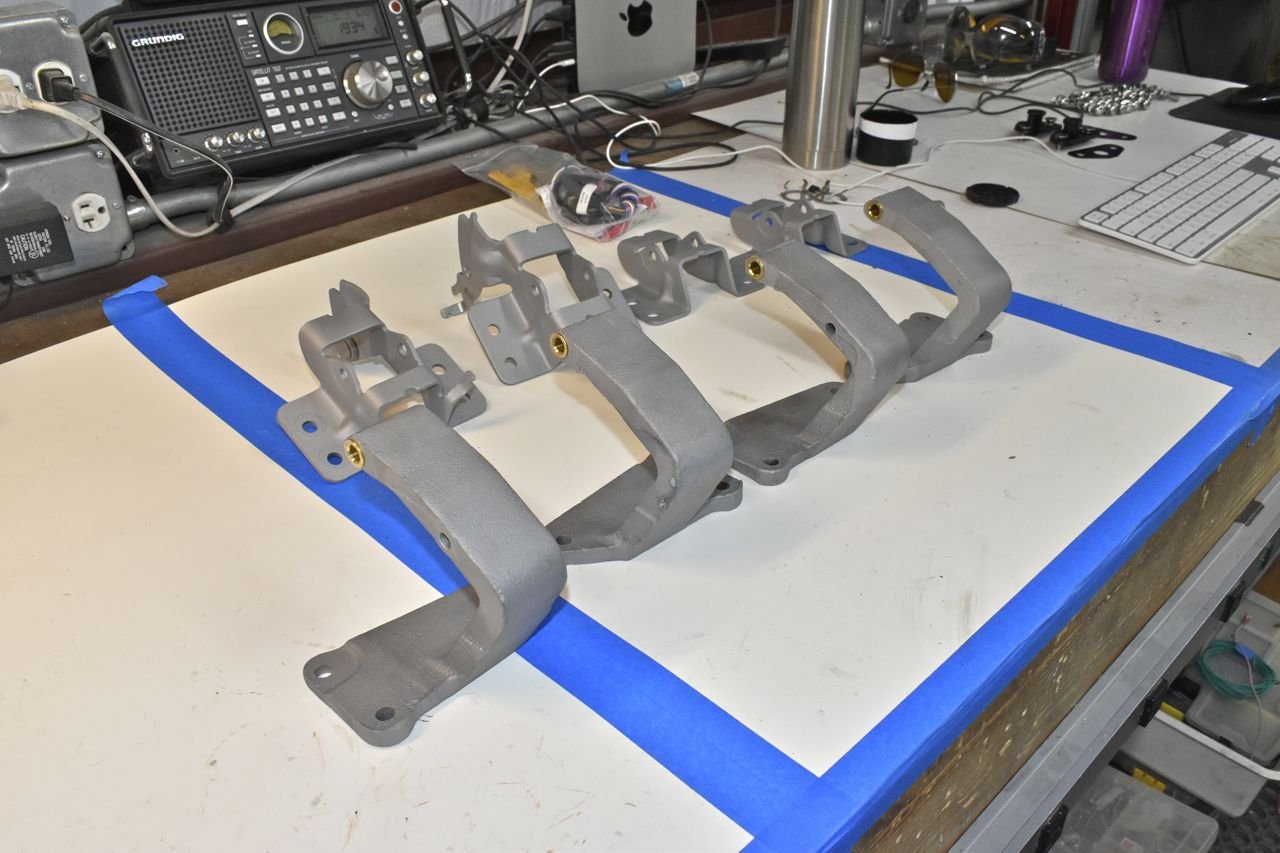
These are the first parts to get the colour of car. I am using all Napa 2 stage paint. I have all the parts primed here after metal etch.
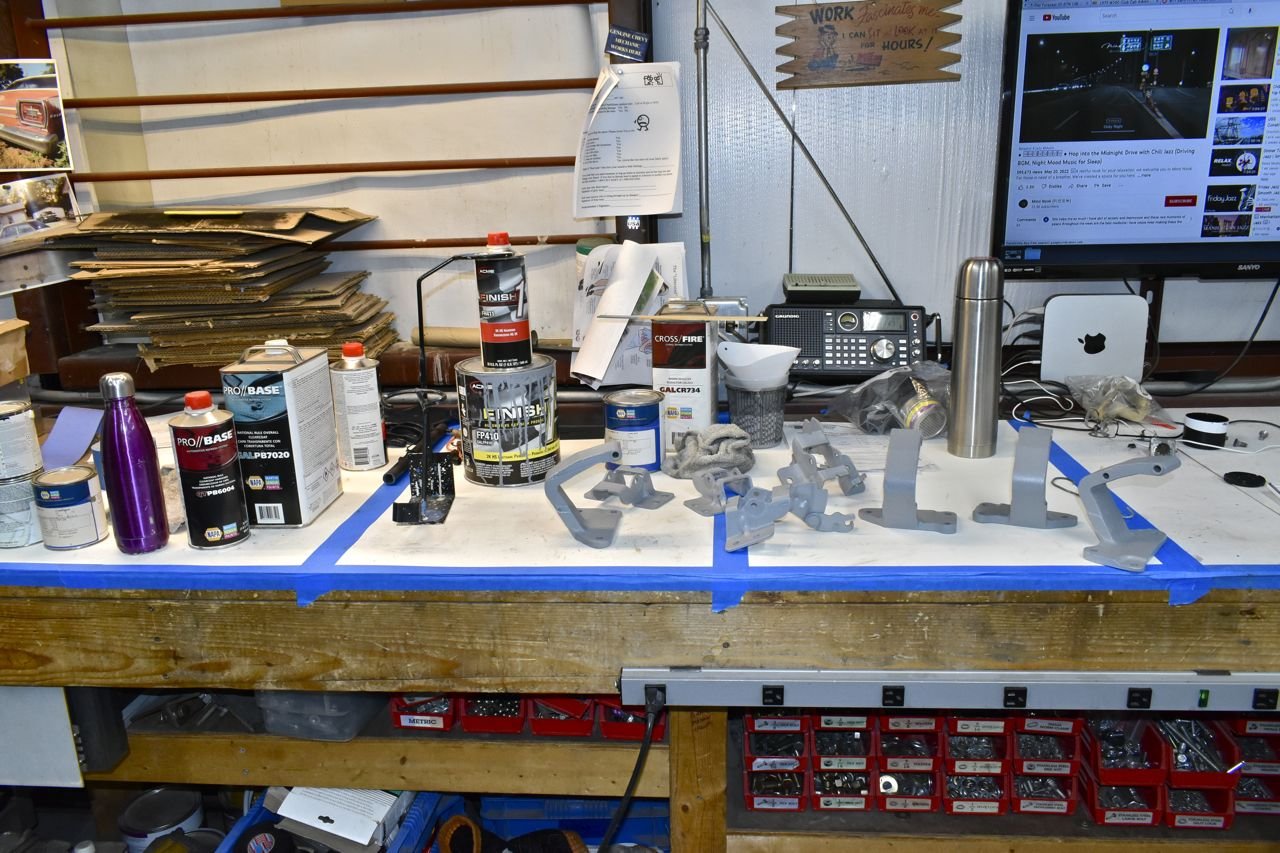
Base coat. This is Ford Sauterne Gold/Green with extra metallic added.
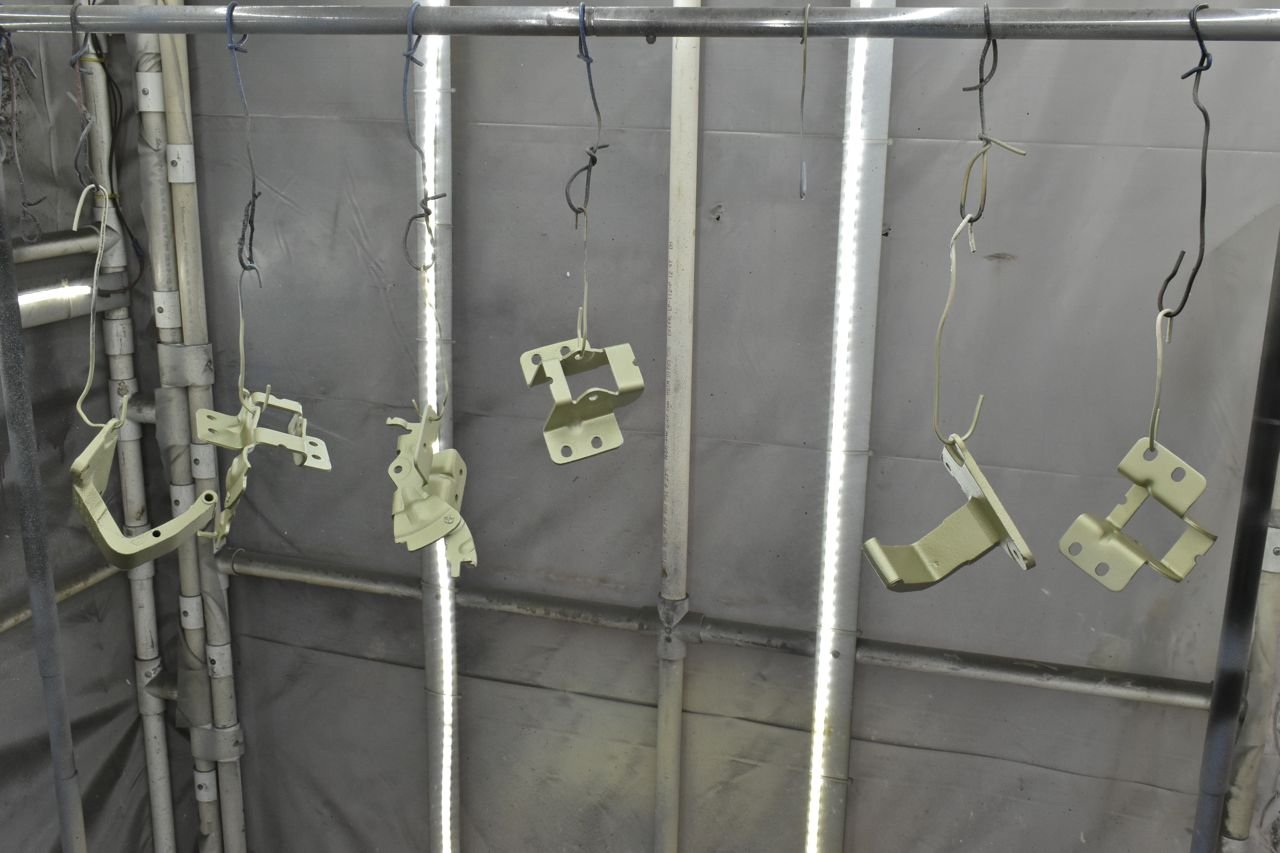
I also needed practice as I have used the turbine sprayer or automotive paint in quite some time. So if I botched a section of hinge it wasn't the end of the world. The practice was more important.
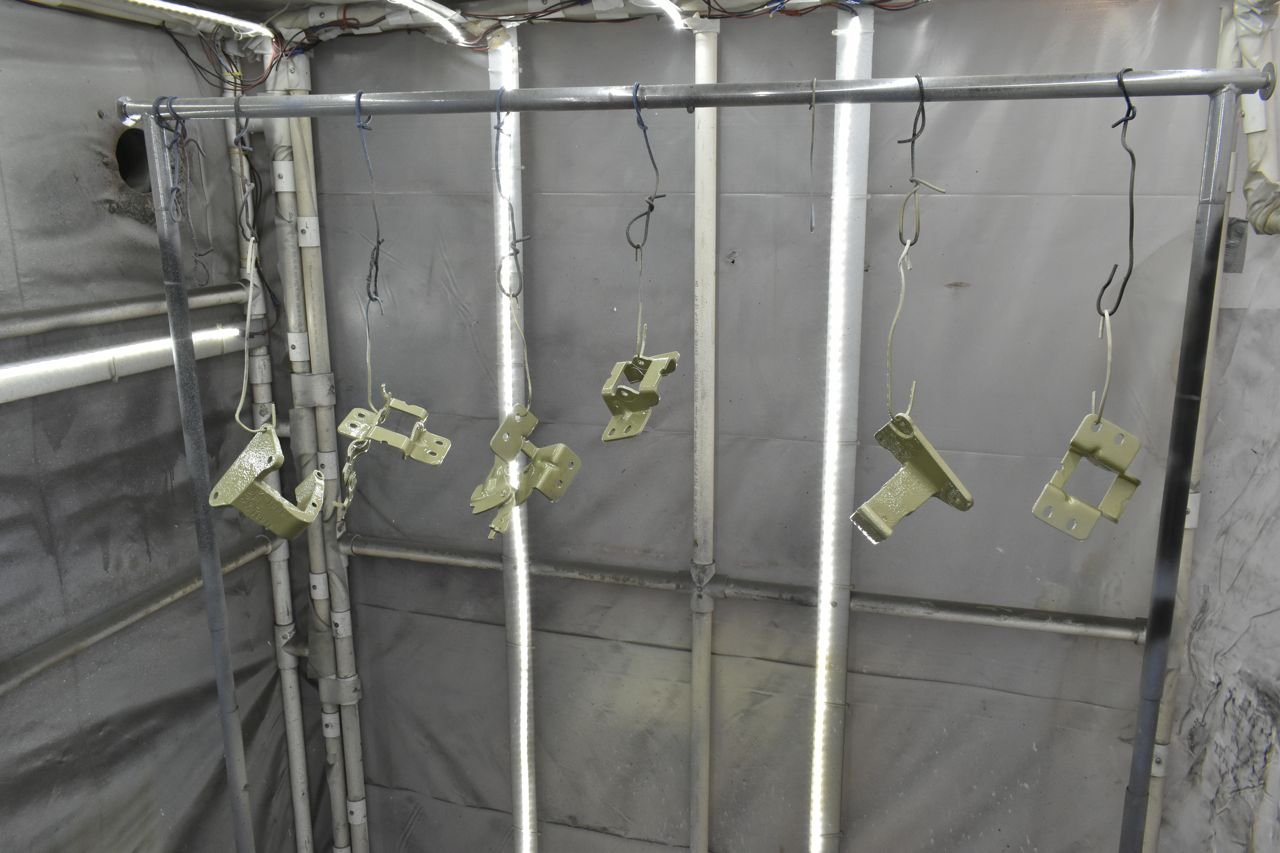
I spray the primer around 4 PSI. The base colour around 2 PSI and the clear coat around 7 PSI. The primer and colour have almost no over spray, the clear coat does however, but it's not bad at that low pressure.
The first vestige of colour for the car.

Actually my better half and I agreed it would be neat to have both the '66 LTD 4 door hardtop and this '66 gal 500 XL 2 door hardtop the same exact colour sporting both black vinyl tops.
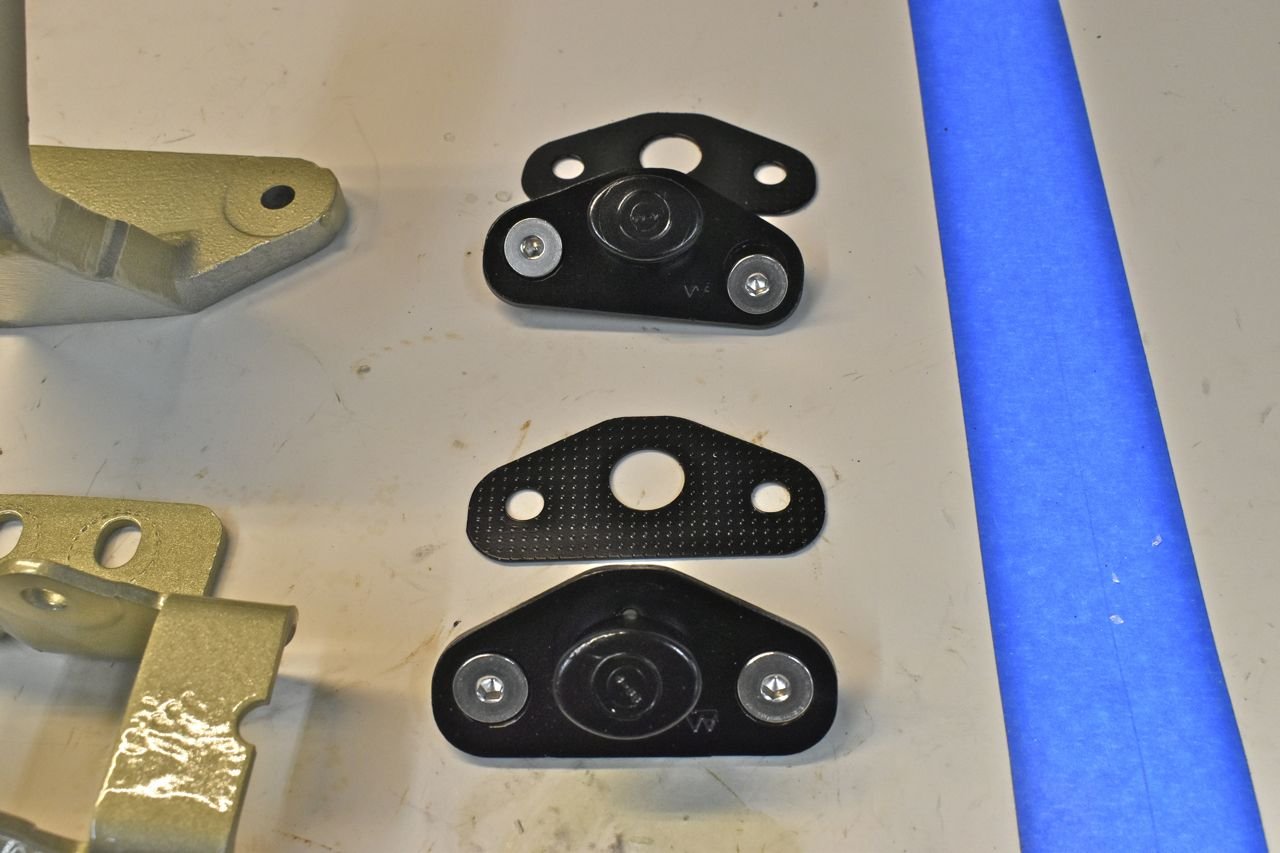
I removed the strikers from the body, stripped them and painted them chassis black and bought some better hardware than those goofy phillips head screws Ford had holding these in.
You can now actually see the metallic in the paint in medium light.
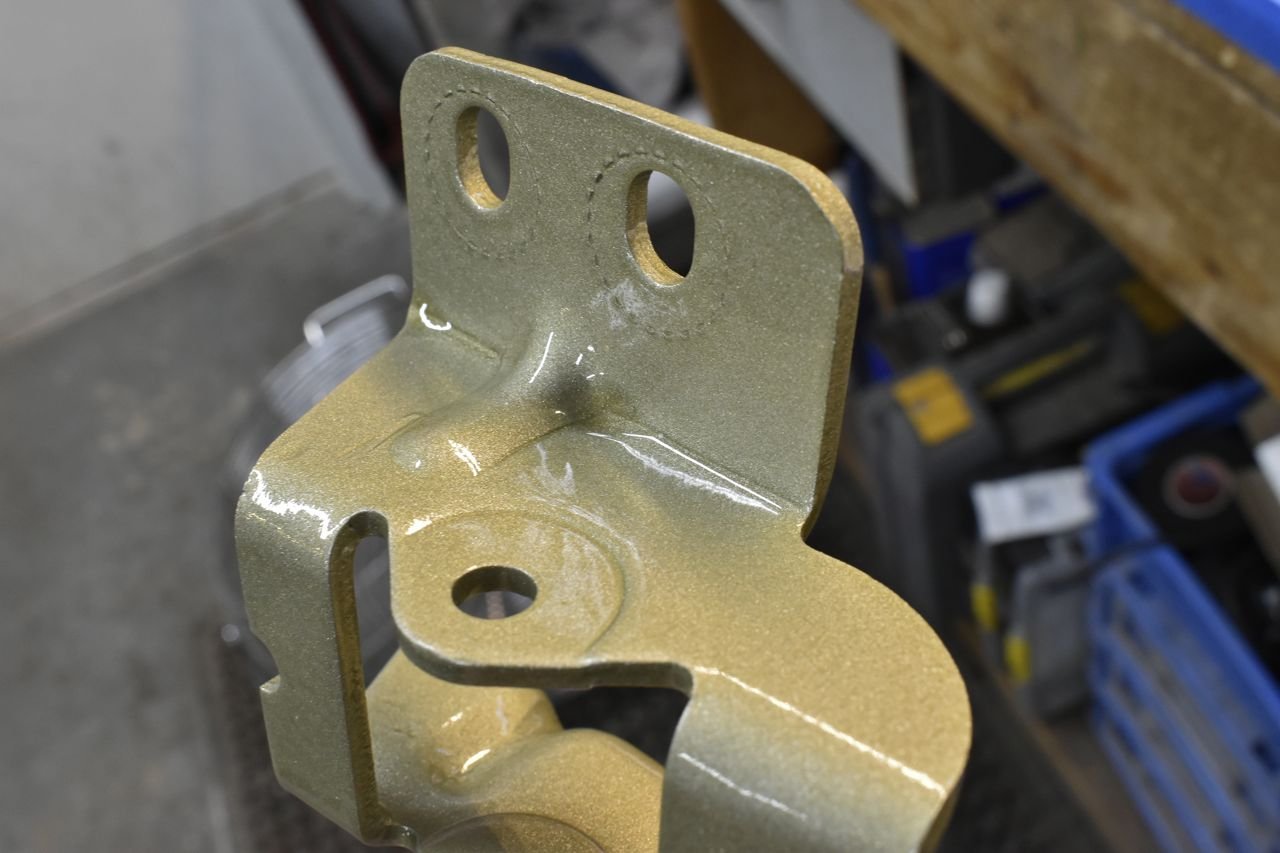
and in sunlight it really pops. I wanted a colour scheme that was bold to the point of you are either going to love it or hate it. The last thing after doing all this work I wanted is having a colour that's meh.
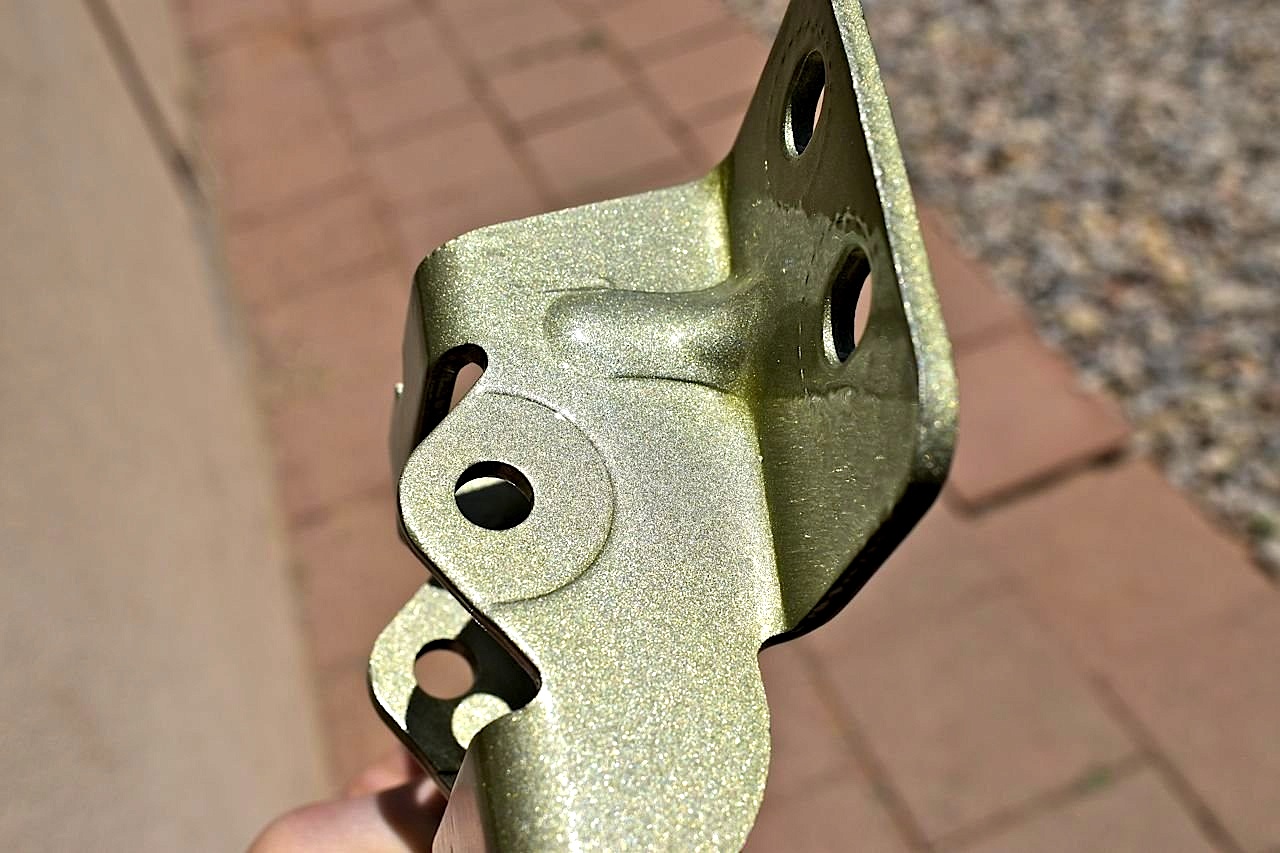
Continued in next post.
Click here to continue to part 86