1966 Ford Galaxie 500 XL Refurbishment : 082 Evaporator & Blower Motor Plenum, pt 6 : Stat & Valve
2023, November 14
1 - 2 - 3 - 4 - 5 - 6 - 7 - 8 - 9 - 10 - 11 - 12 - 13 - 14 - 15 - 16 - 17 - 18 - 19 - 20 - 21 - 22 - 23 - 24 - 25 - 26 - 27 - 28 - 29 - 30 - 31 - 32 - 33 - 34 - 35 - 36 - 37 - 38 - 39 - 40 - 41 - 42 - 43 - 44 - 45 - 46 - 47 - 48 - 49 - 50 - 51 - 52 - 53 - 54 - 55 - 56 - 57 - 58 - 59 - 60 - 61 - 62 - 63 - 64 - 65 - 66 - 67 - 68 - 69 - 70 - 71 - 72 - 73 - 74 - 75 - 76 - 77 - 78 - 79 - 80 - 81 - 82 - 83 - 84 - 85 - 86 - 87 - 88 - 89 - 90 - 91 - 92 - 93 - 94 - 95 - 96 - 97 - 98The Evaporator / Blower Motor Plenum Part 6
Like a total block head I forgot to test the heater thermostat. I guess I was so excited to see this thing going together it slipped my mind. To test these heater thermostats, there's a couple tests.
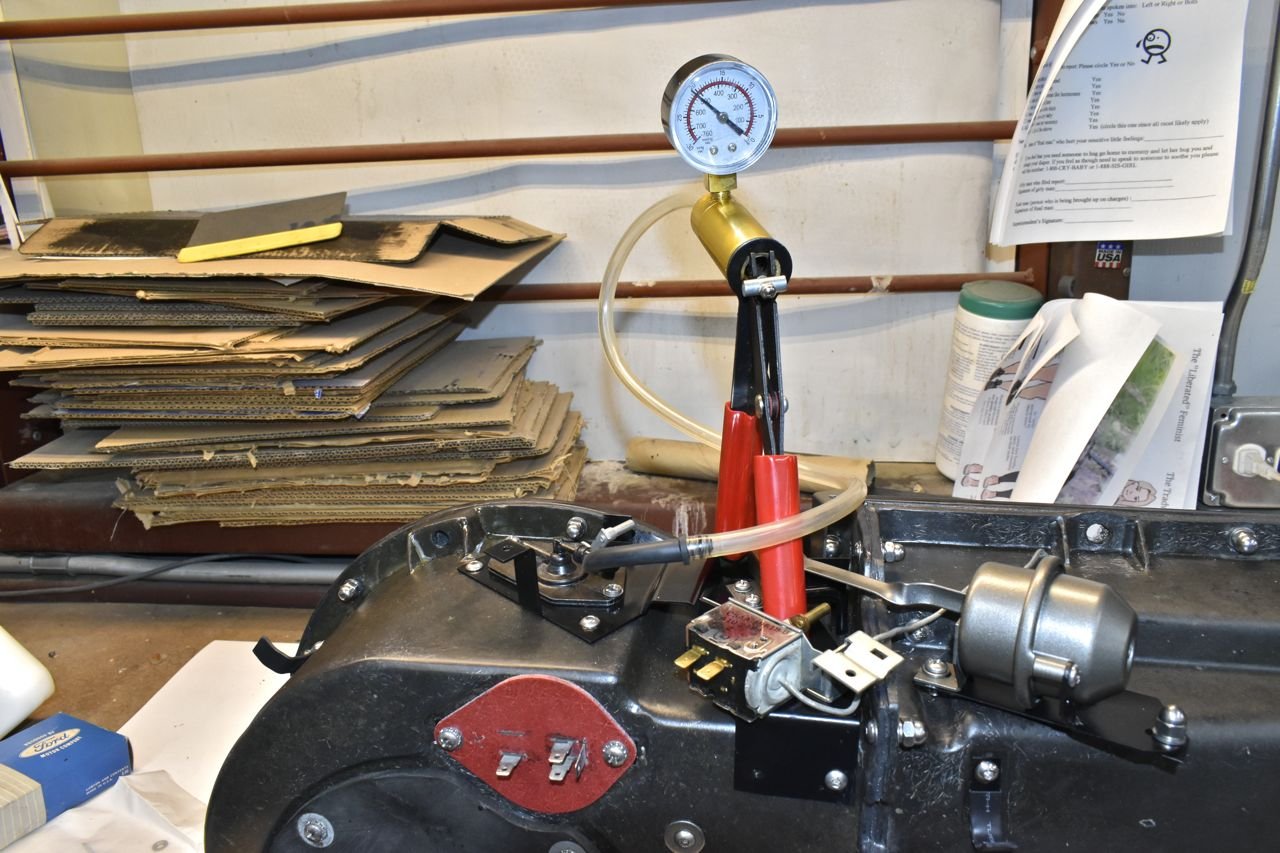
First move the control arm lever toward the camera like so, then attach a vacuum hand pump to the vacuum sorce side of the valve and the heater valve should hold vacuum.
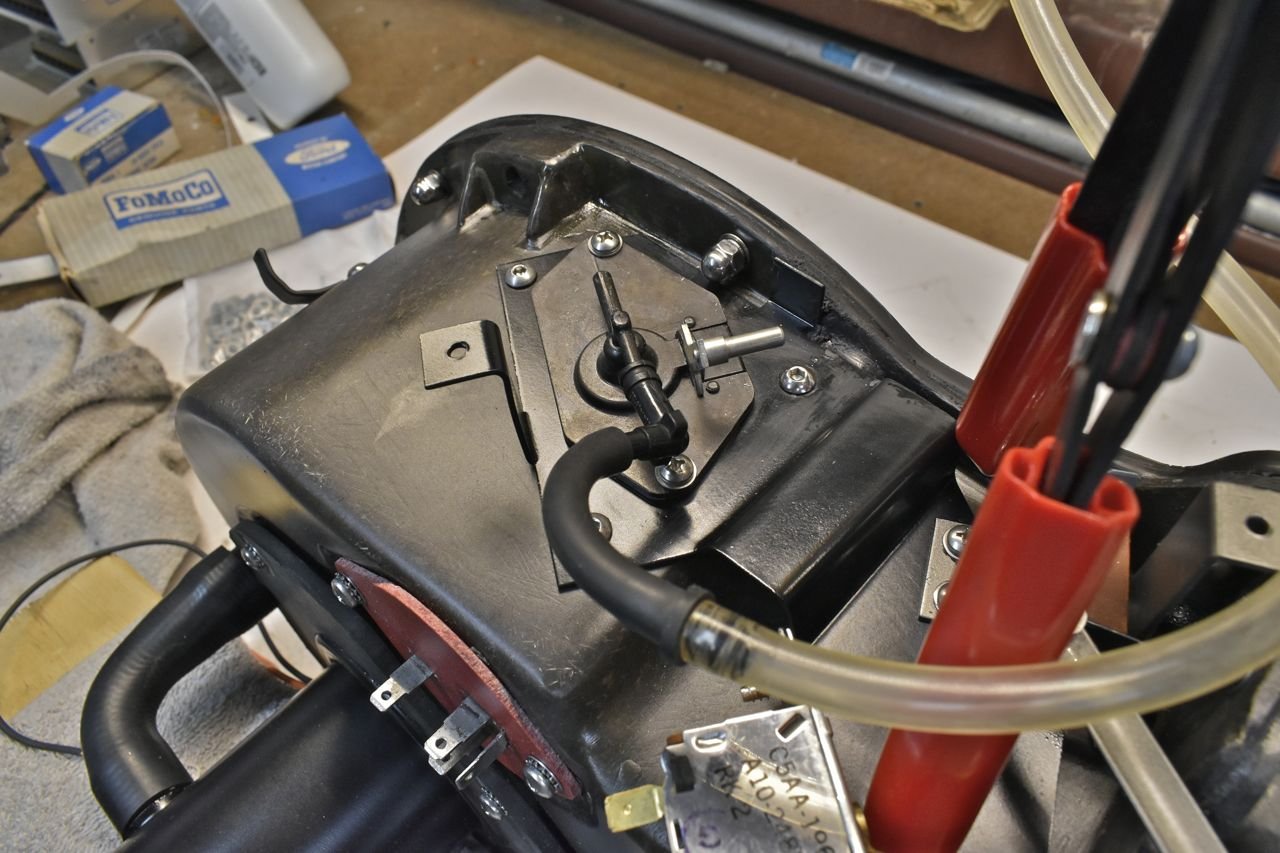
Now move the control away like pictured and the heater control valve should dump all that vacuum to the coolant valve port, but since it's open it'll just dump it.
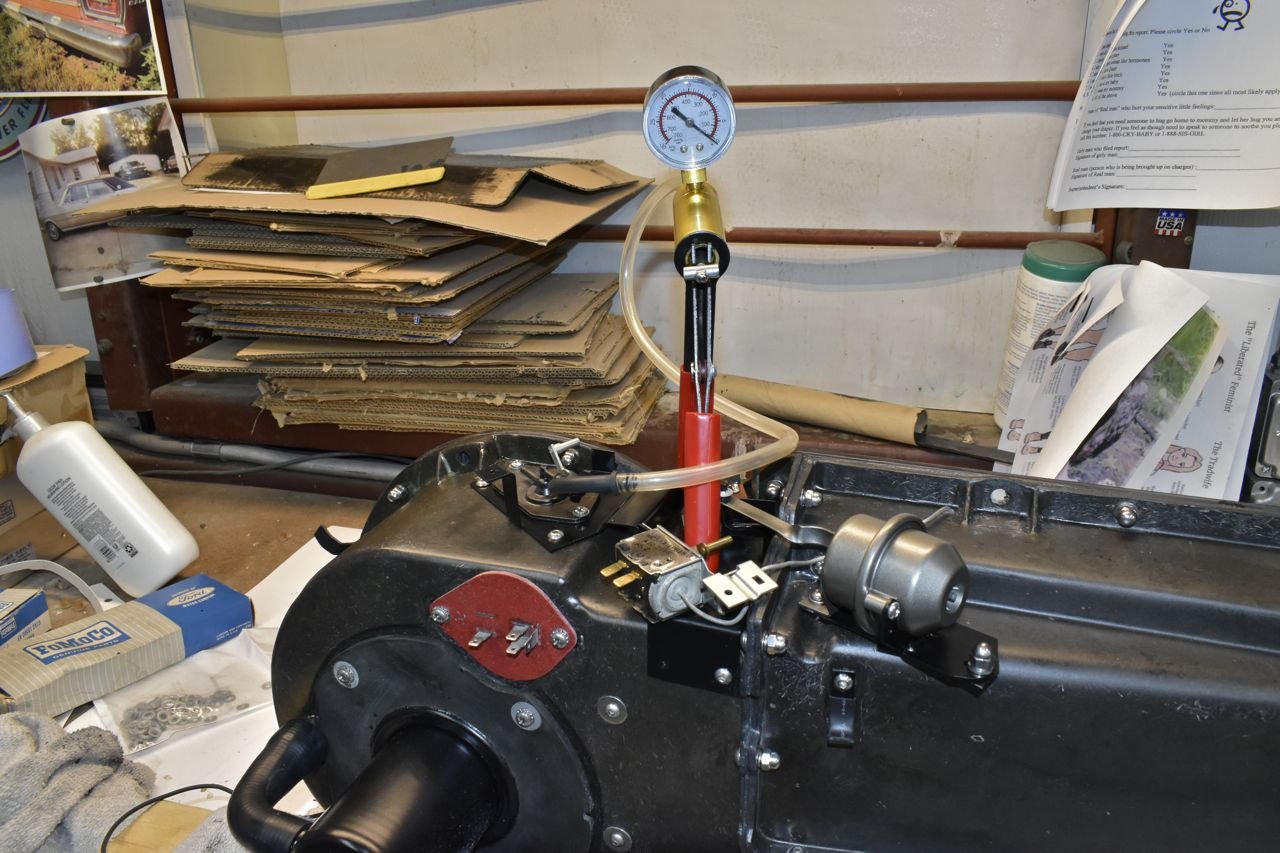
However to be sure it's dumping all of it to the port, plug the coolant valve port on the other side and it should hold vacuum again.
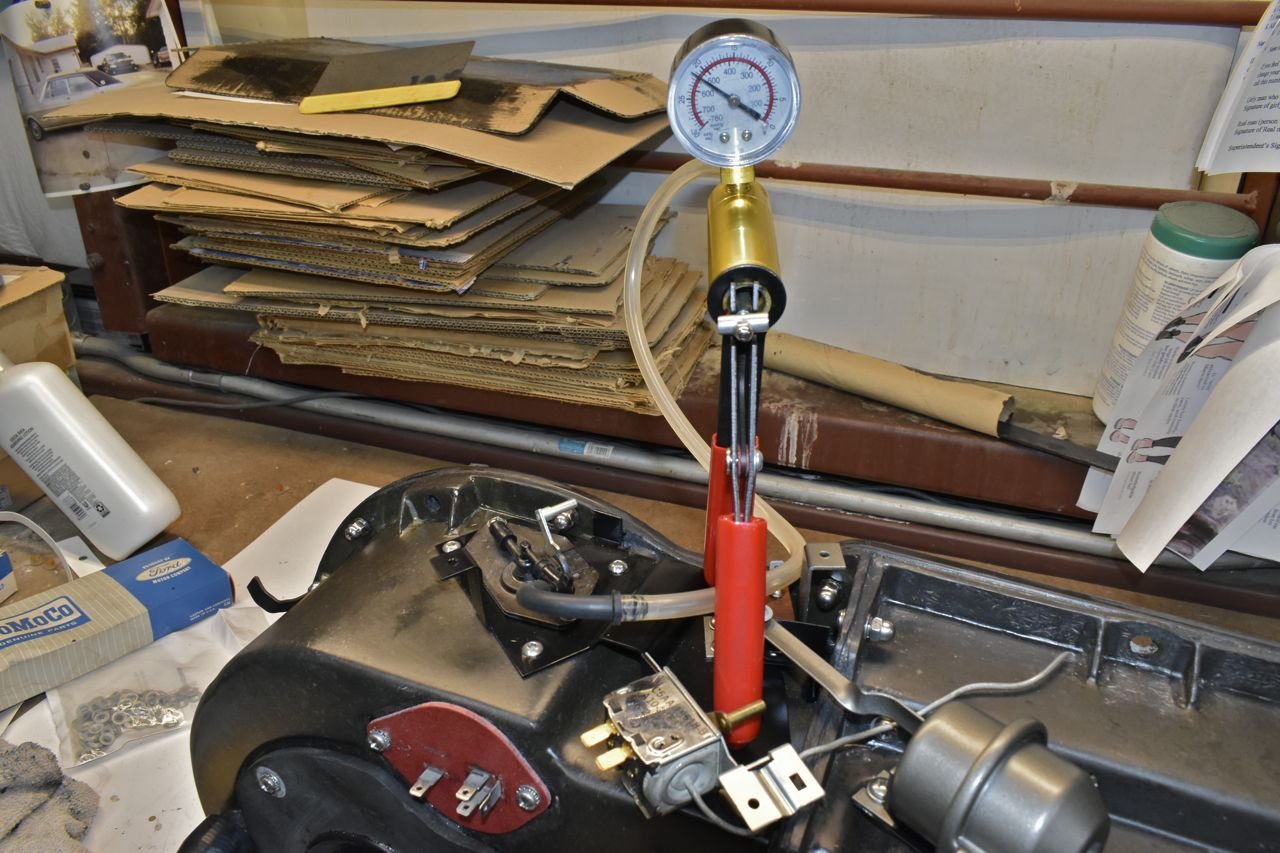
Now plug the vacuum source side of the heater control valve (yellow plug) and apply vacuum via the pump to the coolant valve port with the control arm all the way away from the camera. It should hold vacuum.
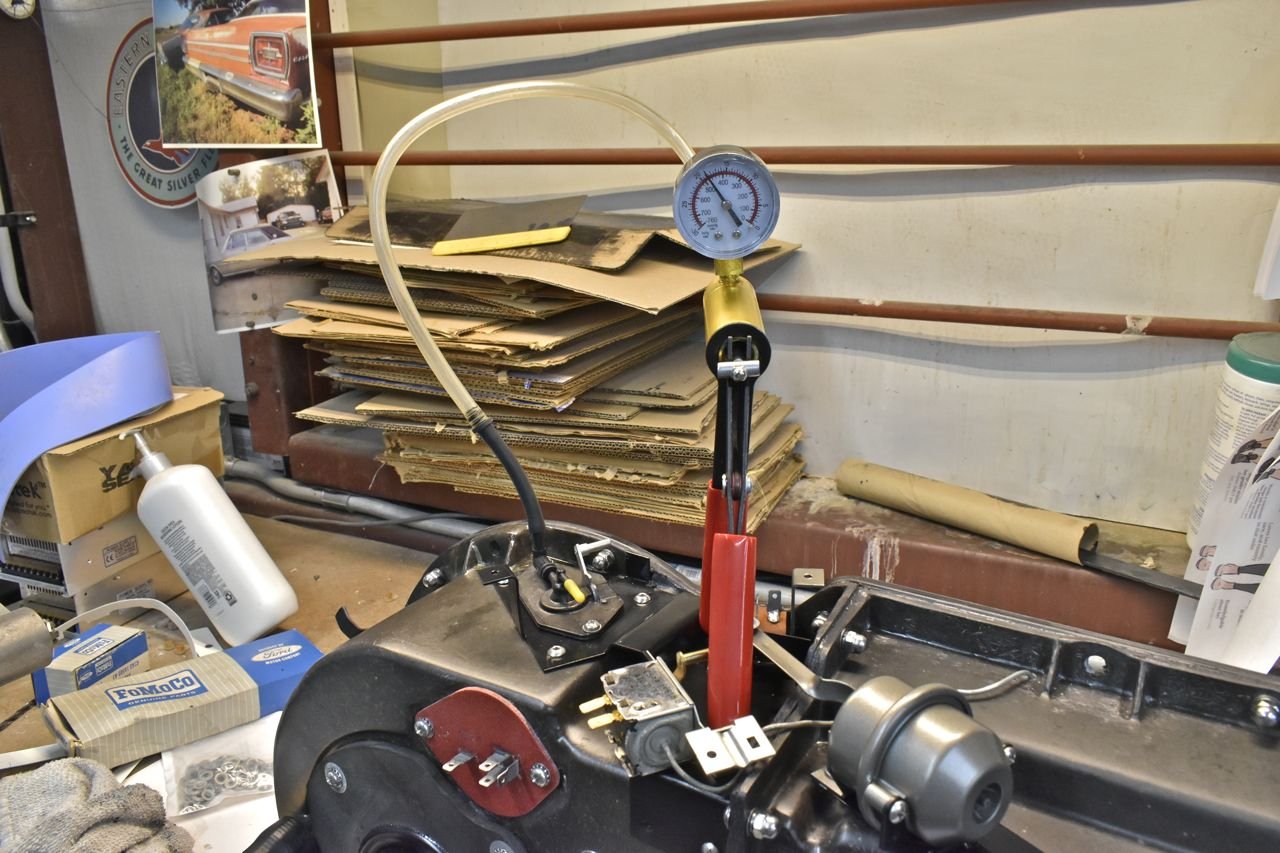
Now flip the control arm towards the camera. It should dump that vacuum. It's dumping it inside the plenum in case you're wondering. This tests the action of both needle valves and the diaphragm. This passes.
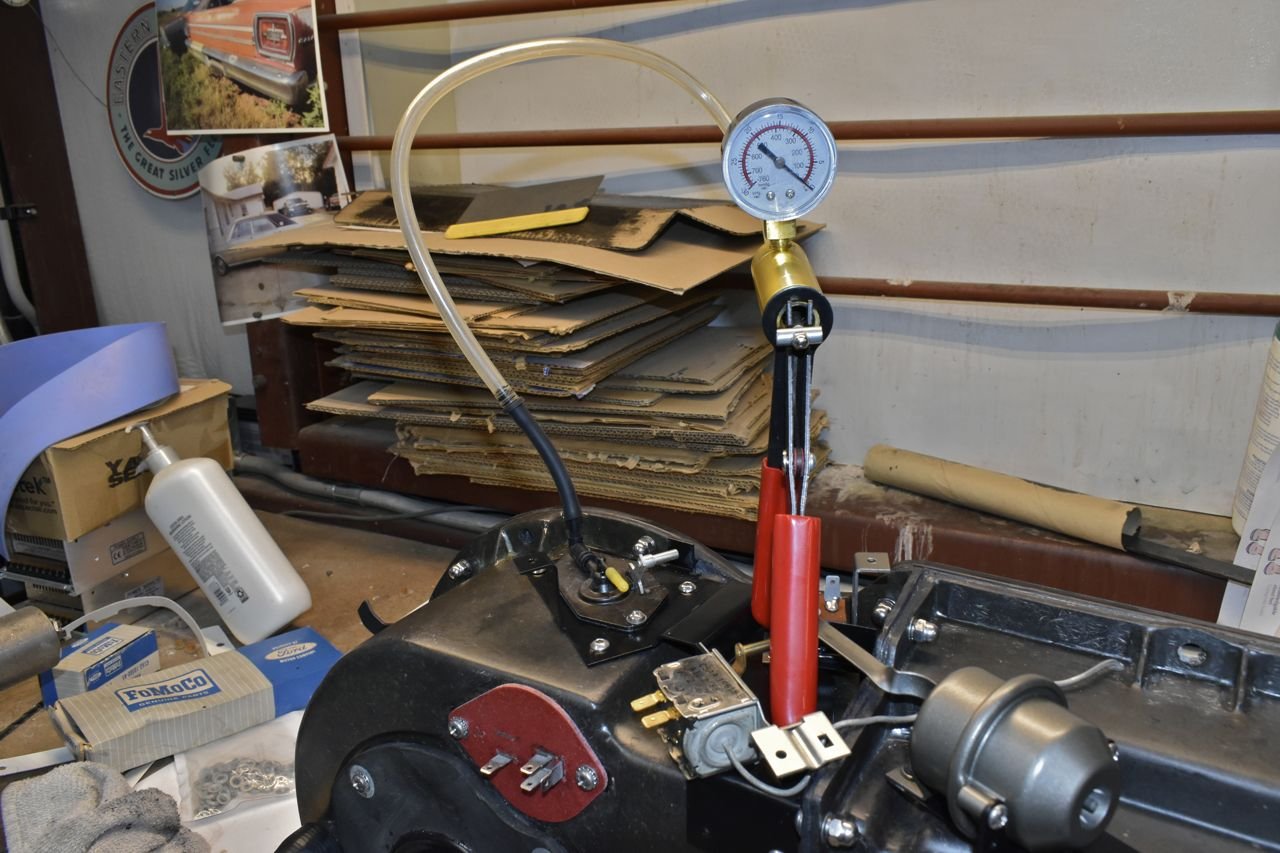
The thermostat tie bar can go on. So just to point out, when you move the HOT - COLD selector on the dash you are moving both of these thermostats and there is no blend door in these 65-68 HVAC systems. Each thermostat modulates the heating or the cooling of the heater core or evaporator directly.
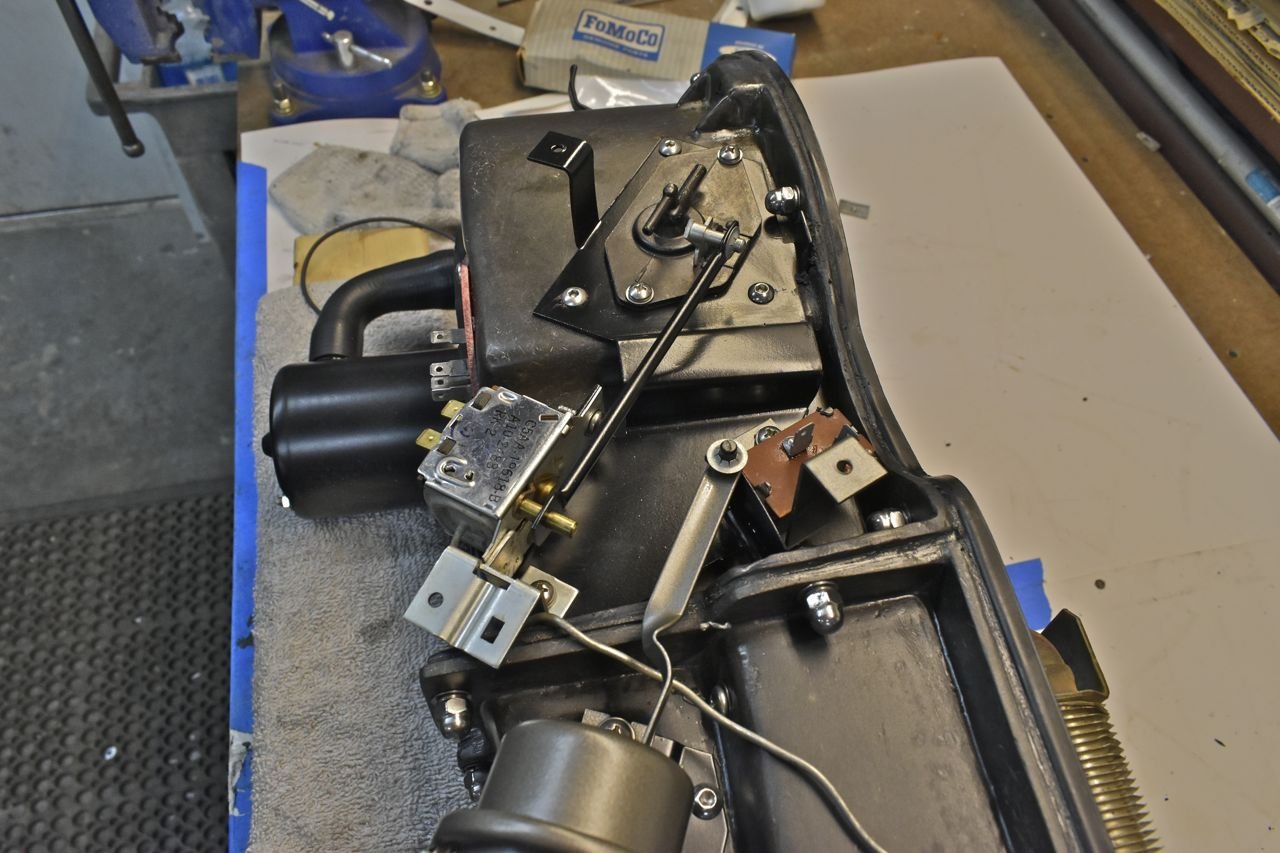
I don't know why Ford made these so complex and they are a high failure rate. Plus you cannot get dehumidified hot air to the windscreen by design.
With that it wins the Chrysler Award and it's not a flattering award. Basically it's the engineering dunce cap.
I like to use silicon hose as it will outlast me and the more items I never have to revisit the better.


Next is the expansion valve. I use one for the Cougar / Mustang.
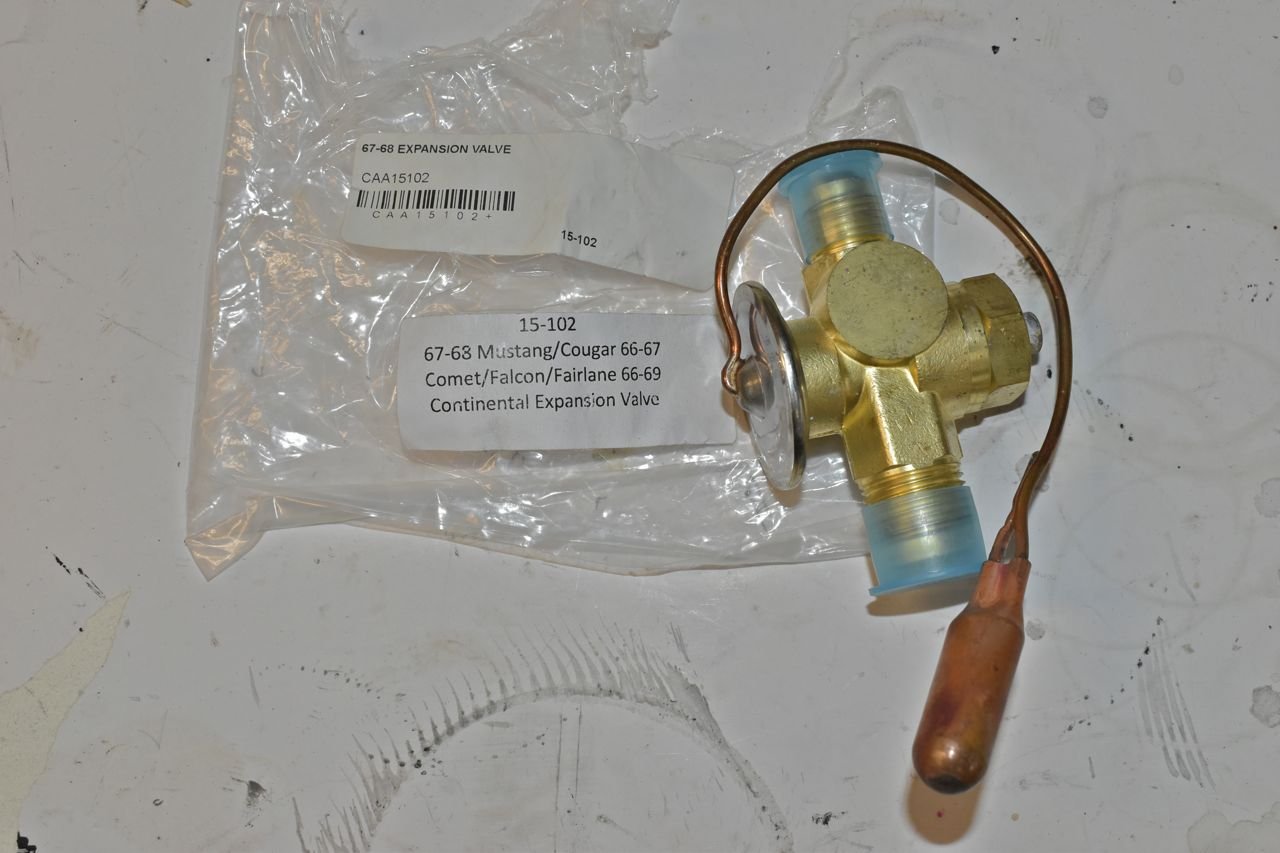
There's two reasons why I use a different expansion valve. Whilst I'm for original engineering, sometimes it's so annoying it has to be changed. The full size expansion valve has the sight glass on the side of it. The problem with that is this on the firewall and nearly impossible to see, not less forgetting you are leaning over a hot running engine to get a glimpse. The other reason is that the full size expansion valve uses a check valve on the inlet. To this day I cannot find any supporting literature on why they put this on there. This also lends the problem of it uses an X fitting that I cannot find and therefore cannot make a new liquid line. The Mustang / Cougar valve solves all those problems as I add a sight glass right after the condenser and it's really easy to see.
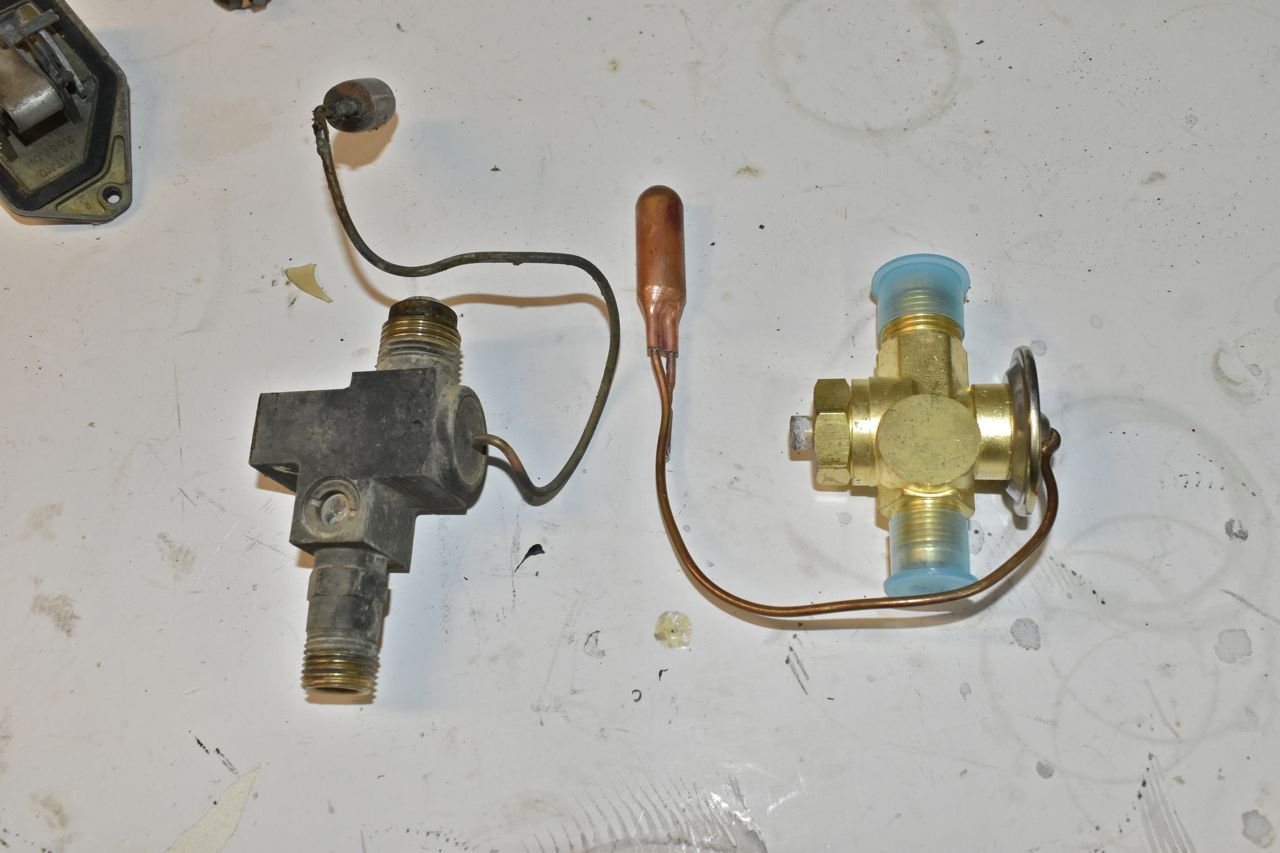
There's the liquid check valve.
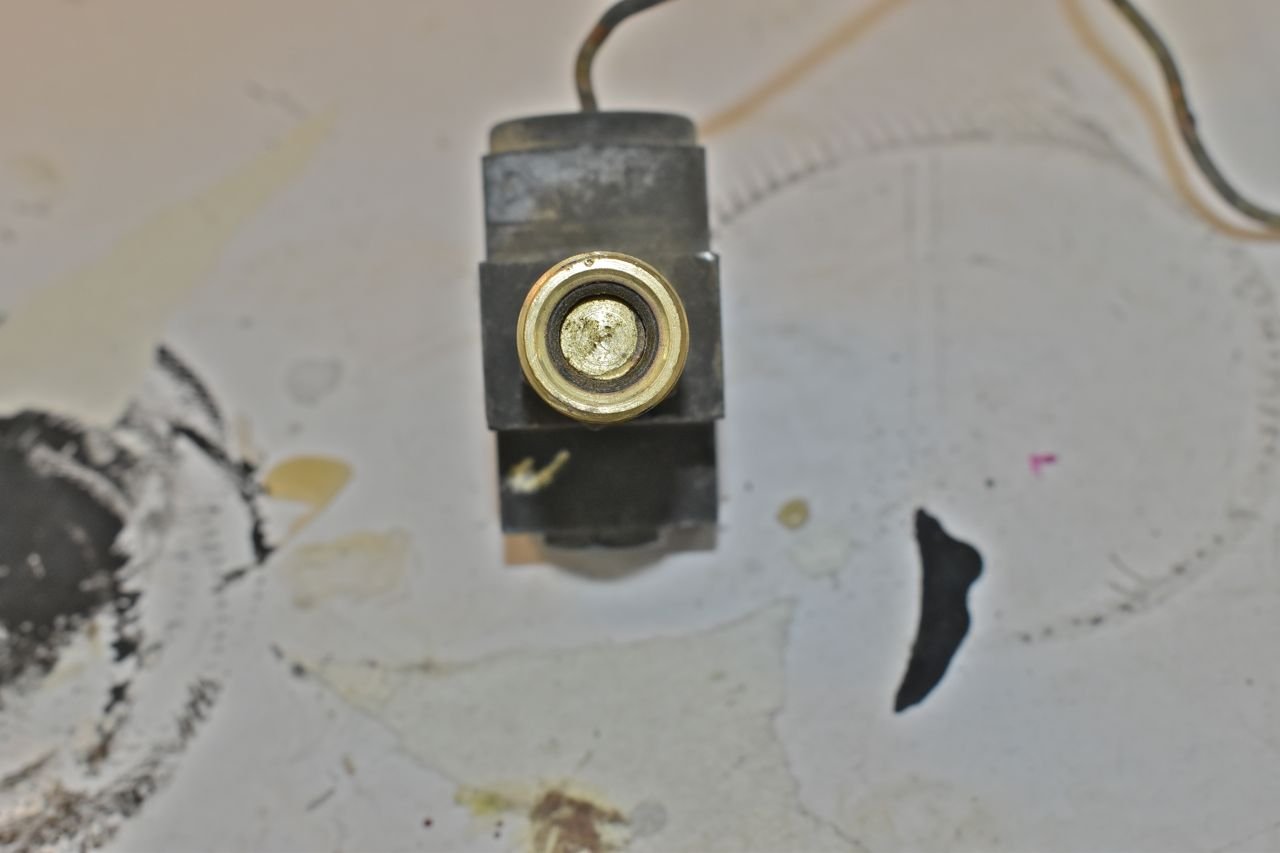
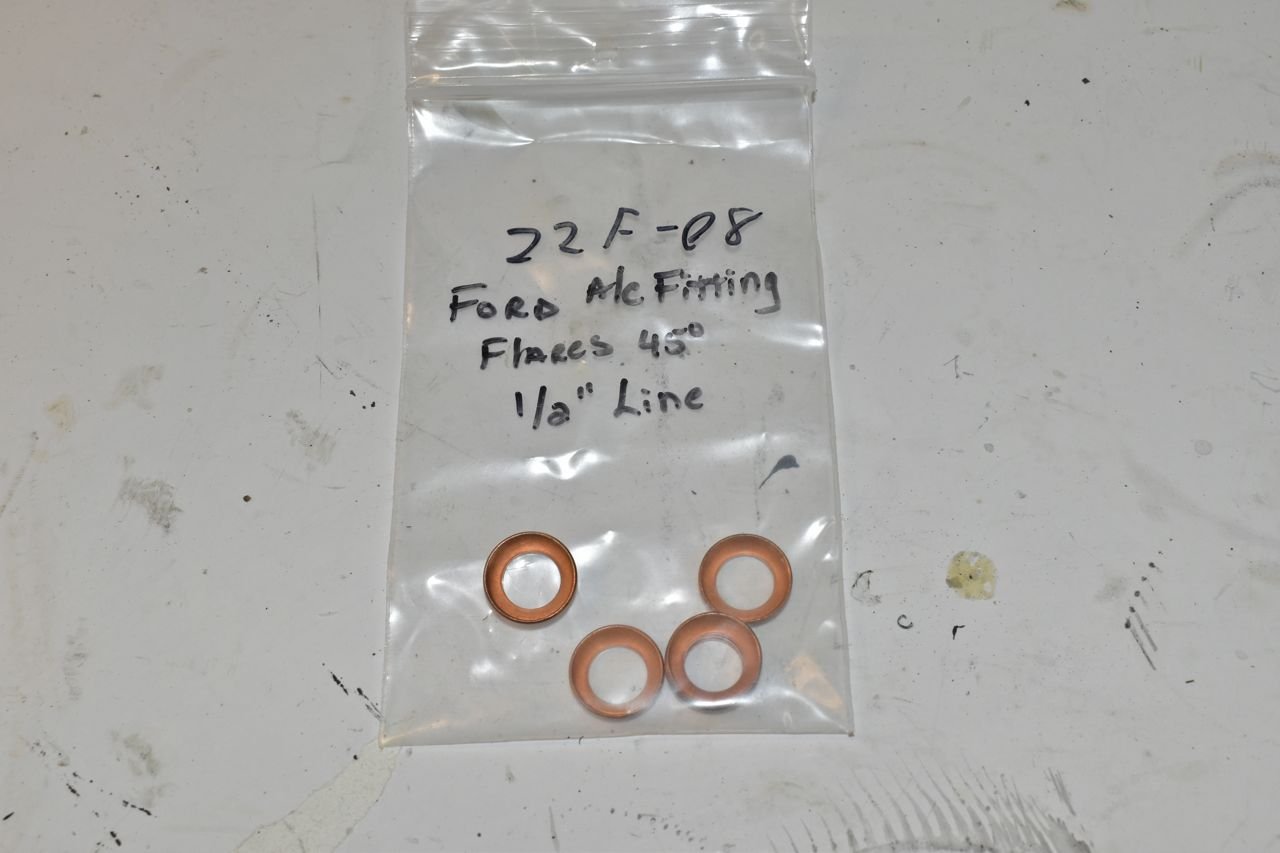
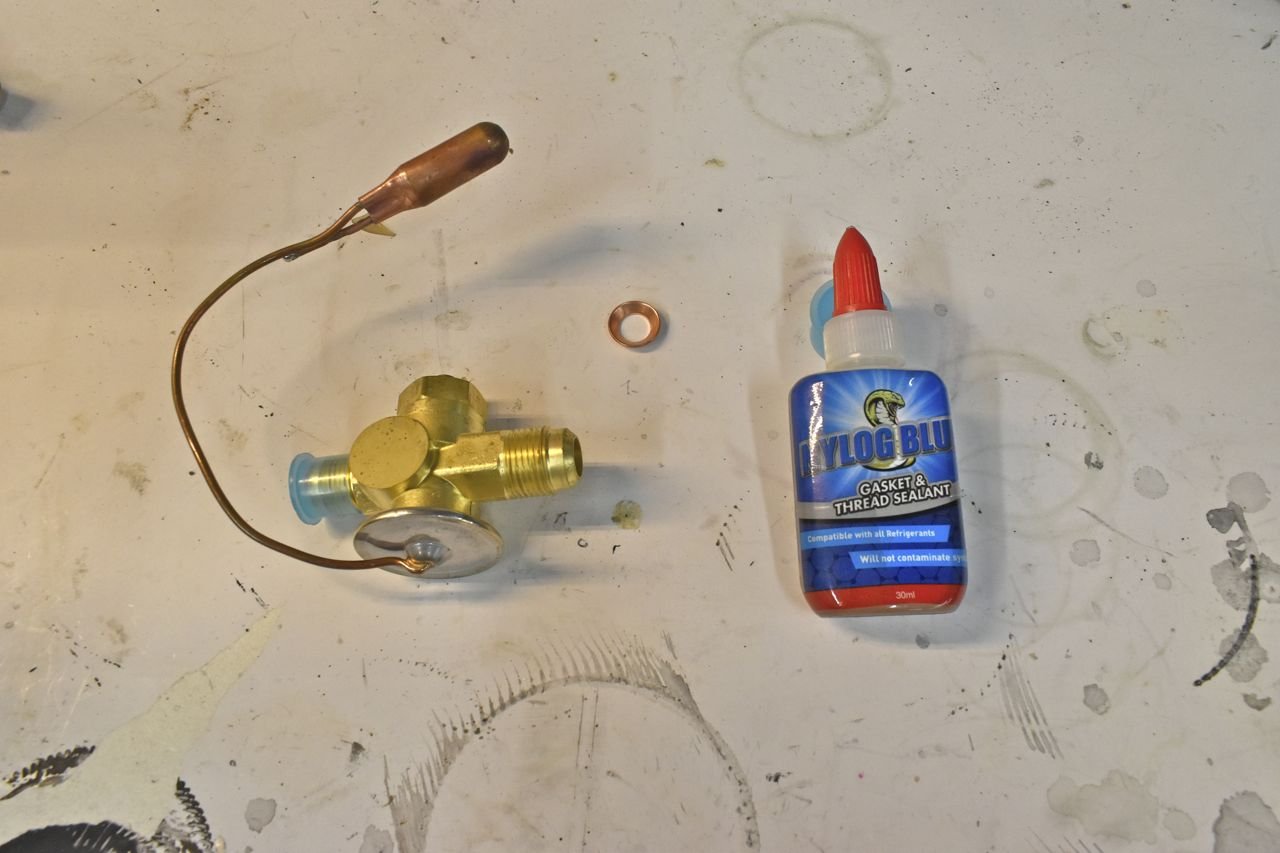
Here's an overlooked step. These are all old 45˚ single flares. There's a propensity for them to leak because the copper flare out of the evaporator is hardened copper and it's a hard brass expansion valve. Using this soft copper washers in between is a good insurance policy.
Using a little Nylog Blue and you are guaranteed a leak free connection.
I cleaned the copper bulb clamp for good thermal conduction.

And that's the reason why I cleaned the copper lines coming out of the evaporator. Obviously I only needed to clean the outlet, but why not both. If you have poor thermal contact the expansion valve will not measure the temperature of the outlet gas and decrease the superheat allowing the possibility of flooding the compressor with liquid refrigerant and shortening its life. After I clamp everything tight to preserve the clean copper I brush on clear coat.
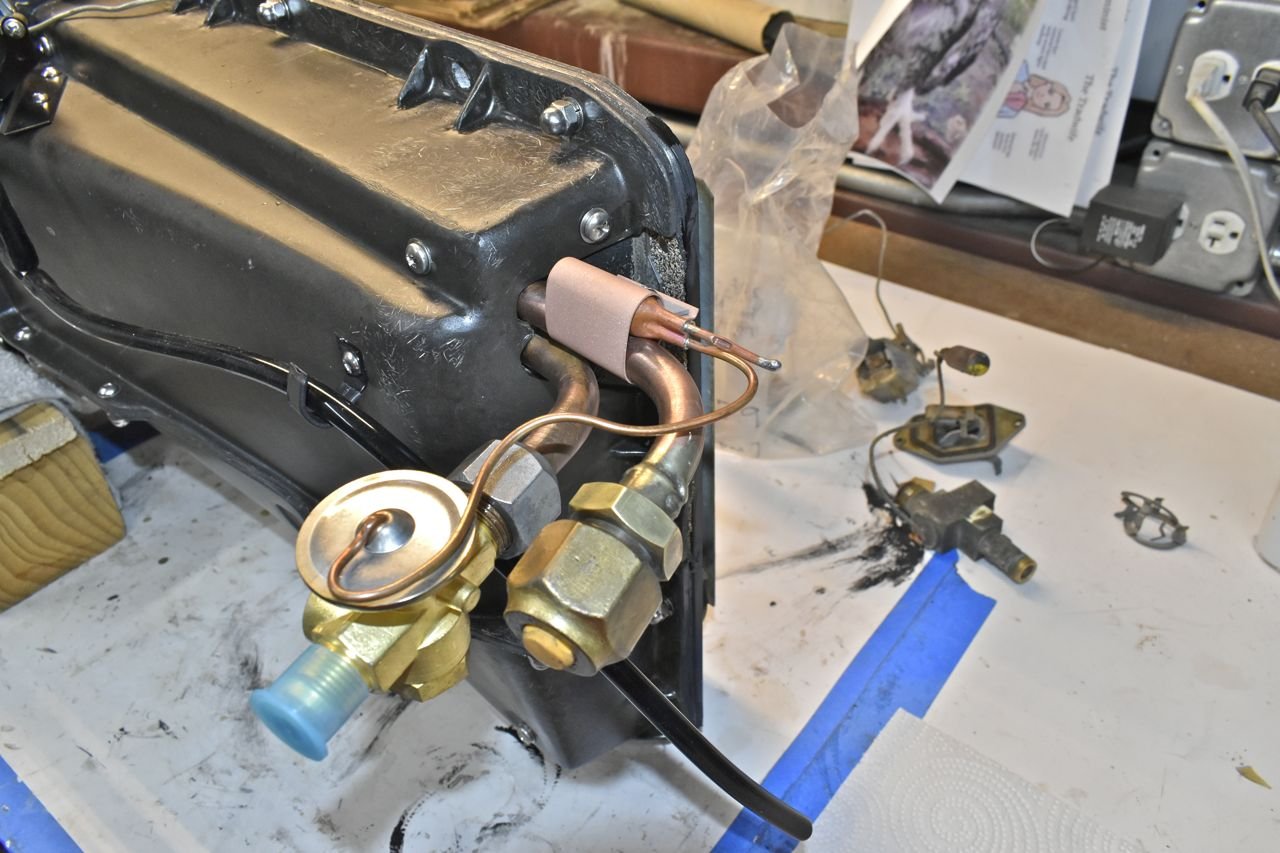
I apply thermal tape to insulate that area.
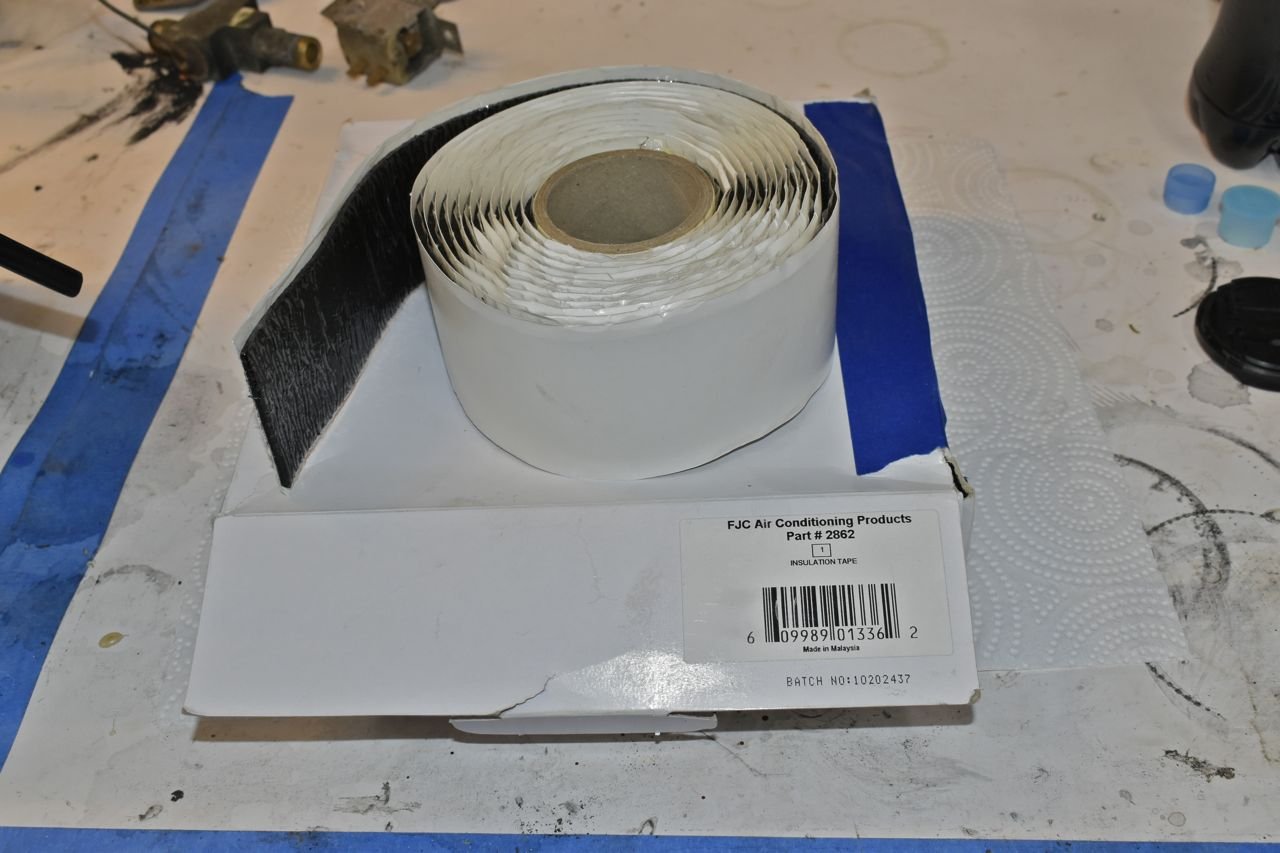
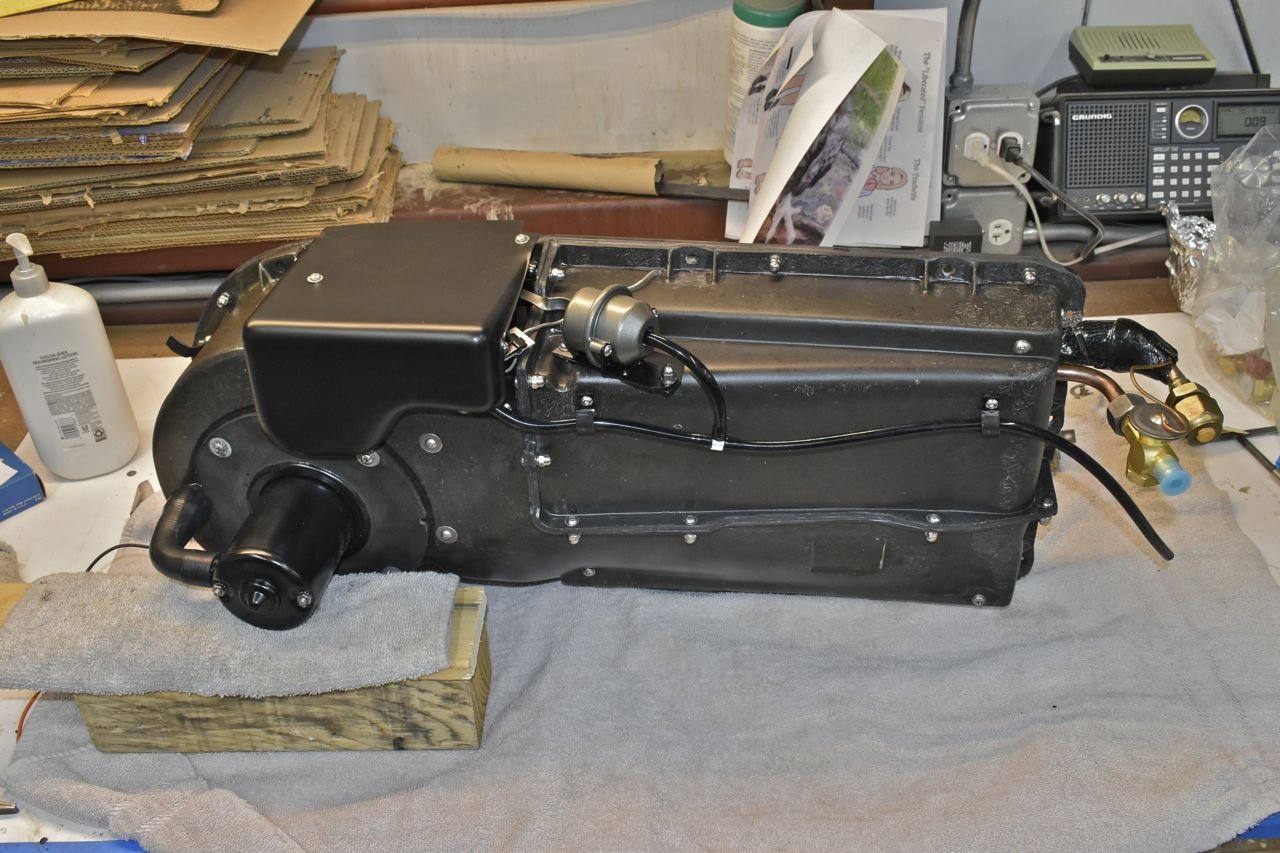
All ready to go.
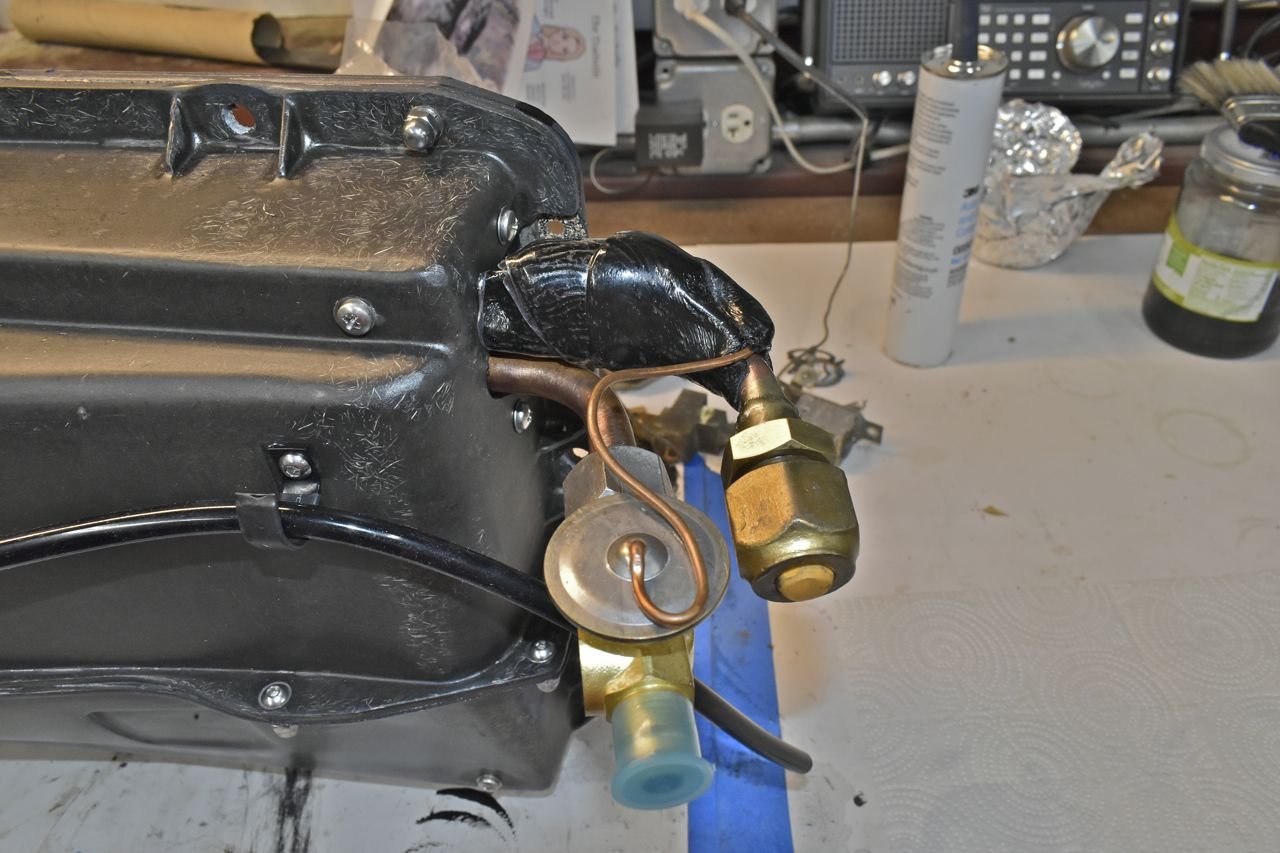
A little detail but I added the Bowden cable clamp to the cooling thermostat.
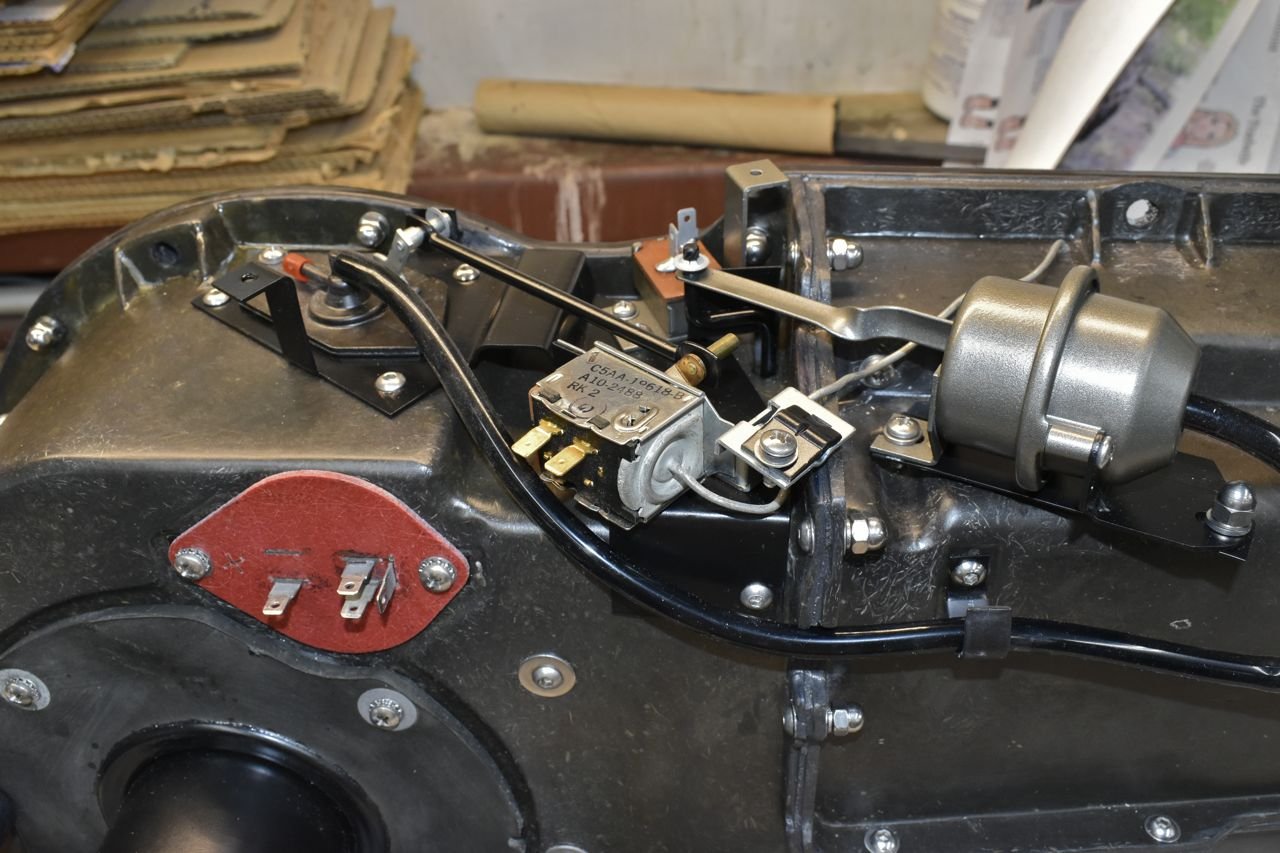
Installed the cover.
continued in next post.
Click here to continue to part 83