1966 Ford Galaxie 500 XL Refurbishment : 052 Engine - Custom Throttle Body Bracket
2023, November 14
1 - 2 - 3 - 4 - 5 - 6 - 7 - 8 - 9 - 10 - 11 - 12 - 13 - 14 - 15 - 16 - 17 - 18 - 19 - 20 - 21 - 22 - 23 - 24 - 25 - 26 - 27 - 28 - 29 - 30 - 31 - 32 - 33 - 34 - 35 - 36 - 37 - 38 - 39 - 40 - 41 - 42 - 43 - 44 - 45 - 46 - 47 - 48 - 49 - 50 - 51 - 52 - 53 - 54 - 55 - 56 - 57 - 58 - 59 - 60 - 61 - 62 - 63 - 64 - 65 - 66 - 67 - 68 - 69 - 70 - 71 - 72 - 73 - 74 - 75 - 76 - 77 - 78 - 79 - 80 - 81 - 82 - 83 - 84 - 85 - 86 - 87 - 88 - 89 - 90 - 91 - 92 - 93 - 94 - 95 - 96 - 97 - 98More Engine Minutiae Continued
So I powder coated the brackets, then stripped the hardware, blackened, cleared and baked the hardware. Time to final install these items.

First was the starter high current lead holder. I bent this earlier (before powder coating) so it clears the headers and holds the wire away from the tubes. I couldn't believe it but the original rubber insert was in fantastic condition, so it was re-used.


I know the power steering bracket needs to go on first, but this was just to get the part and bolts out of the way of my work space. I can't assemble the driver side front of the engine yet because I need the head bolt holes to lift the engine onto the chassis eventually.

Here's my throttle body bracket that connects to the fuel Adel clamp and also provides a place to attach the kick down spring. Since this is pretty hard 4130 I just tapped it for 10-32 for the Adel clamp so no nut is needed.


I had to modify the spring in the kit and the screw/tinerman/nut they provided in the kit is too long, so I'll have to shorten that screw a bit as on full throttle the head of the screw hits the linkage for the secondary plates. Well done Holley

Ignition coil, brackets and hardware.

There's a pin in the coil bracket I made that goes into a hole in the original bracket for the Ford coil, so it's held in place by the pin and the bolt so it won't vibrate and rotate. The whole thing is held in place pretty darn firmly.


However my coil high tension lead is now too short.... Such is life..

Plus I have one cylinder high tension lead that is a tad short (#5).

So I bought another kit from Rock Auto, they are cheap enough.

Took a regular cylinder wire and made it a tinge longer than the original coil lead and crimped the end back on.

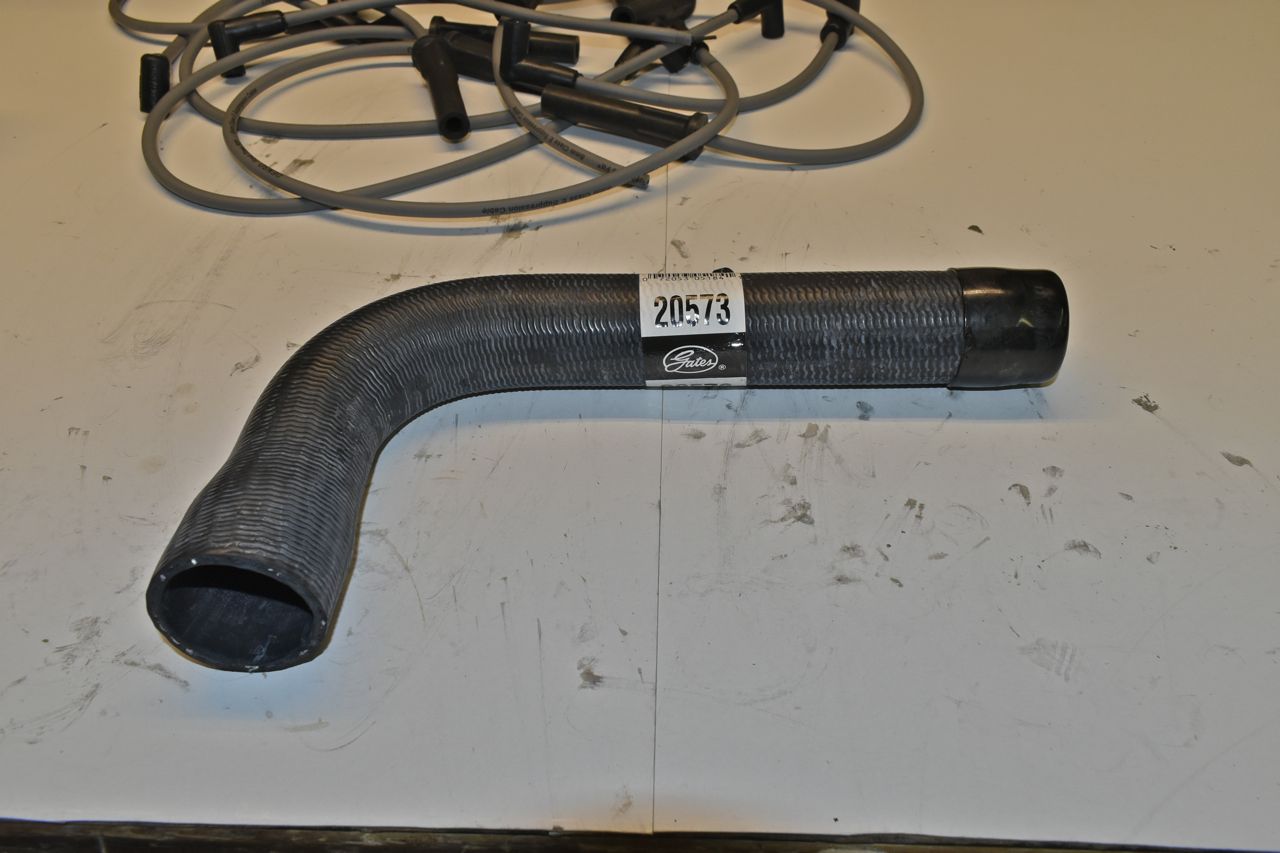
This is somewhat out of sequence but this is the part number for the upper hose (the sticker keeps wanting to fall off).

Much better.

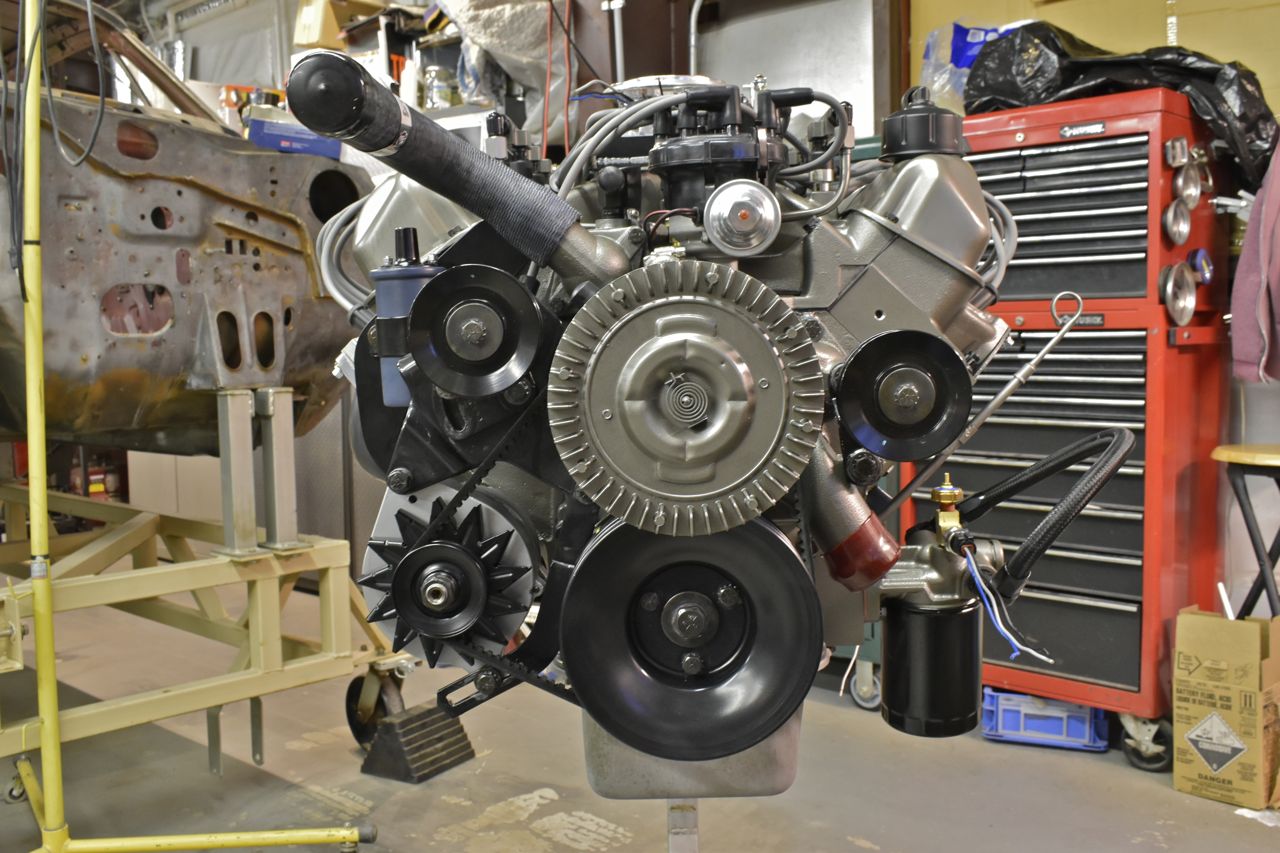
This is where I am at currently as of tonight. What I am going to do next is make two brackets on the rear of the intake and also make the stainless vacuum line for the power brake booster. Then it's R&R the throttle cable and finally the oil pan. After the pan is completed and installed I can transfer the engine to my other build stand, fill it with oil, test the pump, then attach a make shift ignition and I can play GM TBI with a spray bottle of gasoline above Holley throttle body. The inner 14 year old in me wants to hear this 10.5:1 roller engine run open headers on a stand.
Last of the Engine Minutiae
Hello all, here's the last the of boring little engine bits and bobs that needed to be done.
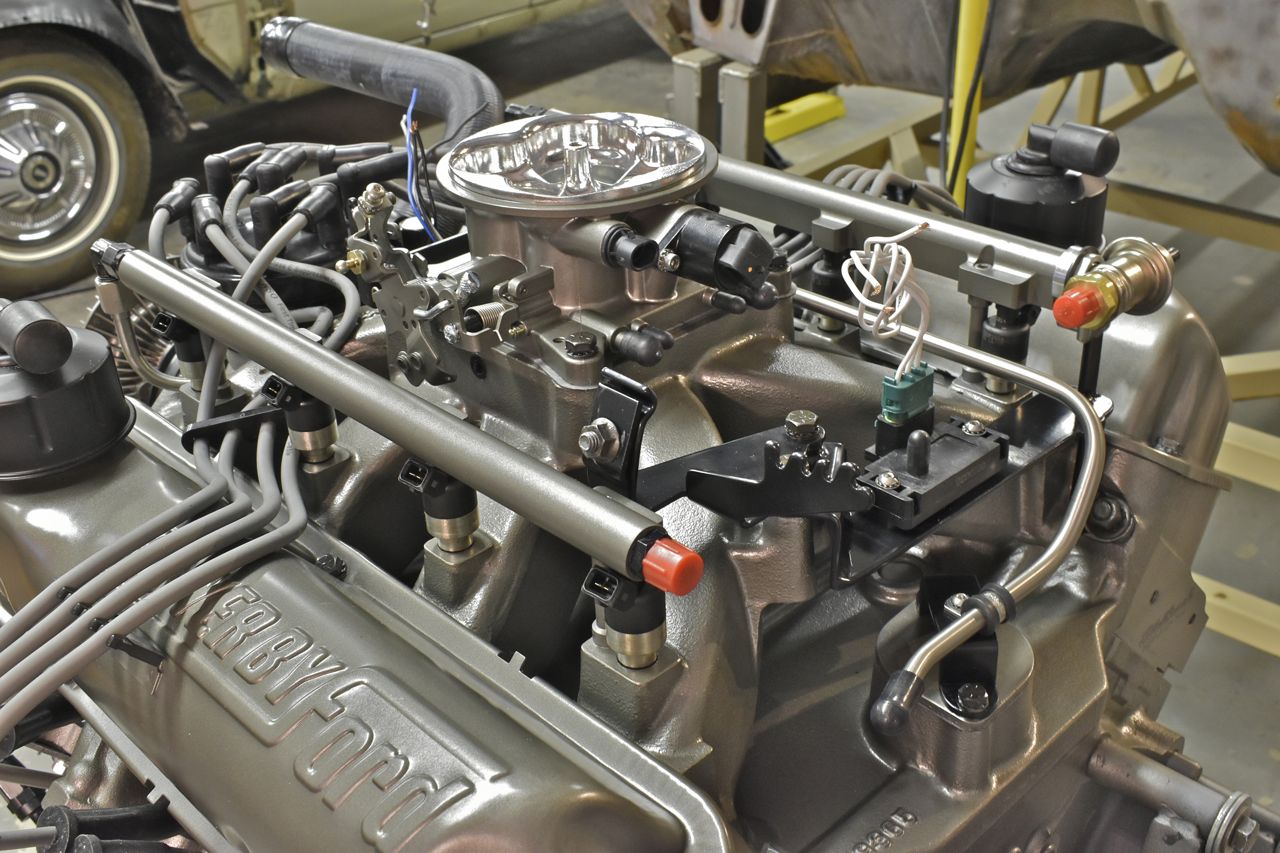
This doesn't look like much but those two brackets were a bear to produce.

Now I have a place for the MAP sensor as well as lock in the fuel pressure regulator as it was wibbly wobbly floppy. I seriously would like to know if Edelbrock honestly thought that fuel pressure regulator kit was a good idea. I don't think it was, thought it was just begging for leaking high pressure fuel.

The original throttle bracket was powder coated as well.

This stainless line is the vacuum feed for the power brake booster.

The plan was to R&R the throttle cable. Unfortunately this cables inner polymer liner was broken somewhere roughly in the middle and it's unusable. I'll have to make a brand new cable from scratch as these are no longer available. However I will wait till the engine and body shell are bolted back onto the chassis so I can confirm the exact length of cable I will need.

I took apart the throttle body and painted it to match the engine. I also unhitched the primary throttle return spring as the throttle took a lot more torque to rotate than I'd like, plus I can use the original type spring.


Next up will be the oil pan modifications, then onto a test run using a different stand.

Until next time.
Cheers
Click here to continue to part 53