1966 Ford Galaxie 500 XL Refurbishment : 020 Installing Powder Coating System & Use Tutorial
2023, November 14
1 - 2 - 3 - 4 - 5 - 6 - 7 - 8 - 9 - 10 - 11 - 12 - 13 - 14 - 15 - 16 - 17 - 18 - 19 - 20 - 21 - 22 - 23 - 24 - 25 - 26 - 27 - 28 - 29 - 30 - 31 - 32 - 33 - 34 - 35 - 36 - 37 - 38 - 39 - 40 - 41 - 42 - 43 - 44 - 45 - 46 - 47 - 48 - 49 - 50 - 51 - 52 - 53 - 54 - 55 - 56 - 57 - 58 - 59 - 60 - 61 - 62 - 63 - 64 - 65 - 66 - 67 - 68 - 69 - 70 - 71 - 72 - 73 - 74 - 75 - 76 - 77 - 78 - 79 - 80 - 81 - 82 - 83 - 84 - 85 - 86 - 87 - 88 - 89 - 90 - 91 - 92 - 93 - 94 - 95 - 96 - 97 - 98Powder Coating at Home (Rear Disc Brake Brackets)
I thought I'd share some of the things I learned about powder coating at home. It was a huge learning curve for me in just about every aspect of it.
Here's some of my ultra cheesy tools I use.
This is a regular old electric stove. We found this for 50 bucks locally on Craigslist. I removed the top elements and controls. The stove is a self cleaning stove so it's really well insulated which translates to doesn't waste much energy in loosing heat. I built a stand for it on wheels so I can clean behind it easily.

A redeeming feature of this stove is the little vent pipe under the rear element. Since powder coating produces toxic gases you need to suck the fumes out of the work space.
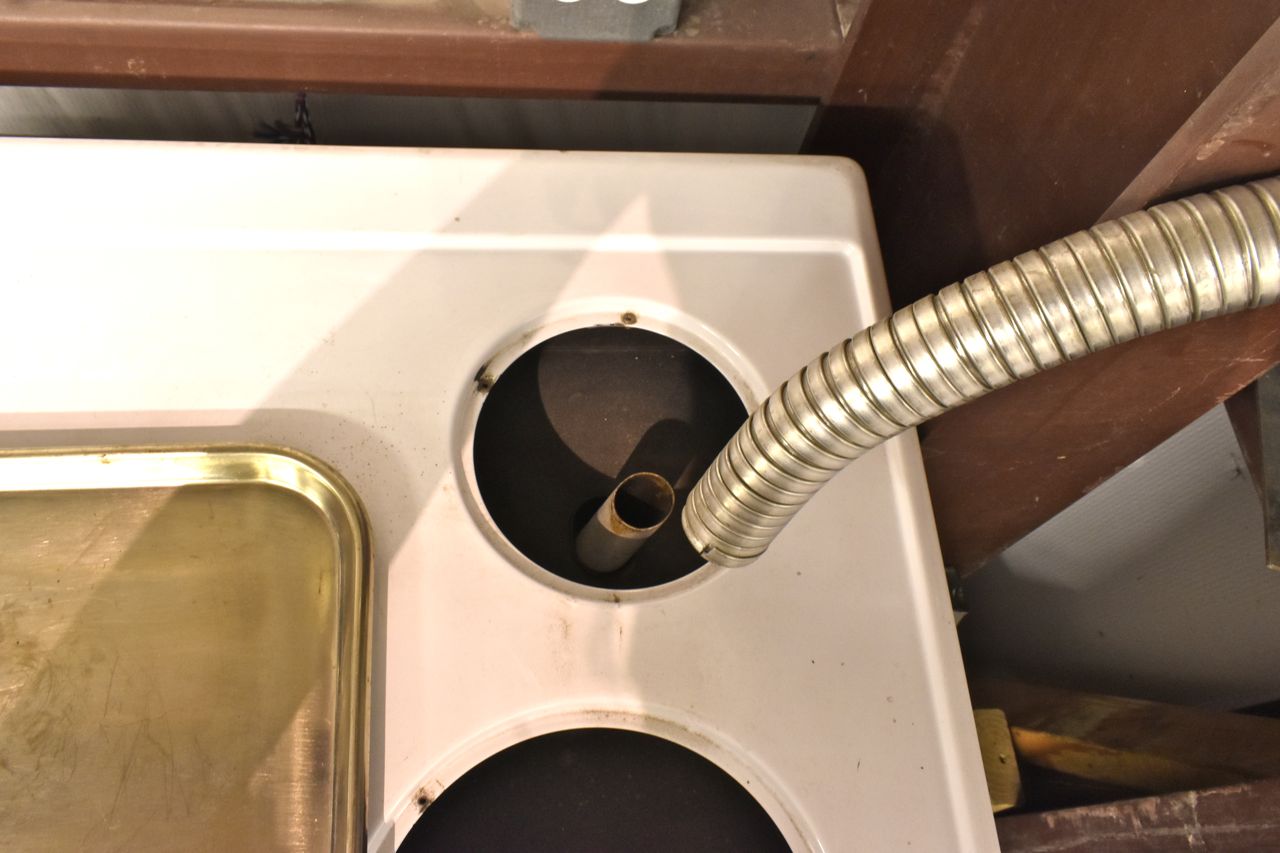
Yuppers, flex exhaust pipe acting as a radiator to dissipate the heat before it turns to a polymer shop vac hose.
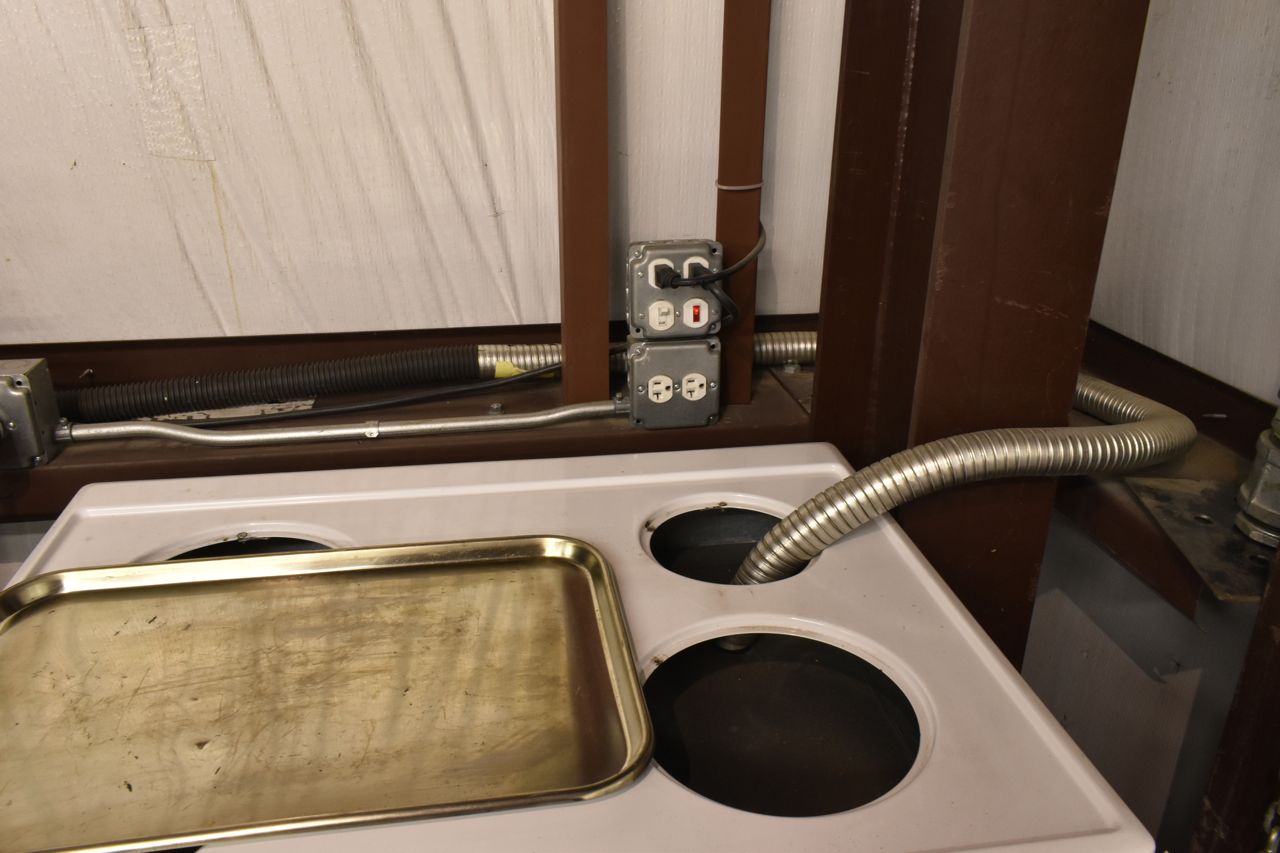
This might be one thing leads to another but....
That suction line comes from this blast cabinet. Since I have limited space, this made sense to pull the fumes through this blast cabinet then to the blower.
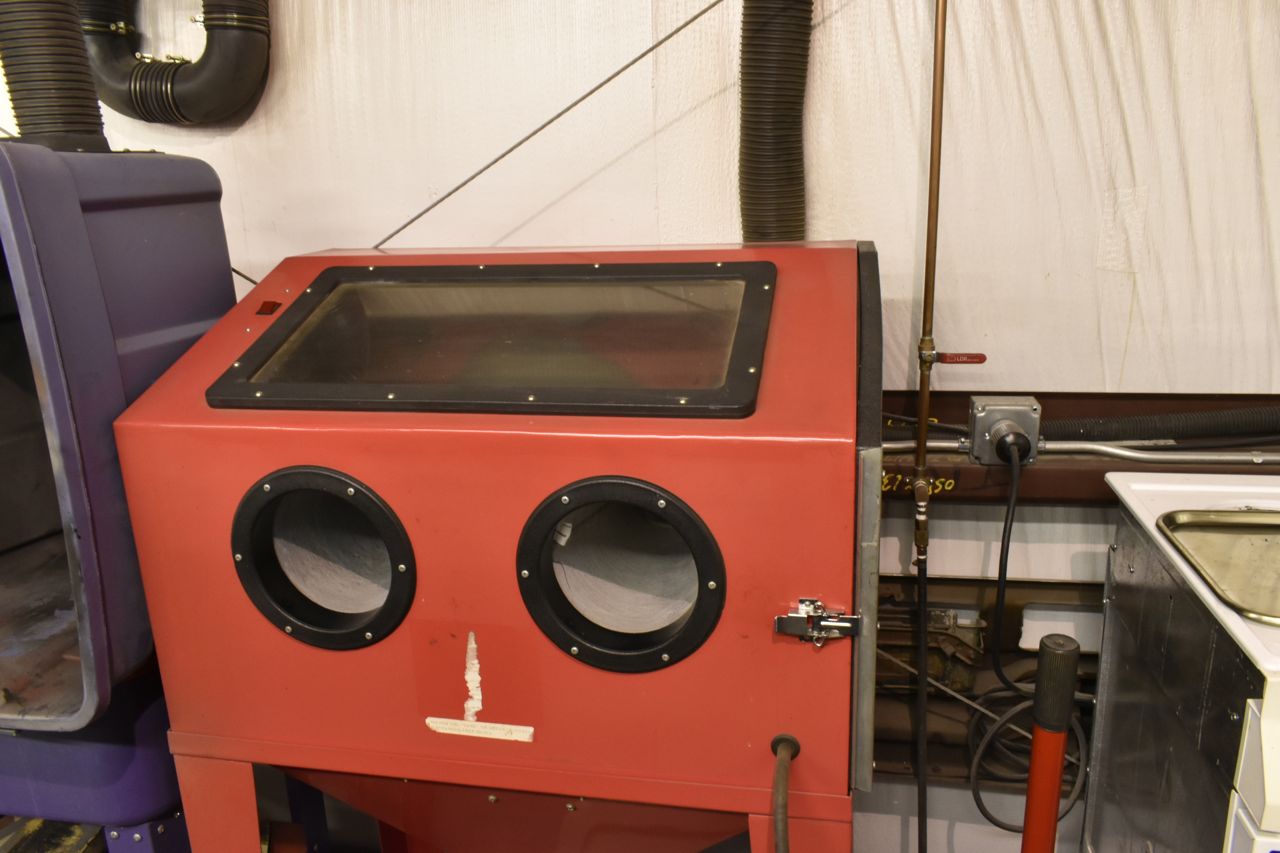
The blower pulls enough vacuum to run both blast cabinets and the little tiny paint/powder both, which is obviously a cheap tote turned on its side.
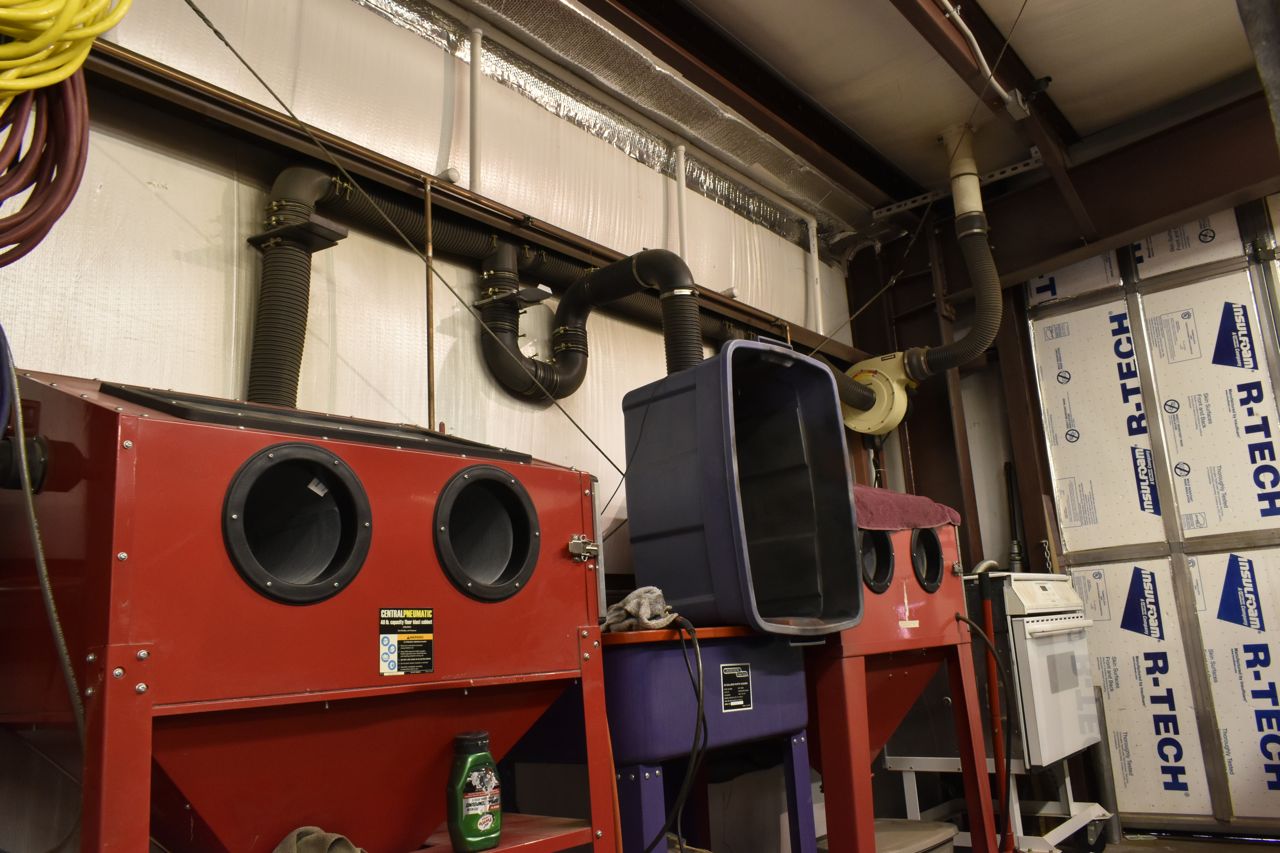
The gate valves on the suction side are set and never adjusted. The super cheesy paint tote allows me to put it off to the side and use the vent tube over the degreaser tank to suck out those fumes.
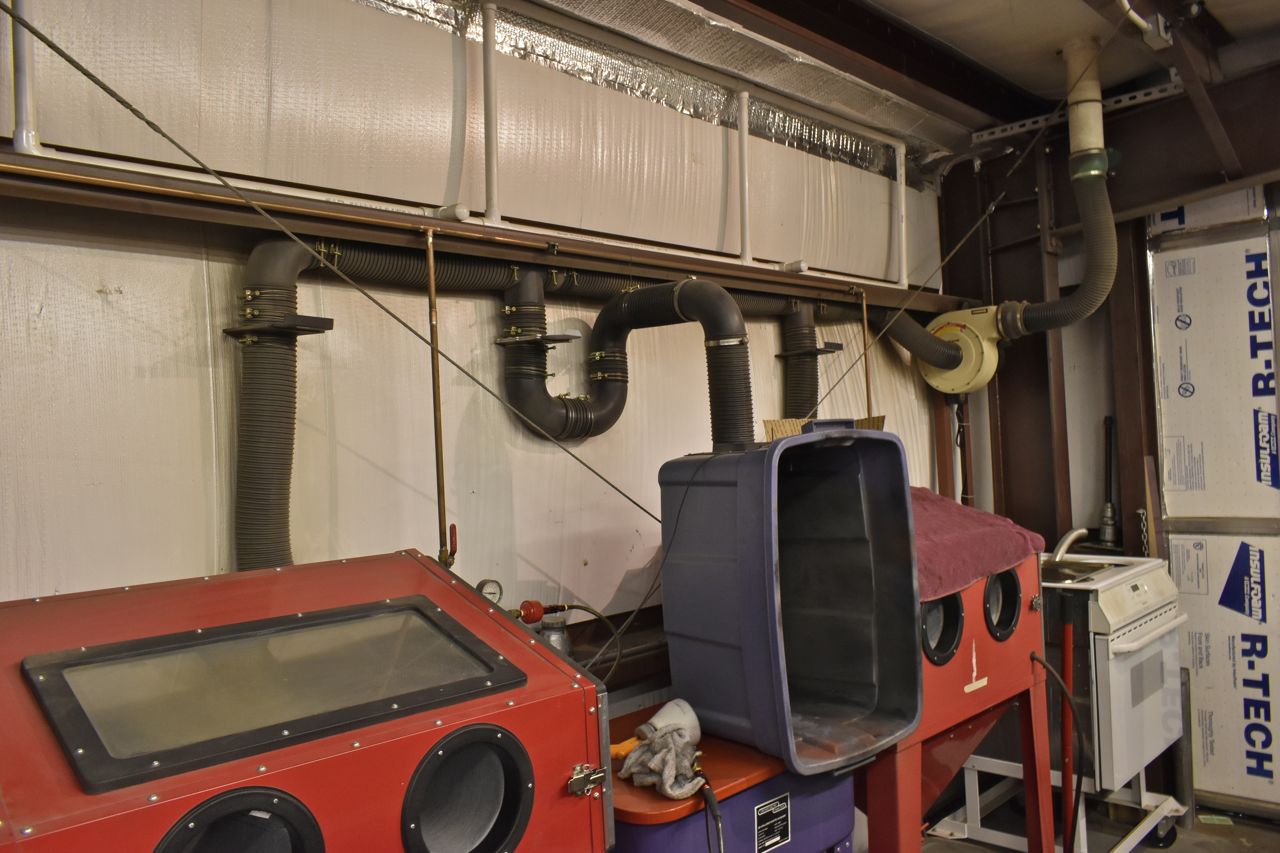
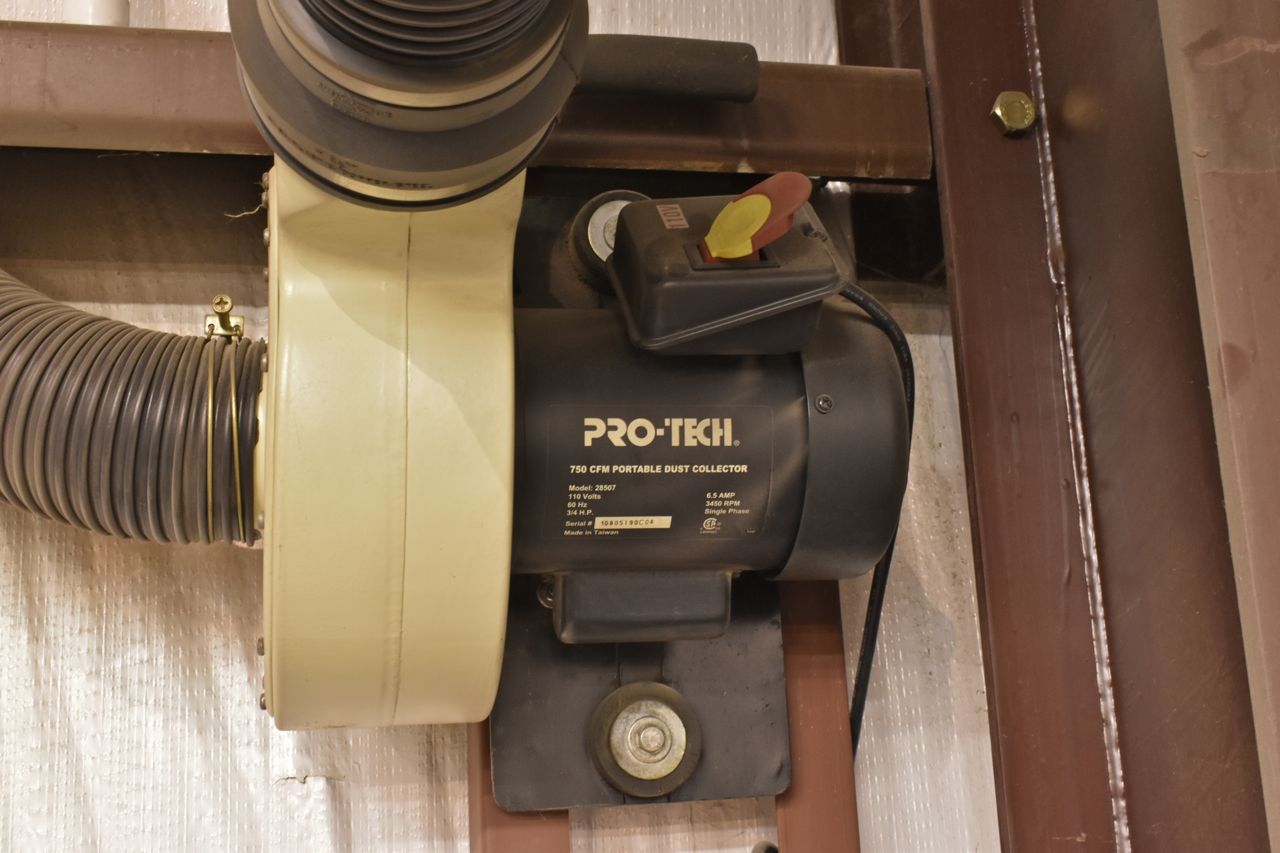
The suction motor assembly is from an old wood dust collector I bought at Menards eons ago. It's mounted to a steel plate which is mounted to the angle iron uprights via old body mounts so no vibration is transmitted into the metal buildings frame and is not loud at all. It jets out through the roof with a 180˚ down spout up top to prevent rain and snow blowing in.
It's simple, works really well and cheap.
Onto the super cheesy powder coat/paint tote.
On the top of the tote there is a hole with a bent hook that allows me to twirl the part being powder coated or painted. Also for powder coating the negative lead attaches to this and ultimately the part.

There's the hook to hang and twirl the part.
Again stupid simple, easy to make, works unbelievably well and cheap.

For the powder I use this.
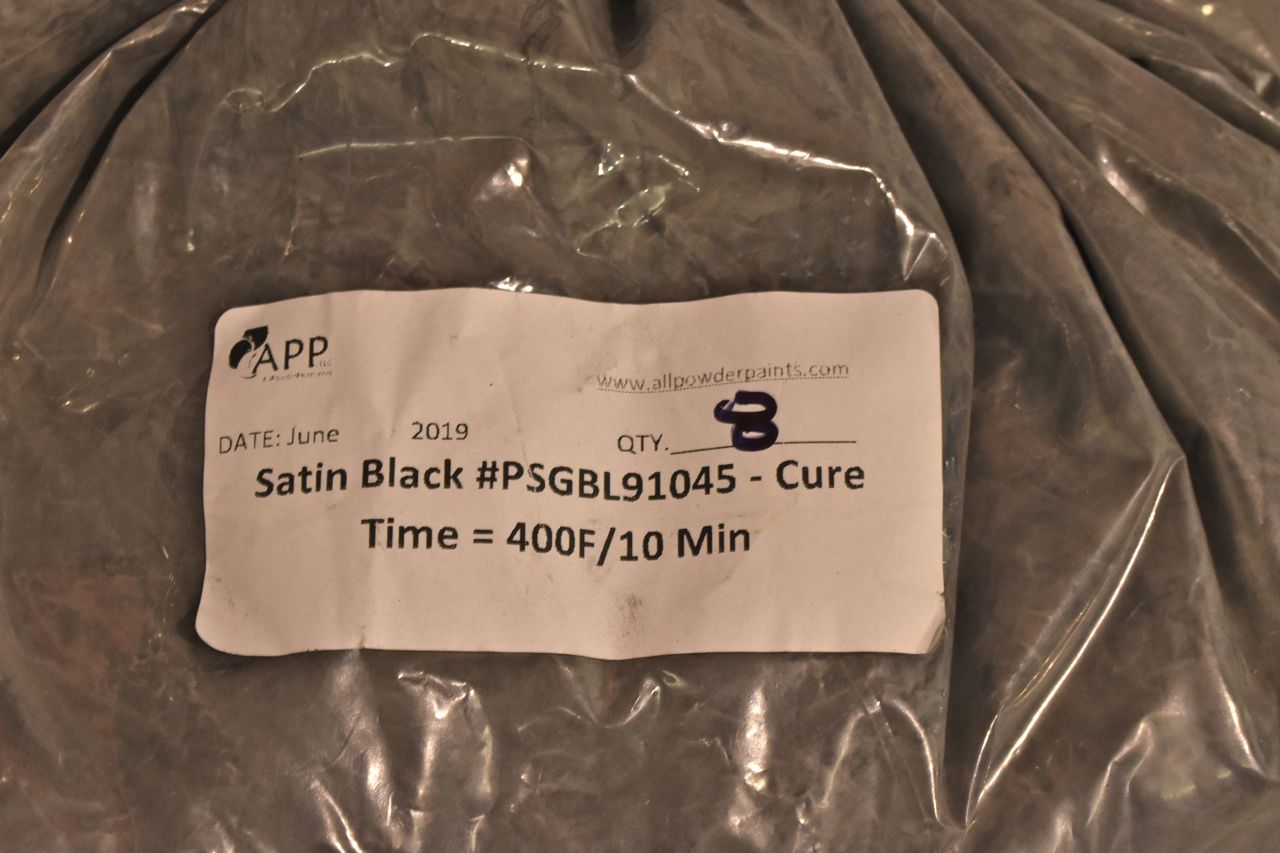
It's UV resistant and works really well. It's about 15 bucks a pound. The powder Harbor Freight uses is not UV resistant and is flammable. I DO NOT recommend using that cheap stuff. Been there done that...
One last thought about using a blower to suck out fumes. What air goes out of a room needs to be allowed back in at some point. For this small blower, the seals around my bay door are horrible and allow the fresh air back in. But if I didn't have that I'd need an air intake off the roof to allow make up air back into the building. Otherwise if you have some gas fired appliance you risk reversing the draft on the flew and sucking in carbon monoxide/dioxide into your work area.
One thing seemingly leads to another.
I use the cheap Harbor Freight powder coat apparatus. Let me just say this right off the bat. It's terrible.
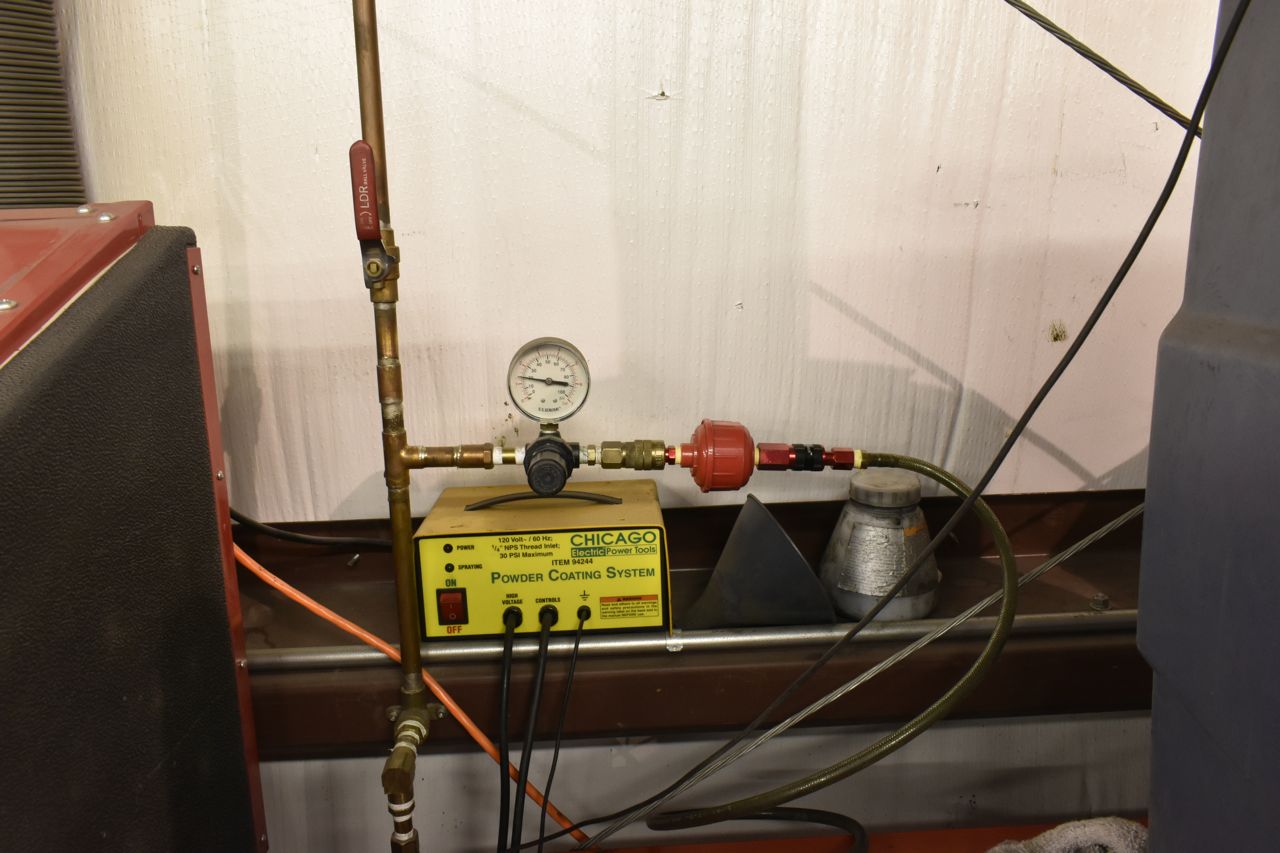
Here's some secrets for using this to get half way decent results. Never fill the conical shaped reservoir with more than 1" of powder. Then before you aim at the part hit the trigger and let the huge slug of powder out first. Then as you start coating the part gently agitate the entire gun to keep the powder leaving the gun at a steady and even rate. Took me forever how to work it decently.
If I did this more than a once in a long time basis I would invest in a 200-300 dollar gun, because this can be aggravating to use.
OK, the brackets are sand blasted. I use coal slag.

I preheat all my parts for a couple of reasons. First this burns off any oils left on the parts that would otherwise ruin the powder and also it allows the powder to cure on the part as I'm spraying and I can much better judge when to stop.

Out of the oven and the part is at 400˚F.
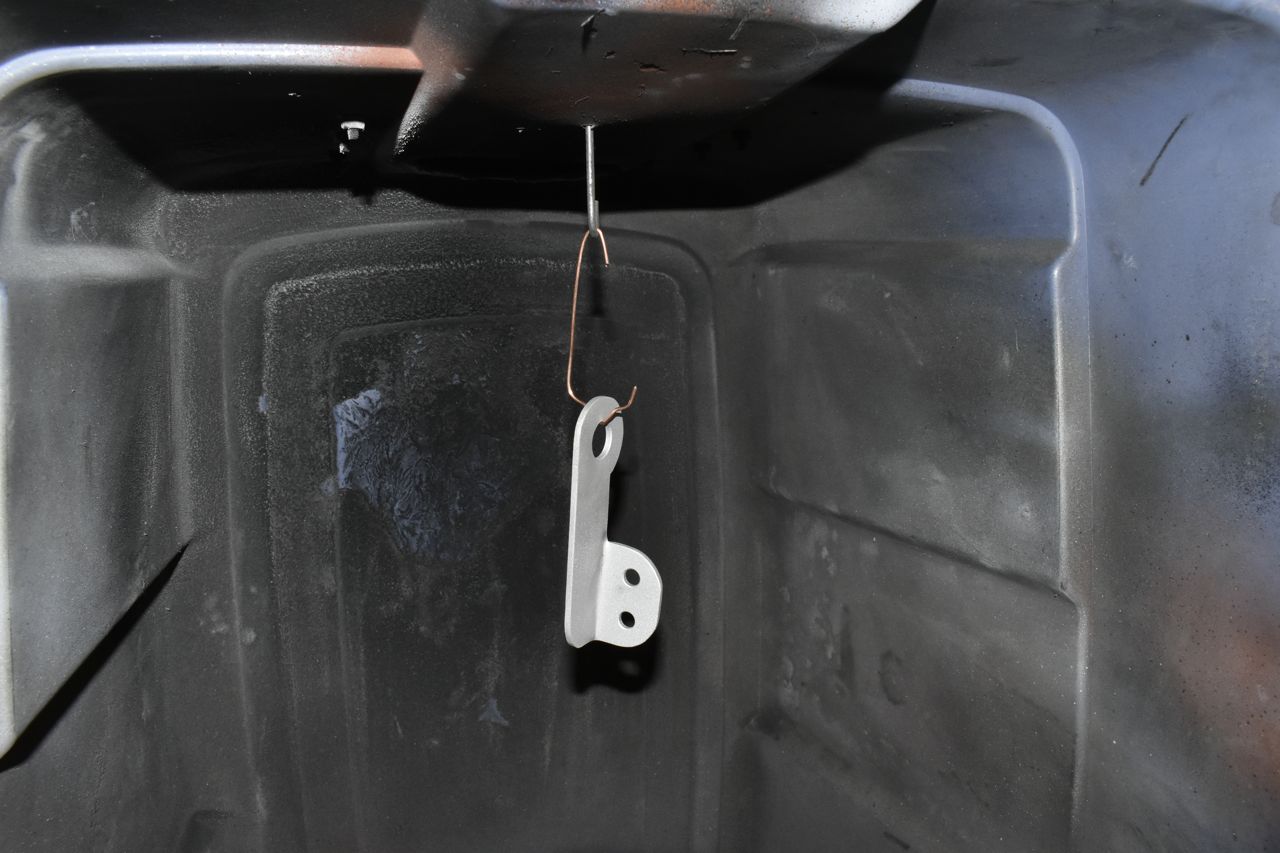
It's really easy to put too much on or not enough. I'm guilty of both. Not enough and it will look horrible. Where as too much and you risk cracking it by tightening down fasteners and whatnot.
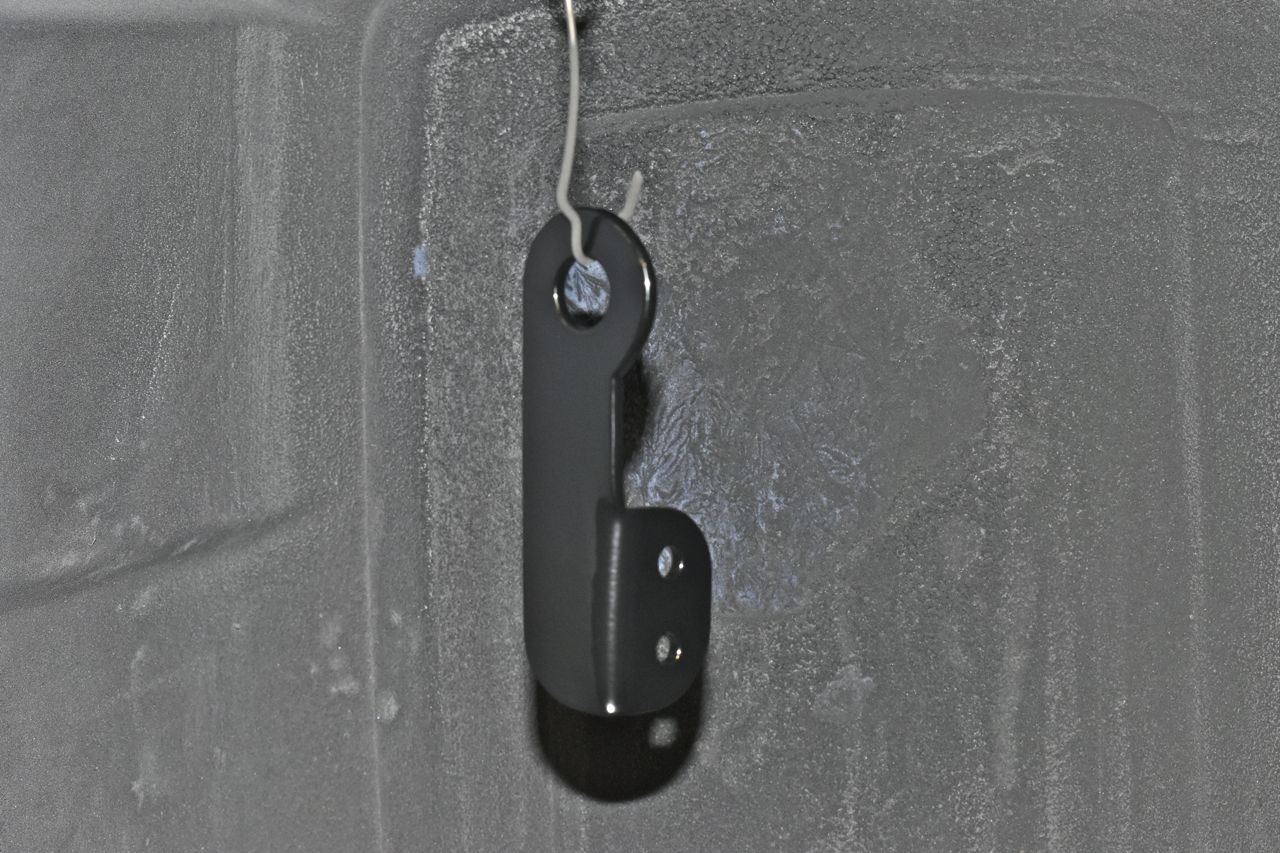
So after it's coated enough, back in the oven to finish curing.
When they are done and cooled you can install them.

like so.
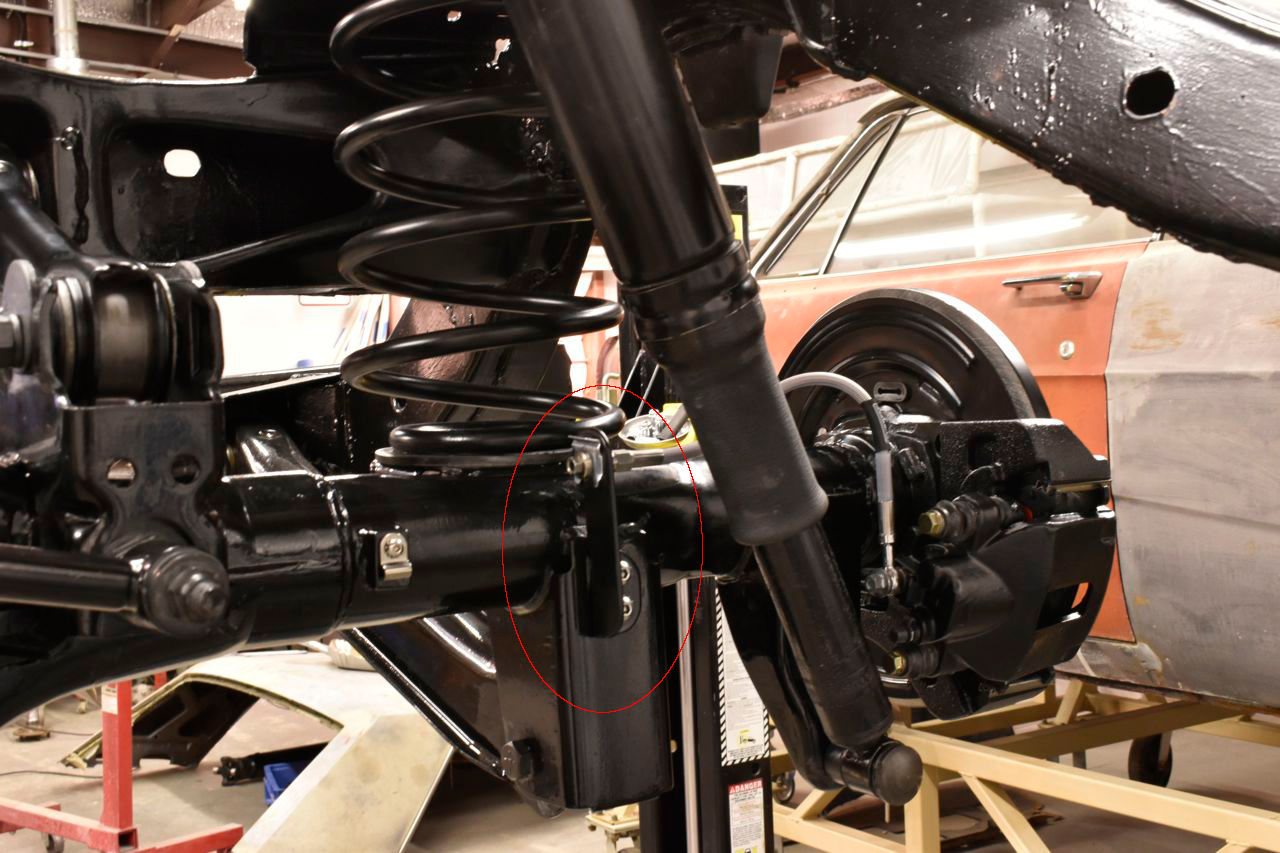
They look pretty darn good for home made.

OK I hope I didn't bore too much with the minutiae of making a simple bracket.
The next post will finish the plumbing on the rear axle.
Click here to continue to part 21